Today I’m sharing how to edit food photos in Lightroom. I know editing in Lightroom can seem scary for beginners, so hopefully this post will make things a little clearer for you!
So grab a green smoothie, get comfortable, and let’s do this!
Why editing your food photos is important:
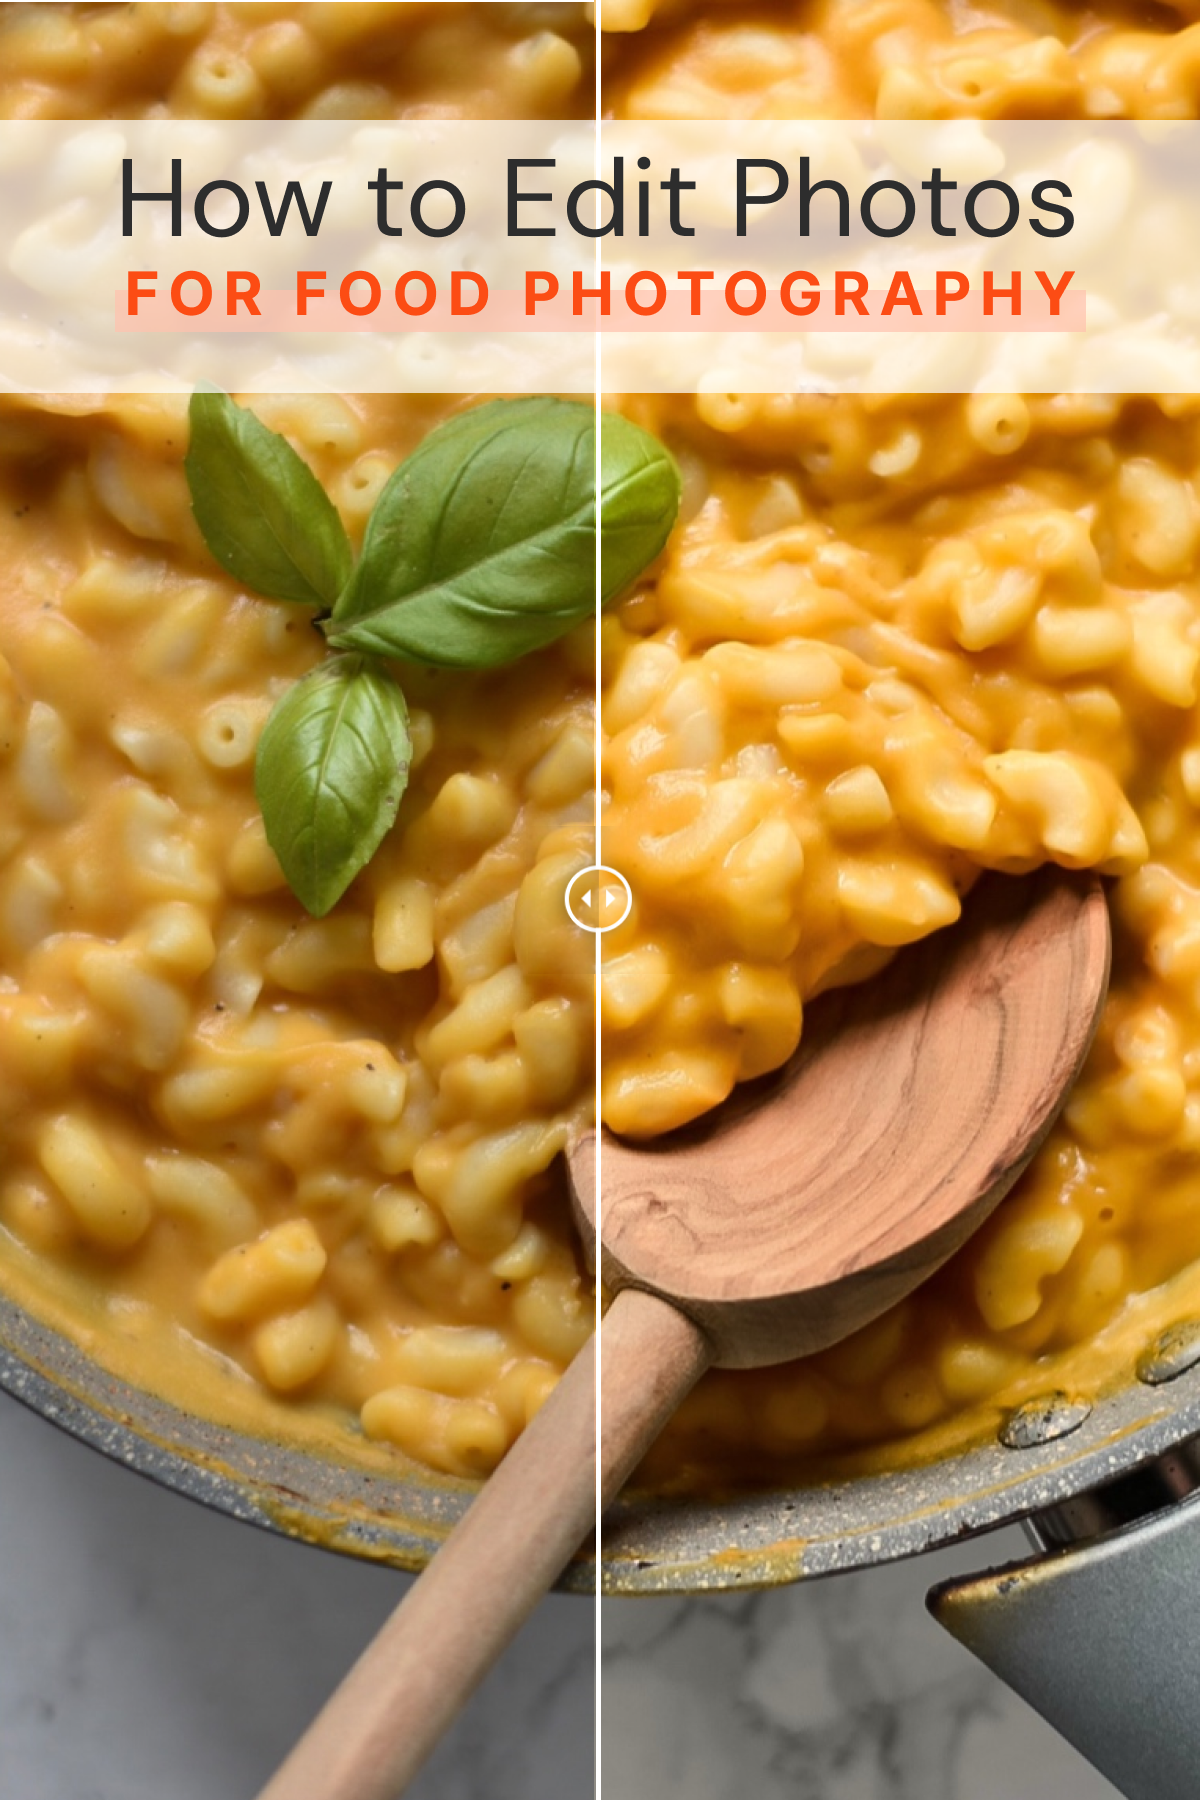
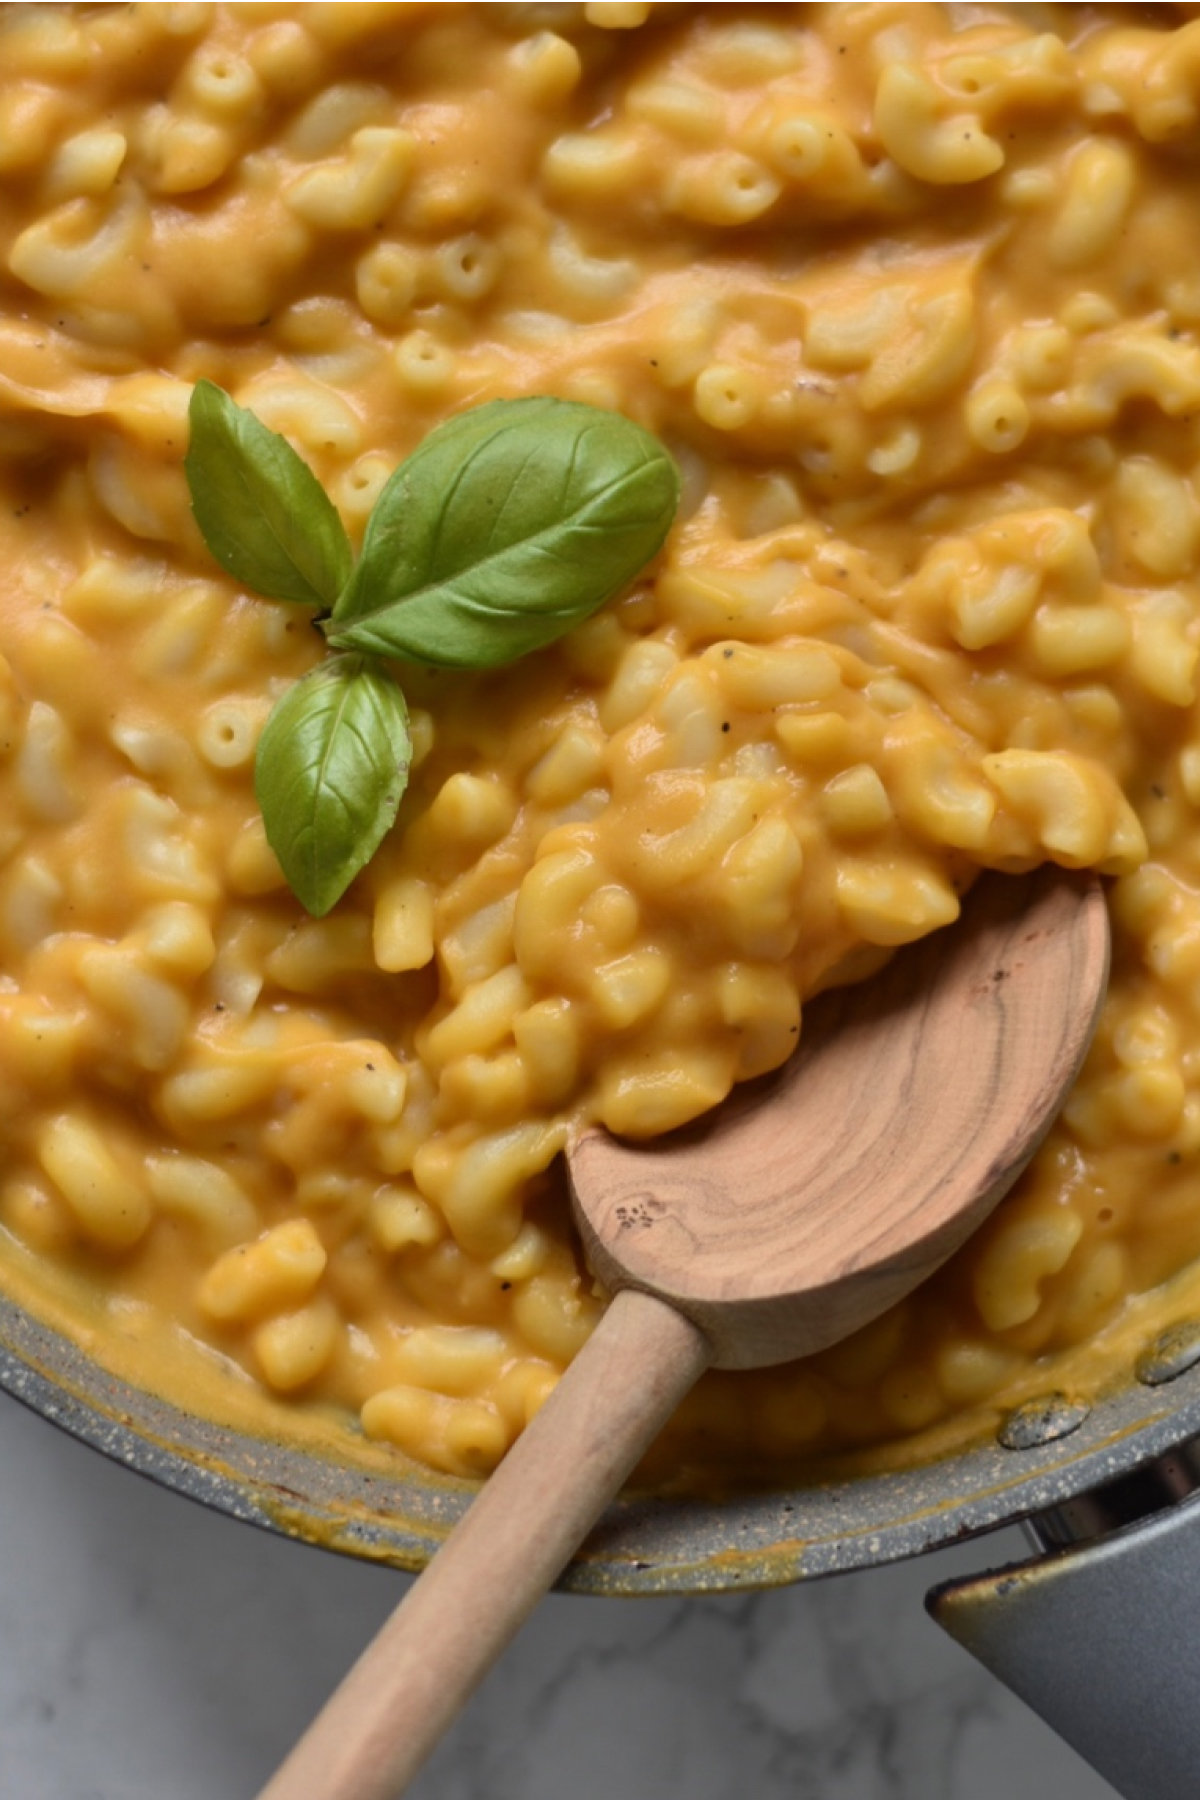
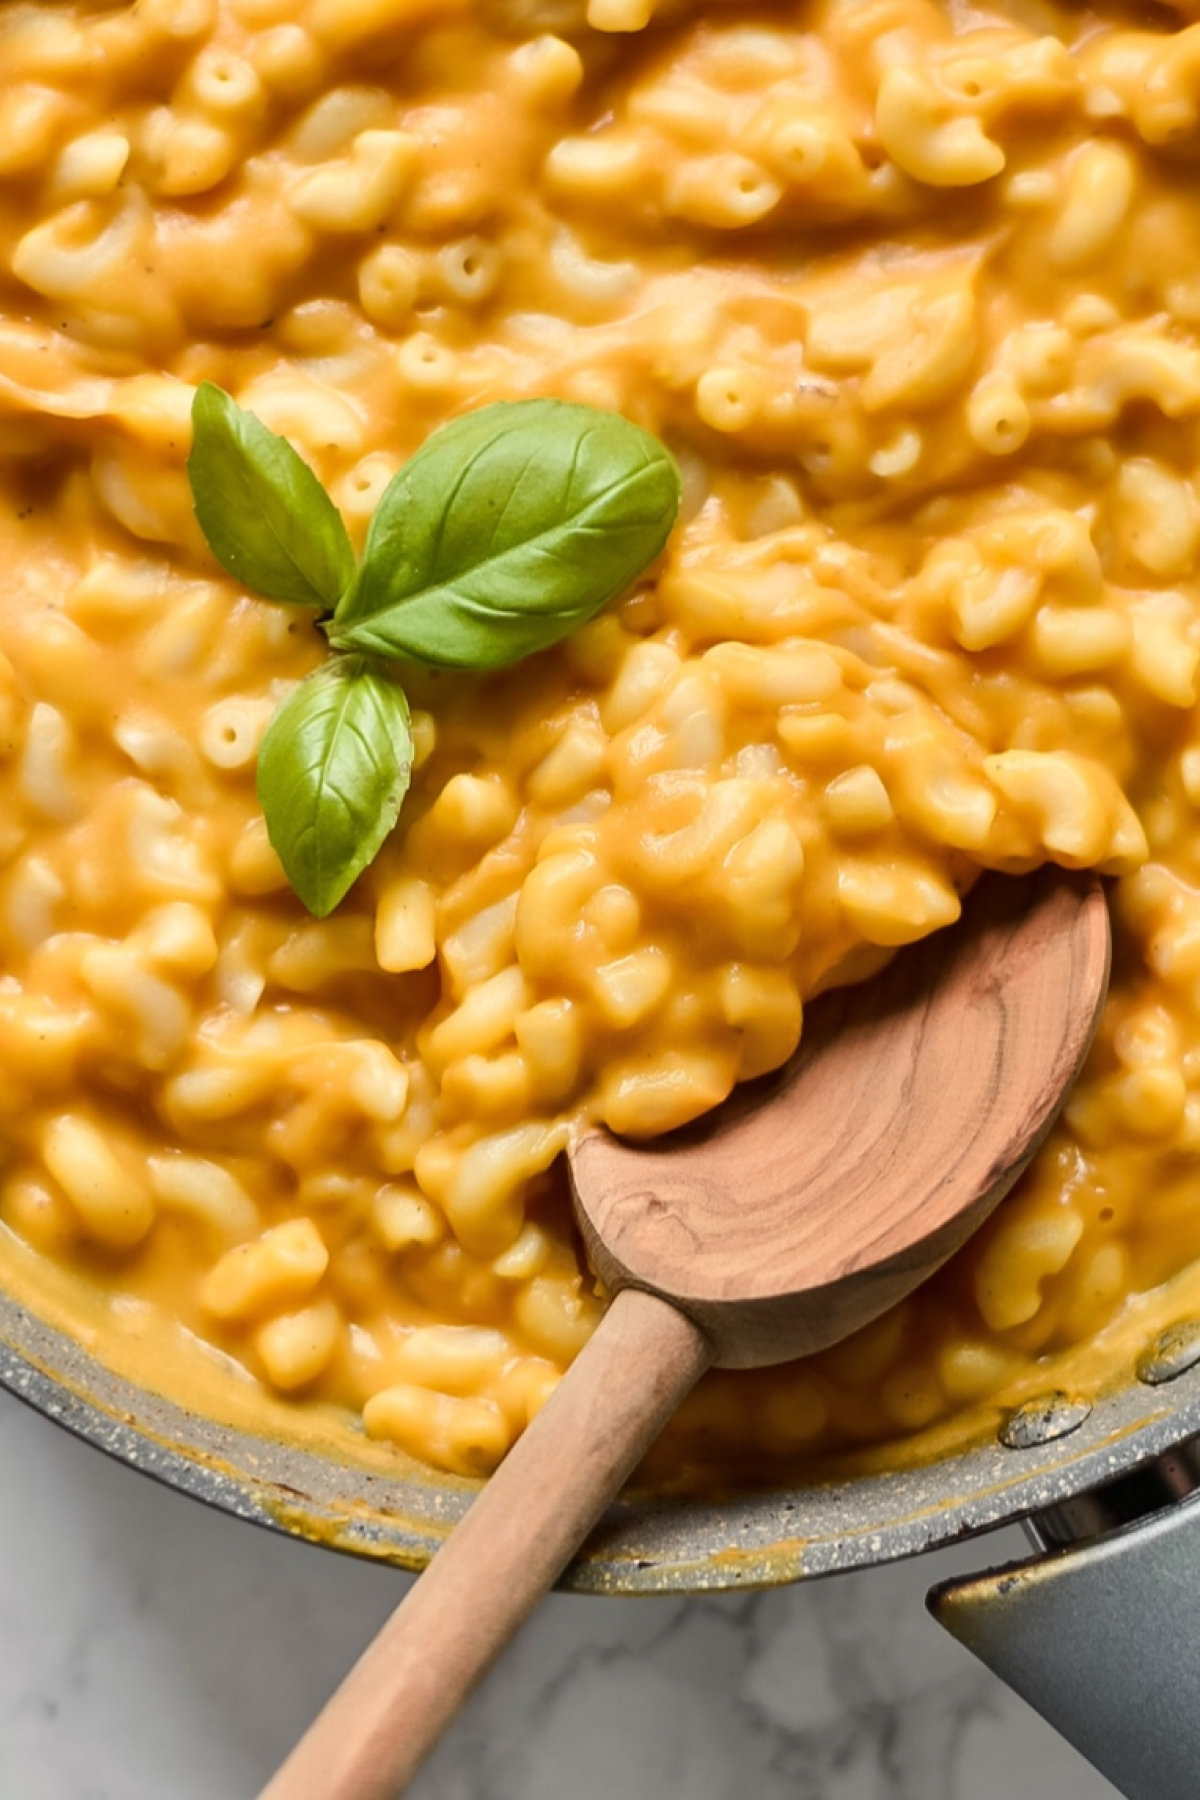
Editing your food photos is a way of accentuating the colours and showing the food in its best light.
An unedited photo can often look dull and flat. Which is understandable, given that we have taken a 2-dimensional image of a 3-dimensional subject. Today we’re covering how to edit food photos so we can bring depth back into the image.
Take a look at the photo slider below. Which mac and cheese would you rather be eating?
Is Adobe Lightroom Free?
Today I’m showing you how to edit food photos in Adobe Lightroom for iPad. The best thing about this software? It’s completely free to use! There is also a mobile version if you wish to edit your photos on your smartphone.
If you’re looking for a more technical version of Lightroom, I recommend purchasing a paid subscription to the Desktop version. This is what I typically use, however I wanted to share the free version in this post to make things more accessible.
If you are new to editing, the mobile/tablet versions are a great place to start, as they have a lot of the features from the paid version!
How to edit food photos in Lightroom in 5 easy steps:
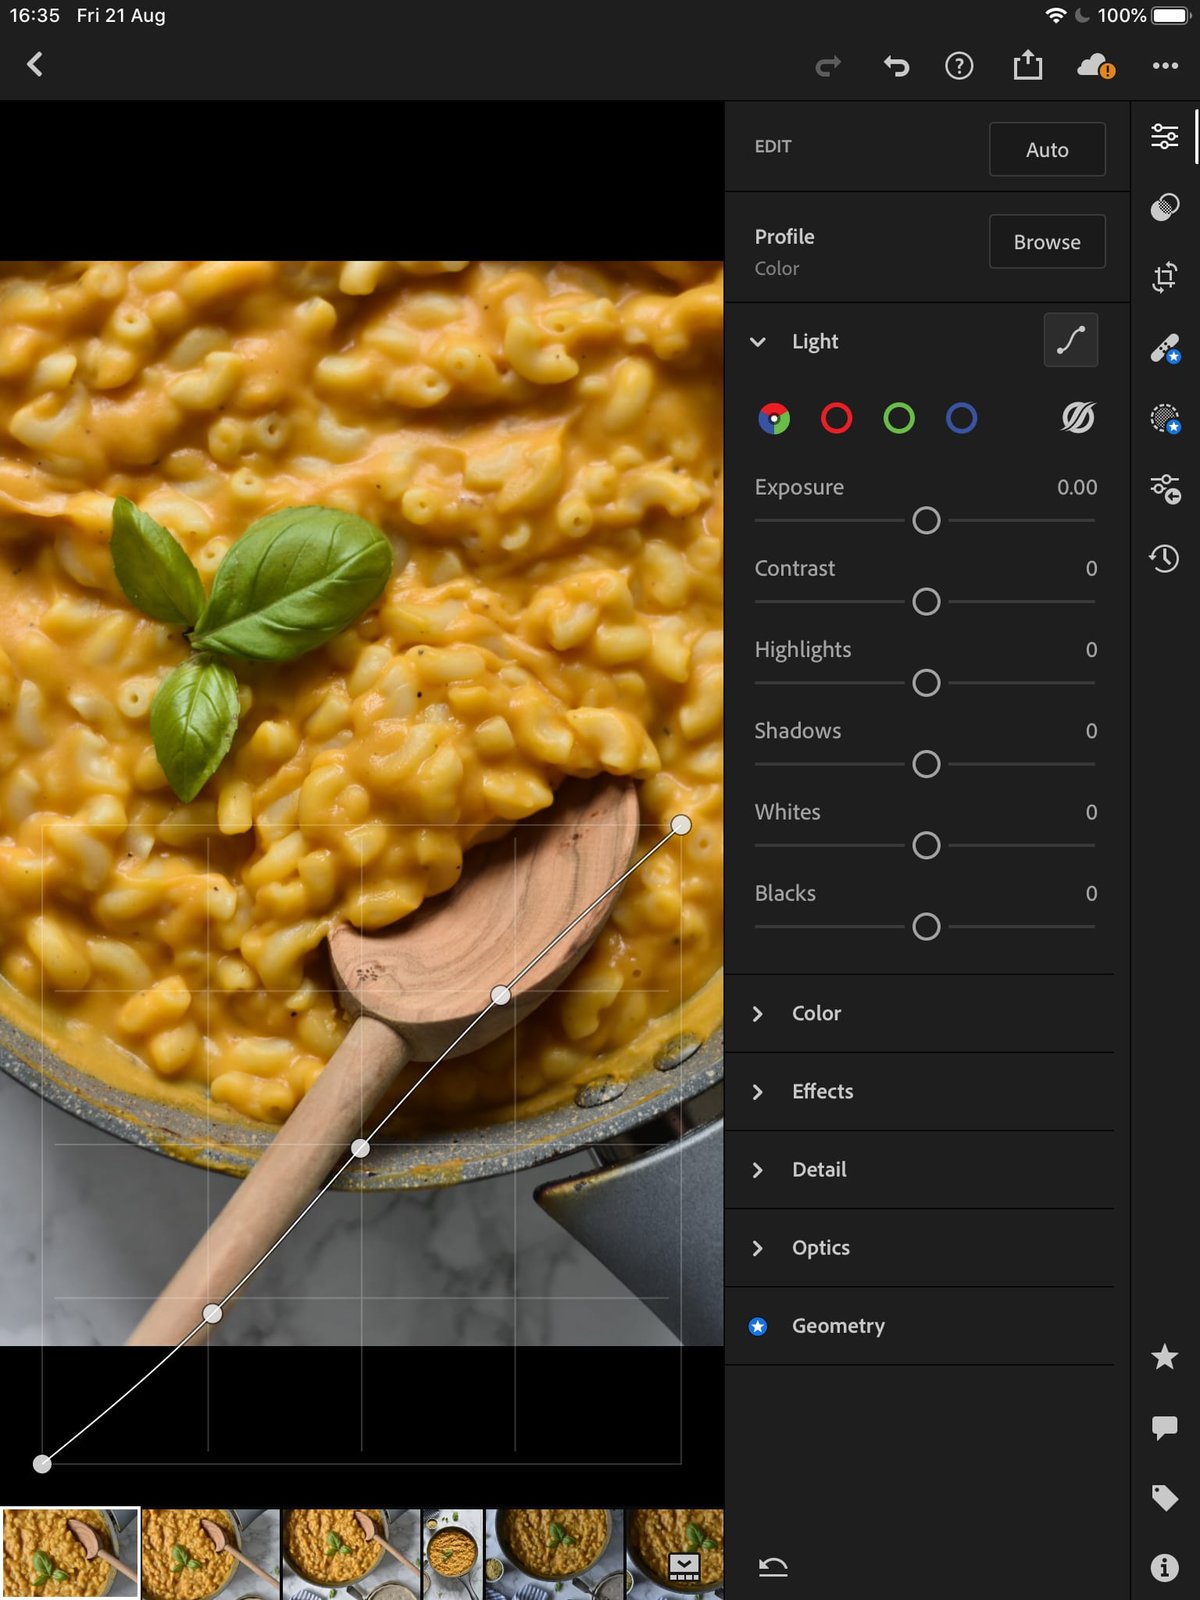
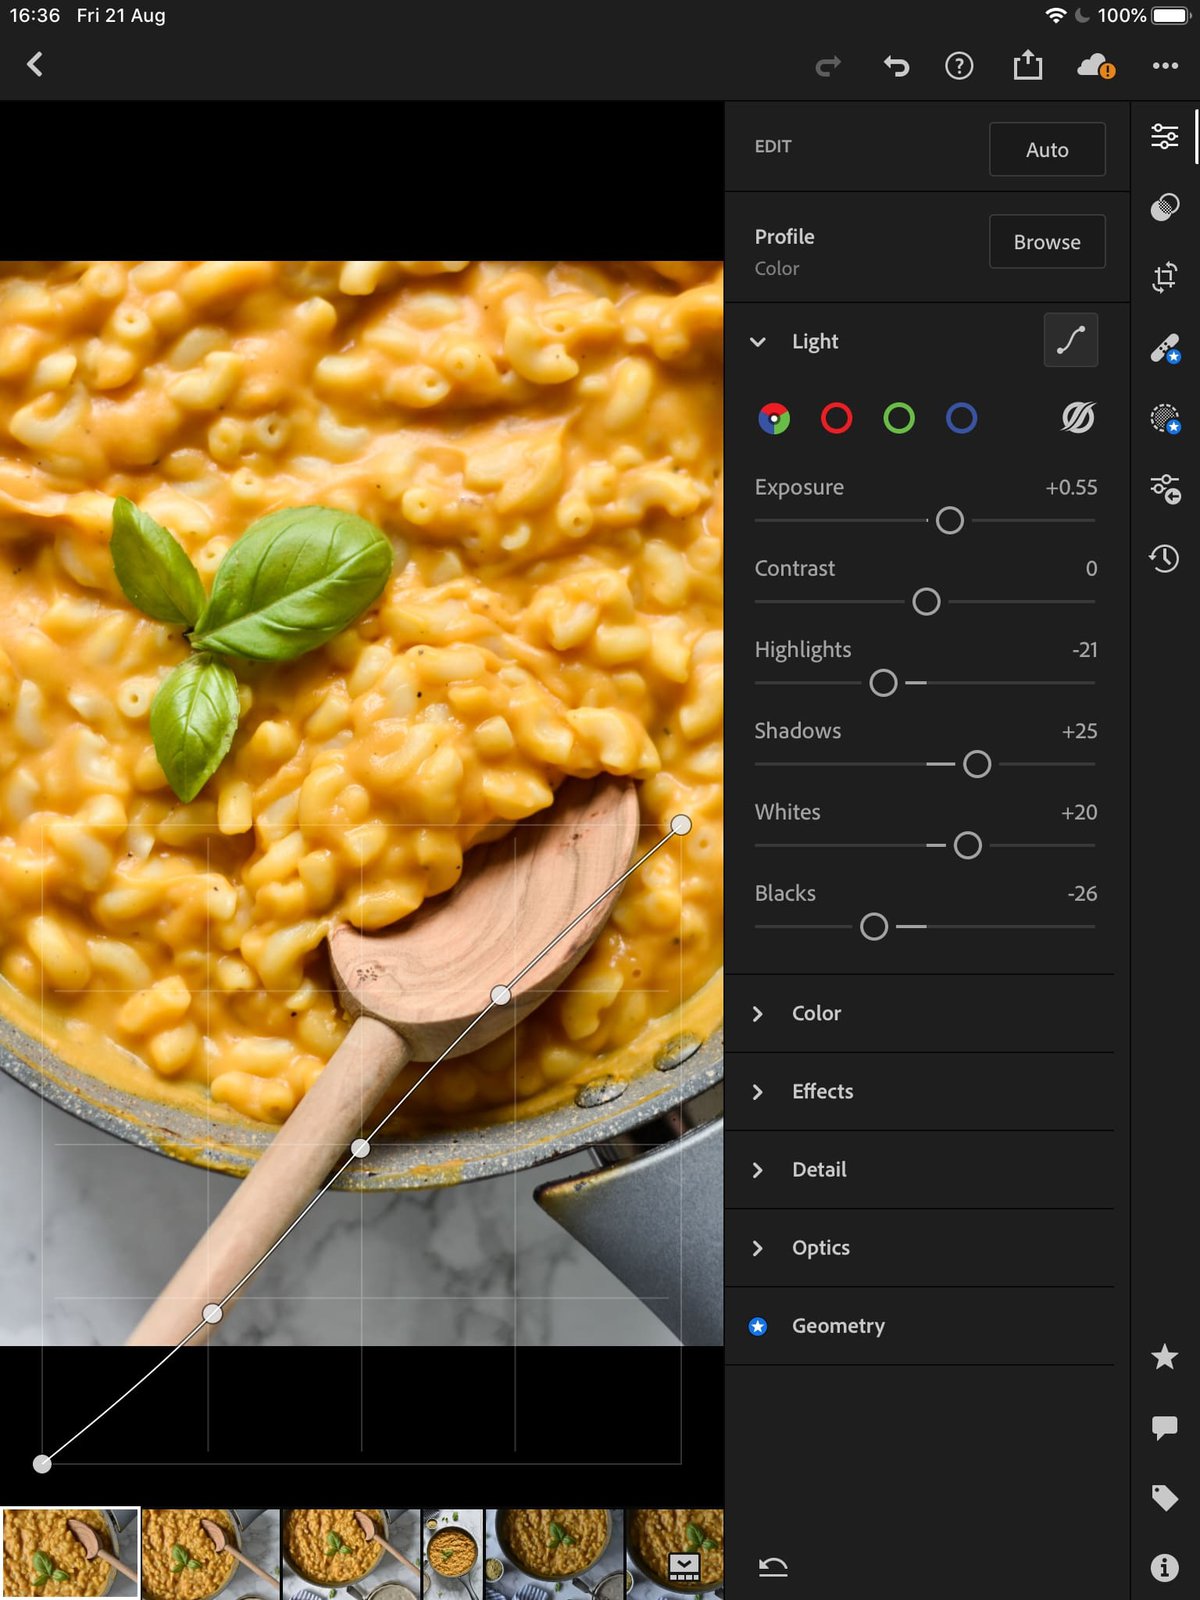
Step 1. Edit the tone curve.
The first thing to do is to edit the tone curve. You can find the tone curve under the ‘light’ tab in Lightroom.
The tone curve allows us to change the contrast of our photo with more precision than simply using the contrast slider. For most food photos, you want a subtle S-shaped tone curve.
Bringing up the tones on the right makes our whites brighter, and bringing down the tones on the left makes our blacks darker.
The best way to master the tone curve is to have fun playing around with it!
Step 2: Add more contrast.
Generally, you want to increase the whites and shadows, and decrease the blacks and highlights. This increases the overall contrast in our photo and gives it more dimension.
Play around with the settings until you achieve your desired contrast. Sometimes I may decrease the shadows if my photo is looking particularly flat. You can also
increase the exposure to your desired brightness!
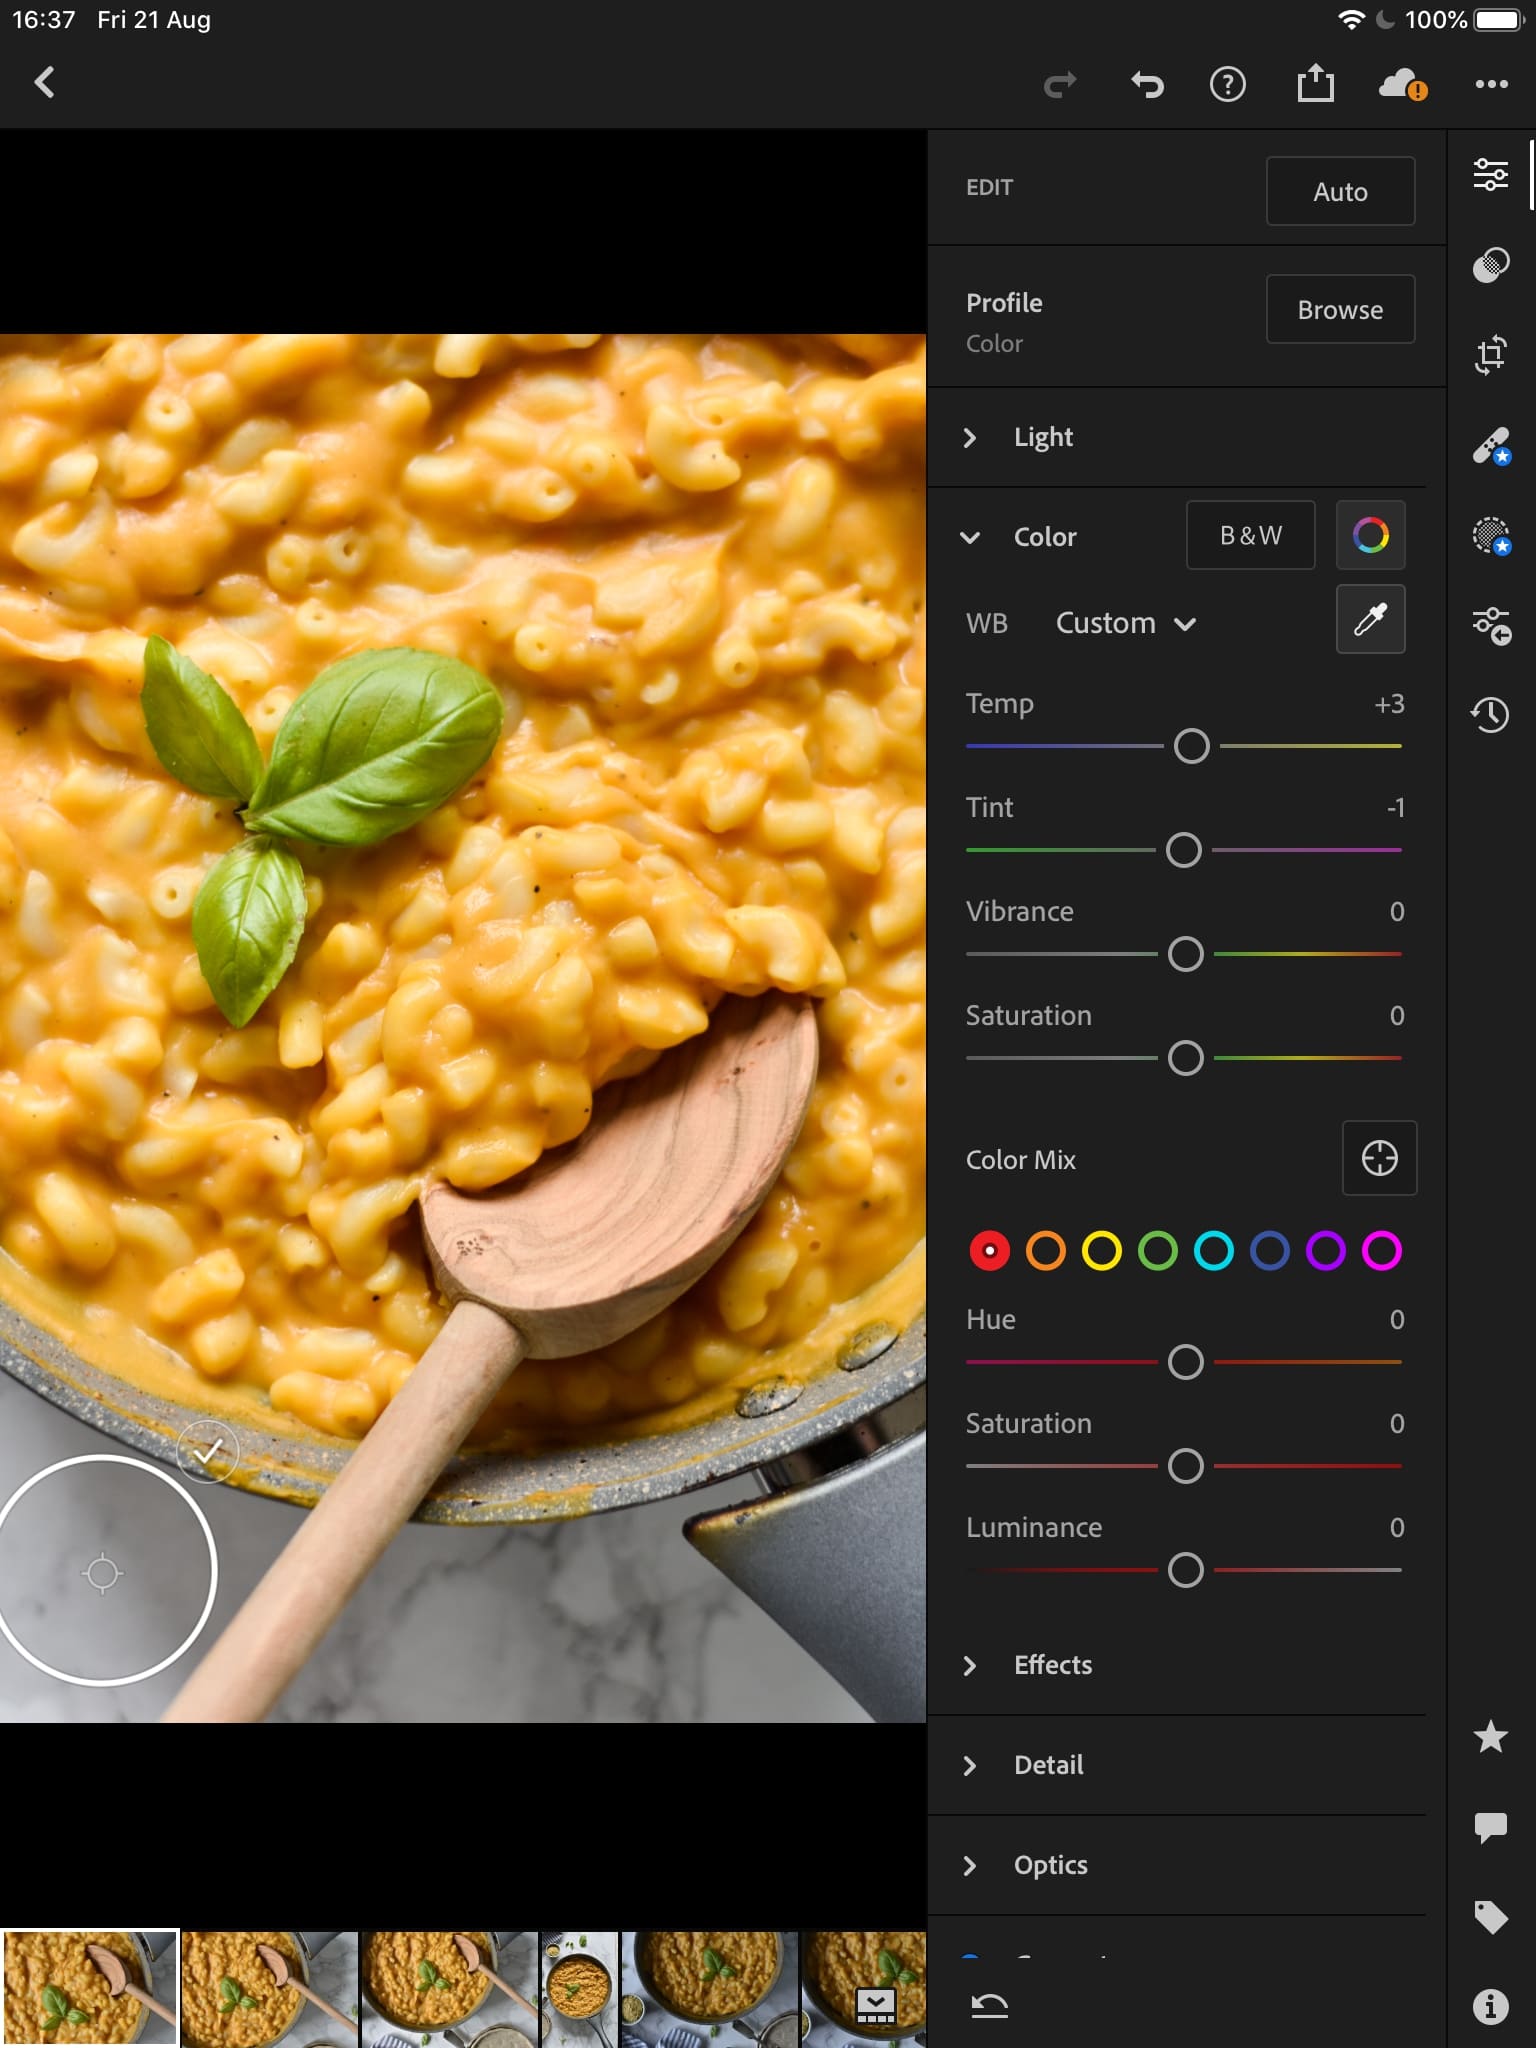
Step 3: Edit the white balance.
The great thing about lightroom is that it has a dropper tool which adjusts the white balance for you! Simply place the dropper over a bright area of white/grey and let Lightroom do the rest!
Tip: Always trust your instincts with white balance. If your photo is looking too cool/warm or green/purple for your eyes, then adjust the settings manually until you think it looks best.
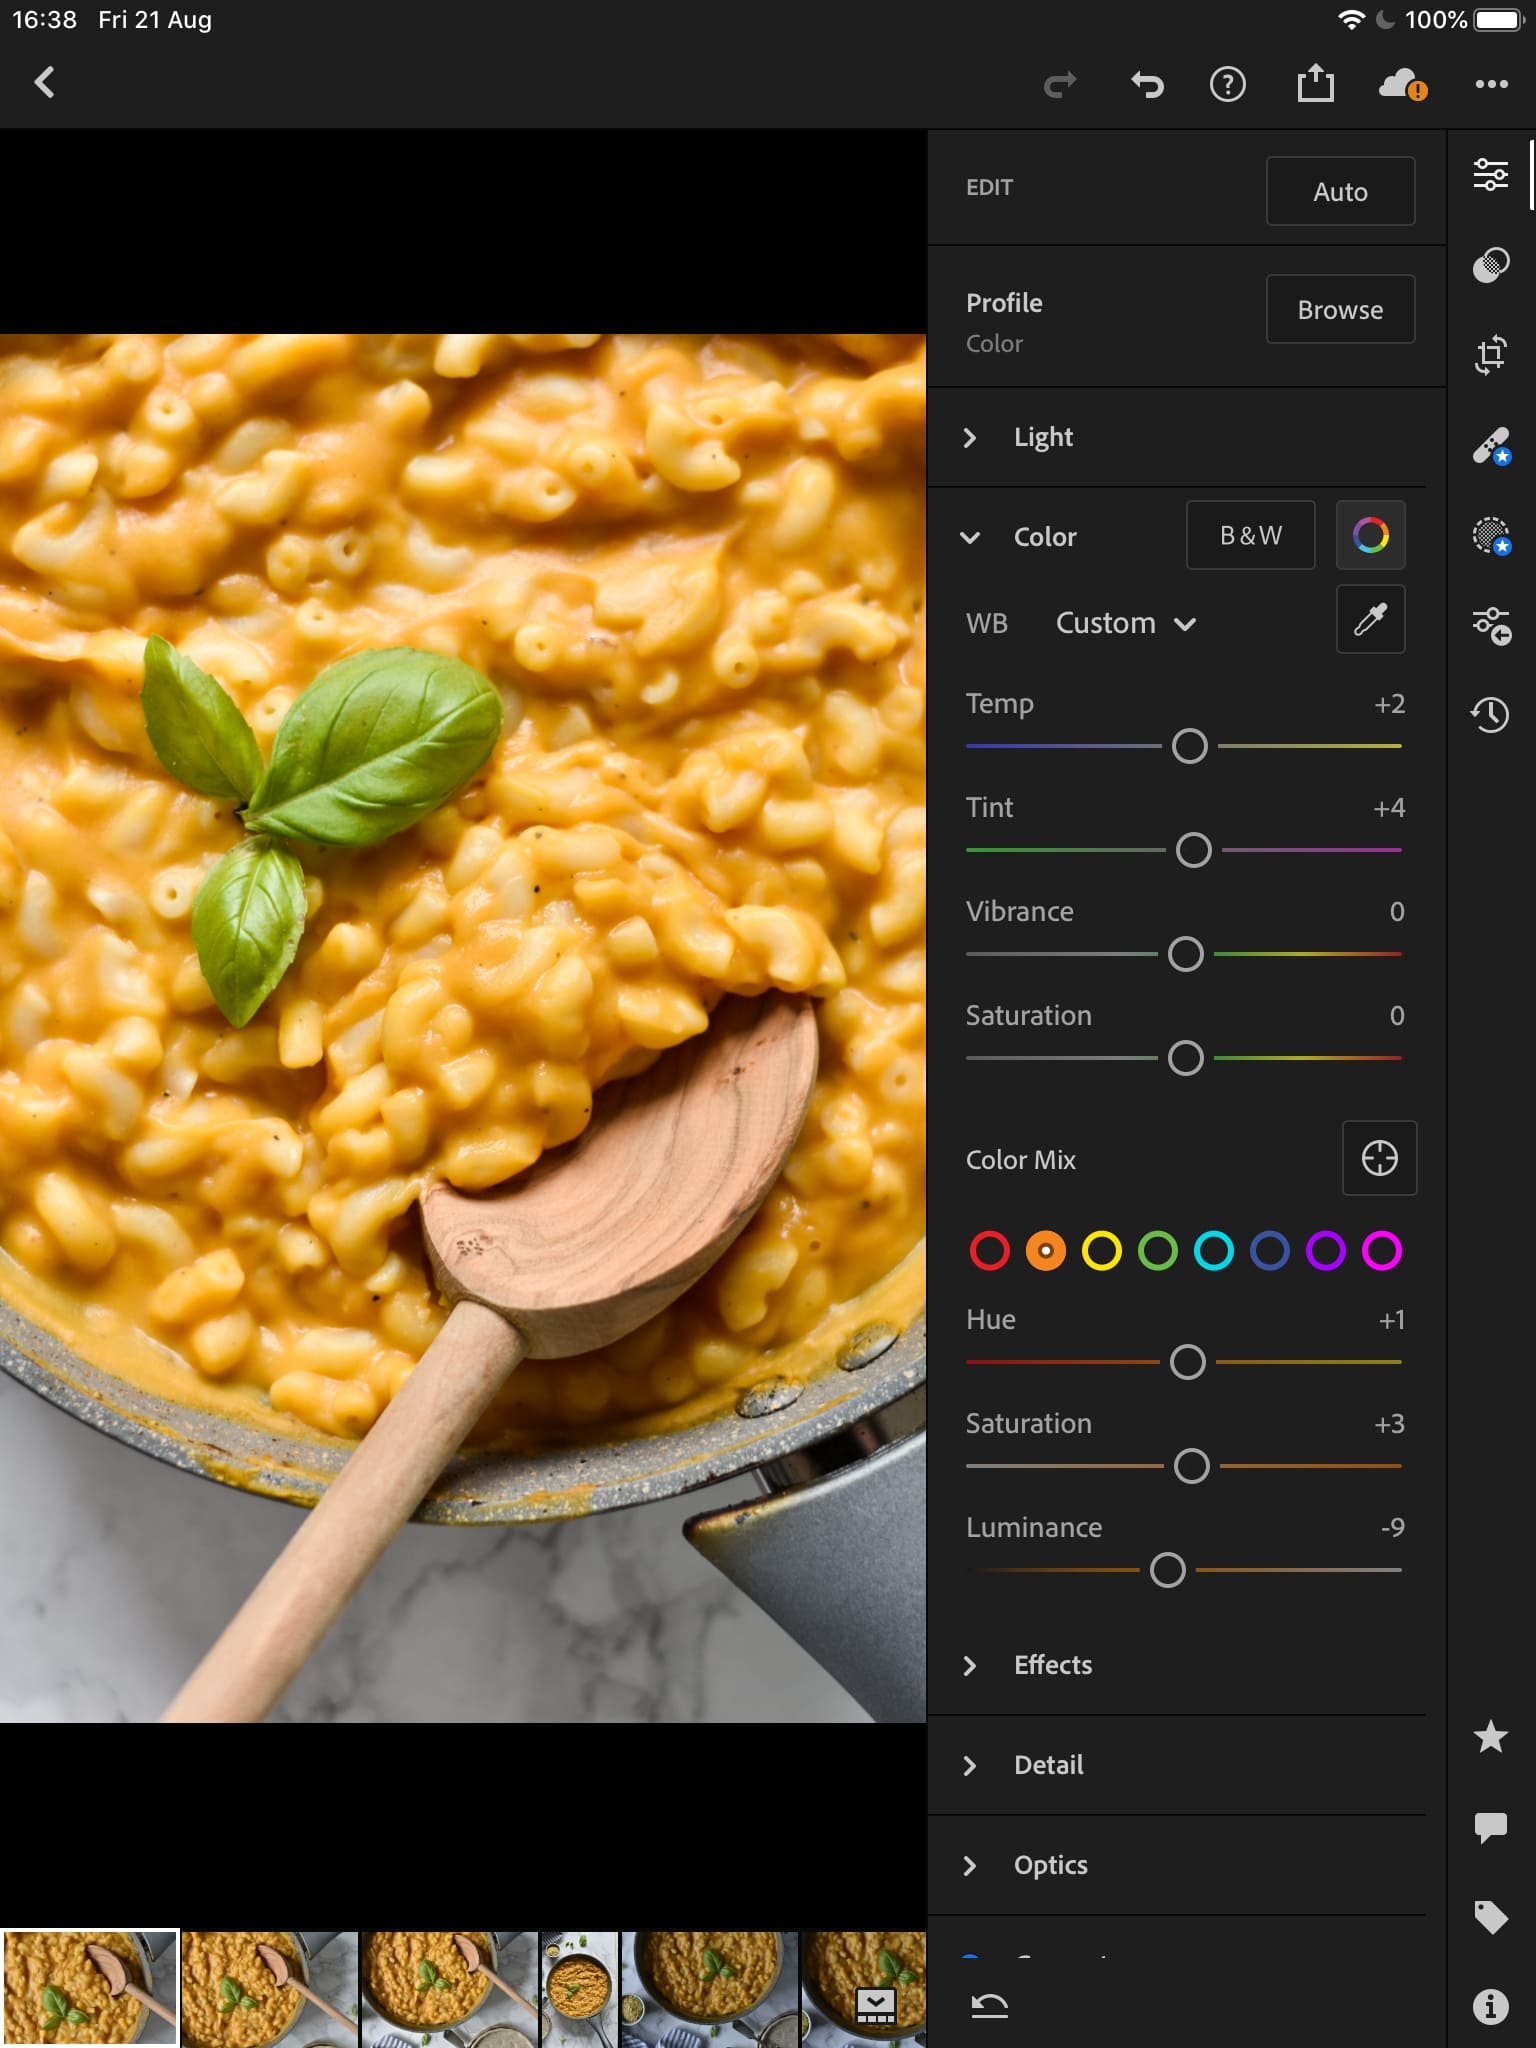
Step 4: Edit the HSL Panel.
This is my FAVOURITE editing step: the HSL panel! You’ll find the HSL panel under the ‘colour’ tab in Lightroom.
The HSL panel allows us to edit the hue (colour), saturation (intensity) and luminance (brightness) of each individual colour in our photo. How awesome is that? You can have a lot of fun playing around with the settings, but I recommend not going too extreme with them.
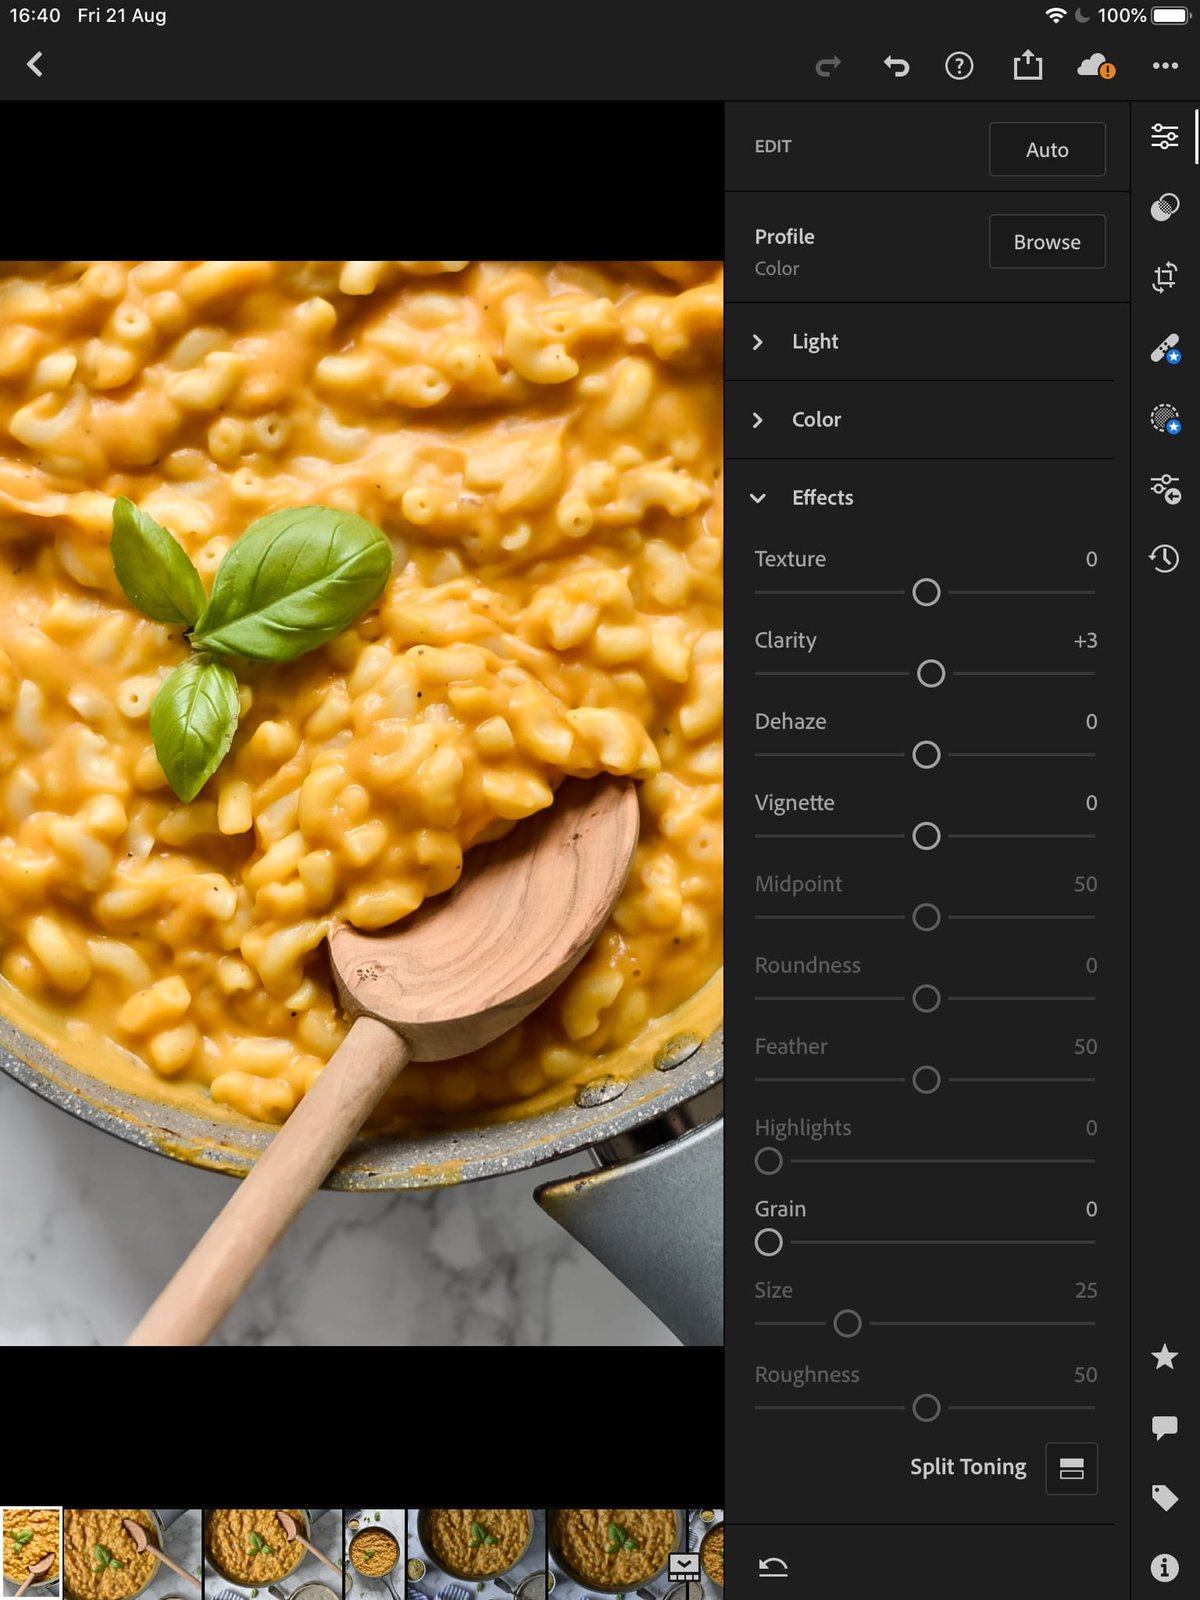
Step 5: Increase the sharpness.
There are quite a few settings in Lightroom that you can play around with to change the sharpness of your food photo. You can find them under the ‘detail’ tab in Lightroom.
Generally, I change the sharpness, radius, masking and noise settings. The degree of edits you make here will depend on the sharpness of your original photo.
Related >> How to master the 3 DSLR settings
BONUS Step: Edit the finer details.
You’ll notice from the slider above that small imperfections have been removed in the ‘after’ photo.
These smaller edits can be achieved in Snapseed, another free editing app. Alternatively, you can use the healing tool in the paid version of Adobe Lightroom.
Final thoughts
I hope you enjoyed learning how to edit food photos! You can check out the resources page on the blog for more fun content. Happy photographing!