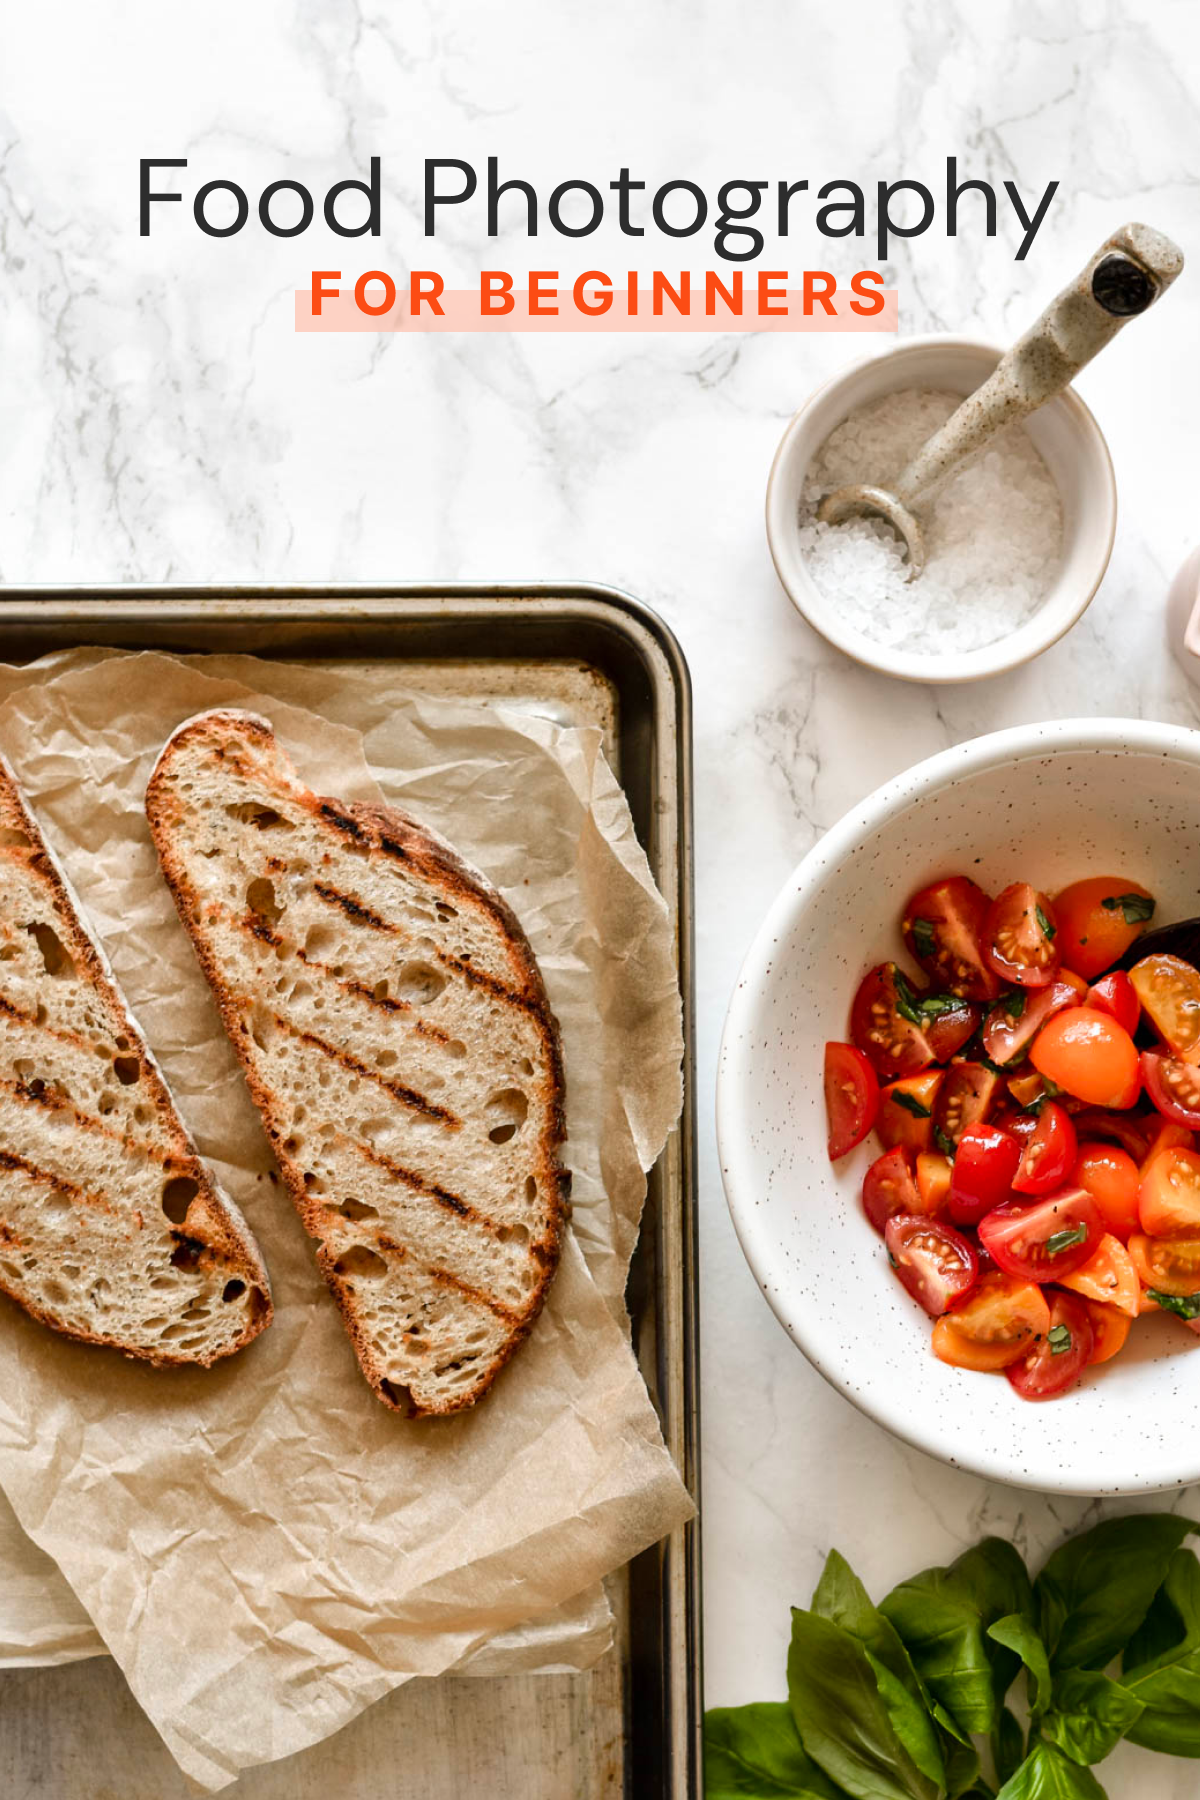
A lot of you have been asking me questions lately about my photography. So I’ve decided write a few posts on food photography to share the knowledge I’ve accumulated.
Here are the topics we’ll be covering in this mini-series:
- Food photography essentials to get you started (this blog post)
- How to use a DSLR: The three main settings you need
- Where to buy the best food photography props on a budget
- How to edit food photos to look insta-worthy!
Okay, let’s get into today’s post, where I’m sharing five food photography essentials that all beginners need.
What’s great about food photography is that you don’t need a lot to get started, so once you have these five things you’ll be ready to take some awesome photos!
So grab an iced latte, take a seat in your favourite chair, and let’s do this!
1. A DSLR camera.
If you are serious about taking quality food photos you’ll need a digital single-lens reflex (DSLR) camera.
Here are some key things to look out for when choosing a camera:
- Does the DSLR have Bluetooth capabilities? Bluetooth allows you to instantly transfer your photos to your smartphone or tablet for editing. This also great for holiday snaps you want to share on the ‘gram quickly!
- Can the model shoot RAW photos? RAW photos are very large files which contain maximum detail about our subject. When it comes to editing your photos, RAW photos are the gold standard to use so you can gain maximum detail from your shot.
- How big is the sensor? A popular myth is that megapixel size determines a camera’s quality. In fact, the sensor size is what you should be looking for! A larger sensor will let in more light and yield higher resolution photos. However, larger sensors are also heavier and more expensive, so this is something to consider.
Related >> How to use a DSLR for beginners
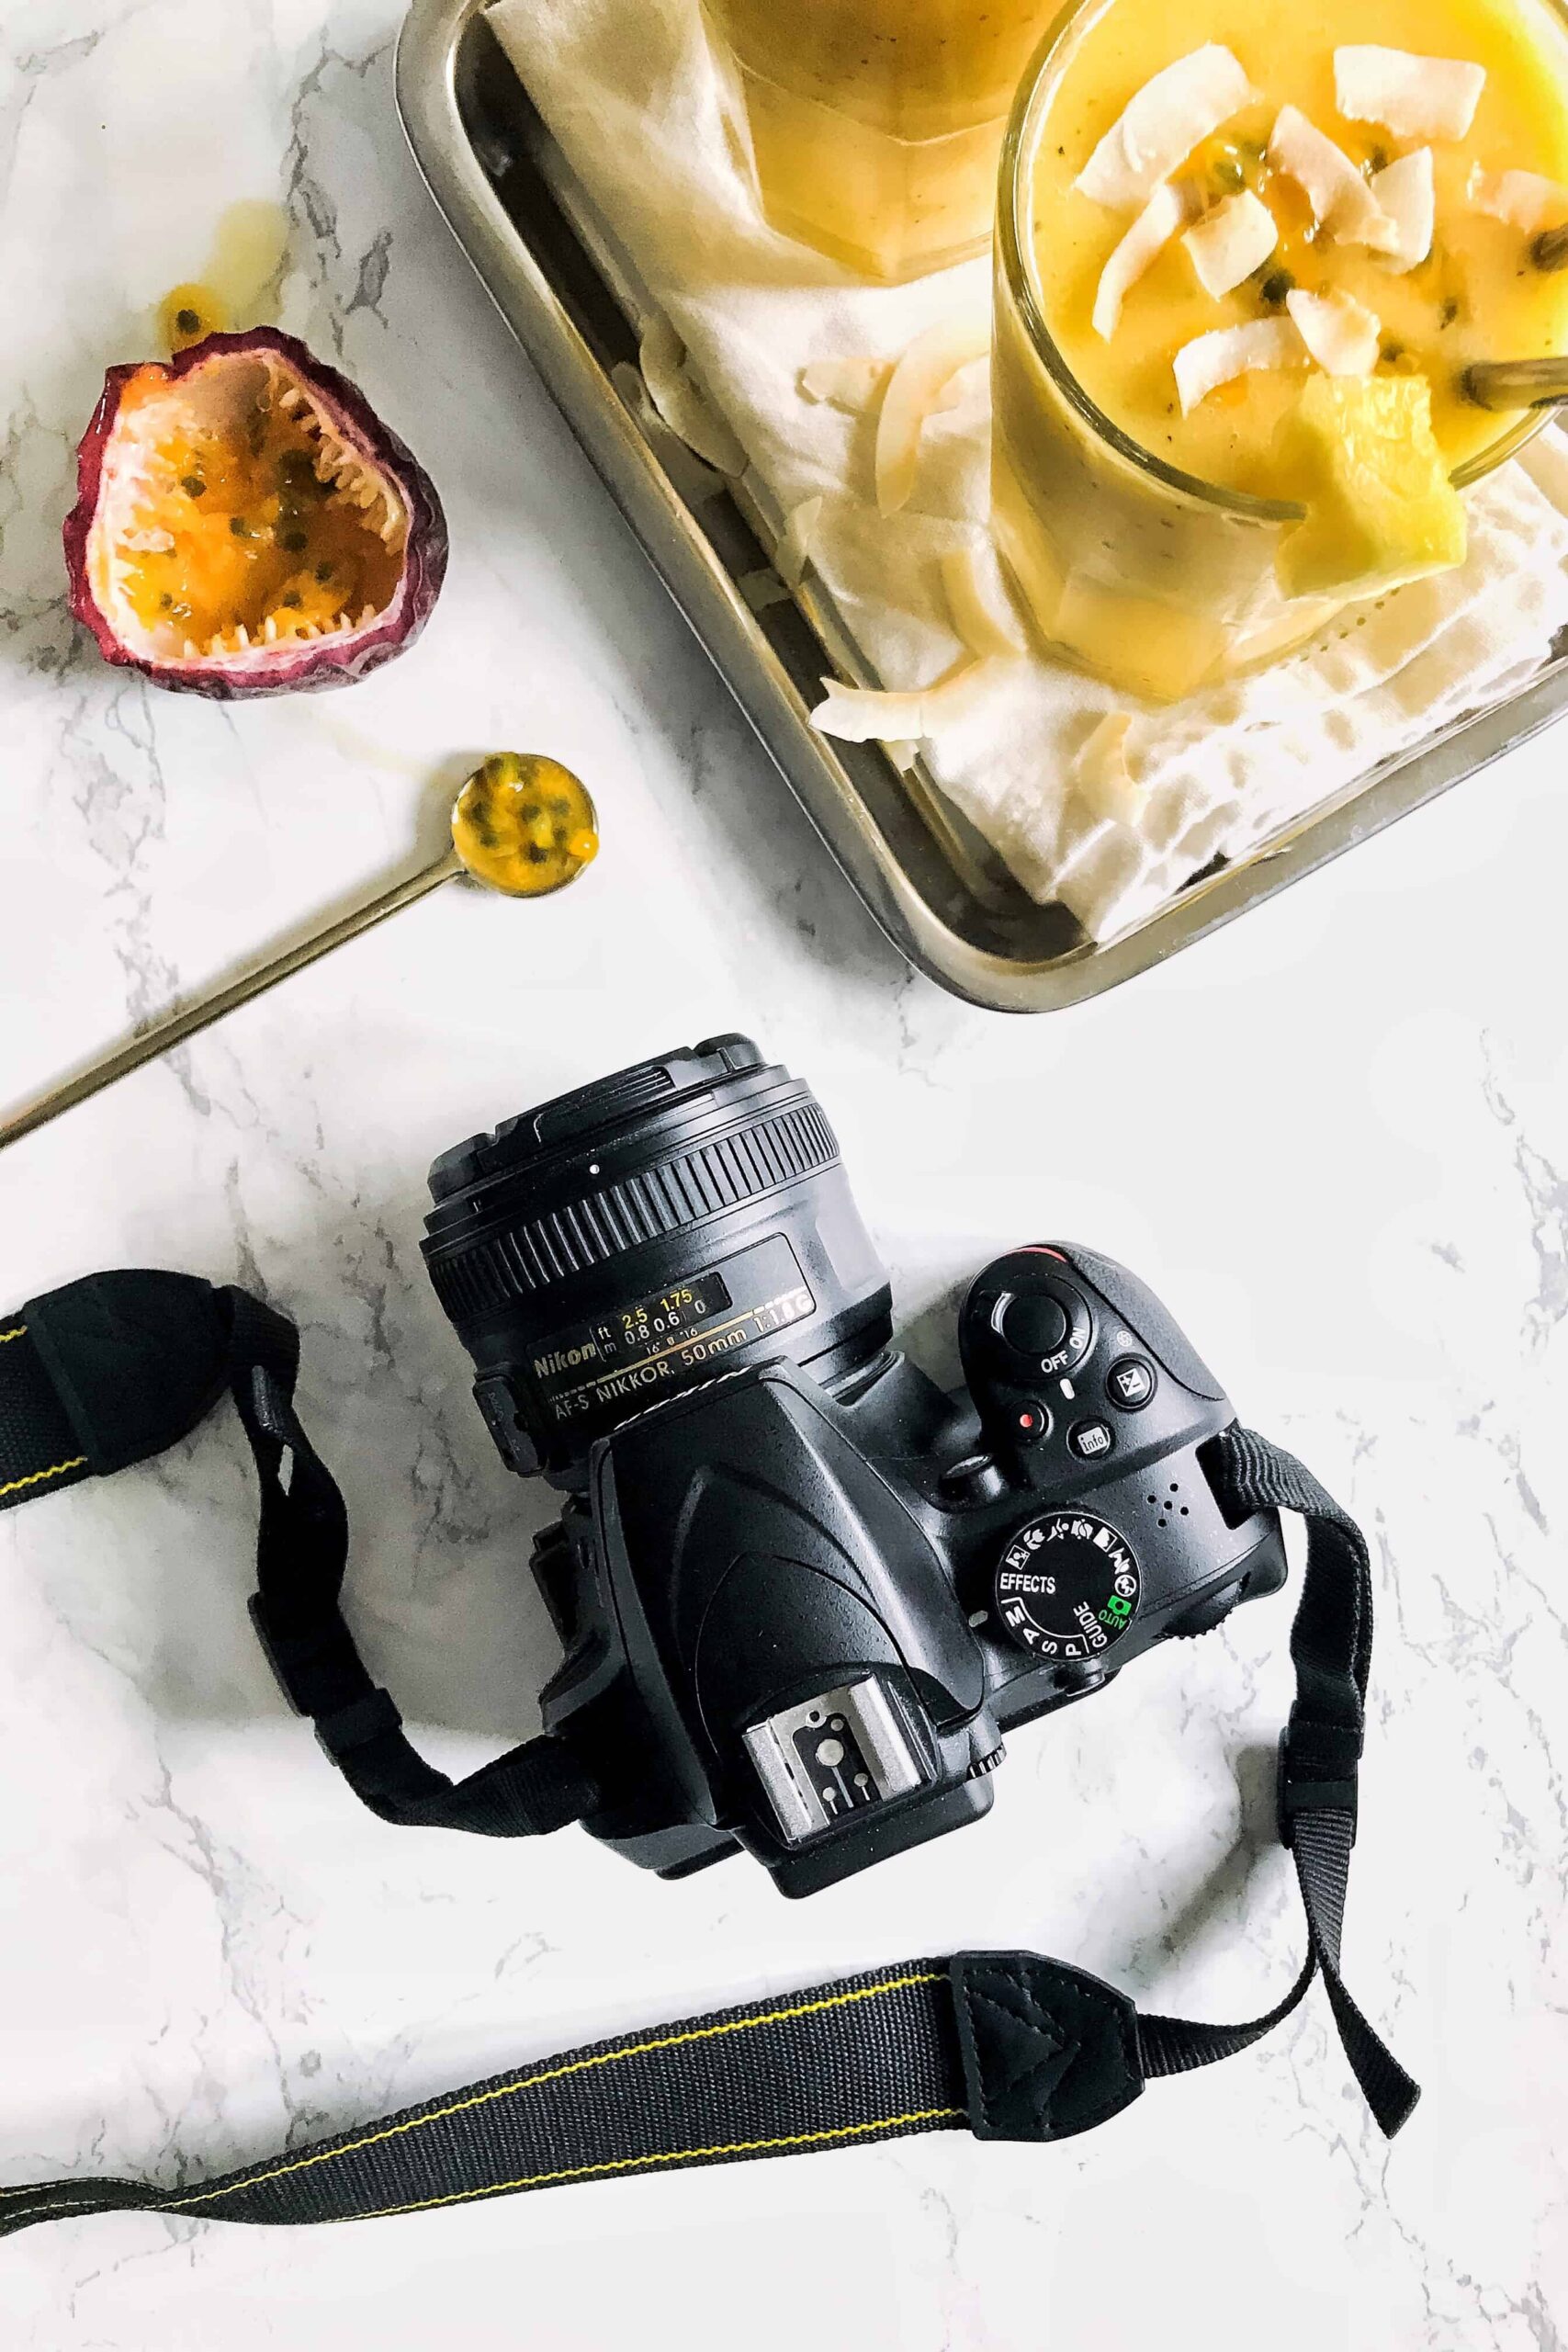
The model I use is the Nikon D3400 (pictured above). As its a fairly inexpensive model, with a lot of great features, I highly recommend this model for beginners.
Q: Do I have to buy a DSLR to take food photos?
Absolutely not! Whilst a DSLR is a worthy investment in my opinion, you use your smartphone for food photography if you are starting out or working on a tight budget. As you progress and develop confidence behind the camera, you may later decide to invest in a DSLR to take your photography to the next level.
2. Good lighting.
What’s the secret to bright and airy food photos? Good lighting!
The best type of lighting for beginner food photographers to use is:
- Natural lighting: as opposed to artificial lighting, is the light available naturally from the sun.
- Near to a window: This is generally the best place to find lots of light. If you have patio doors, those are great too.
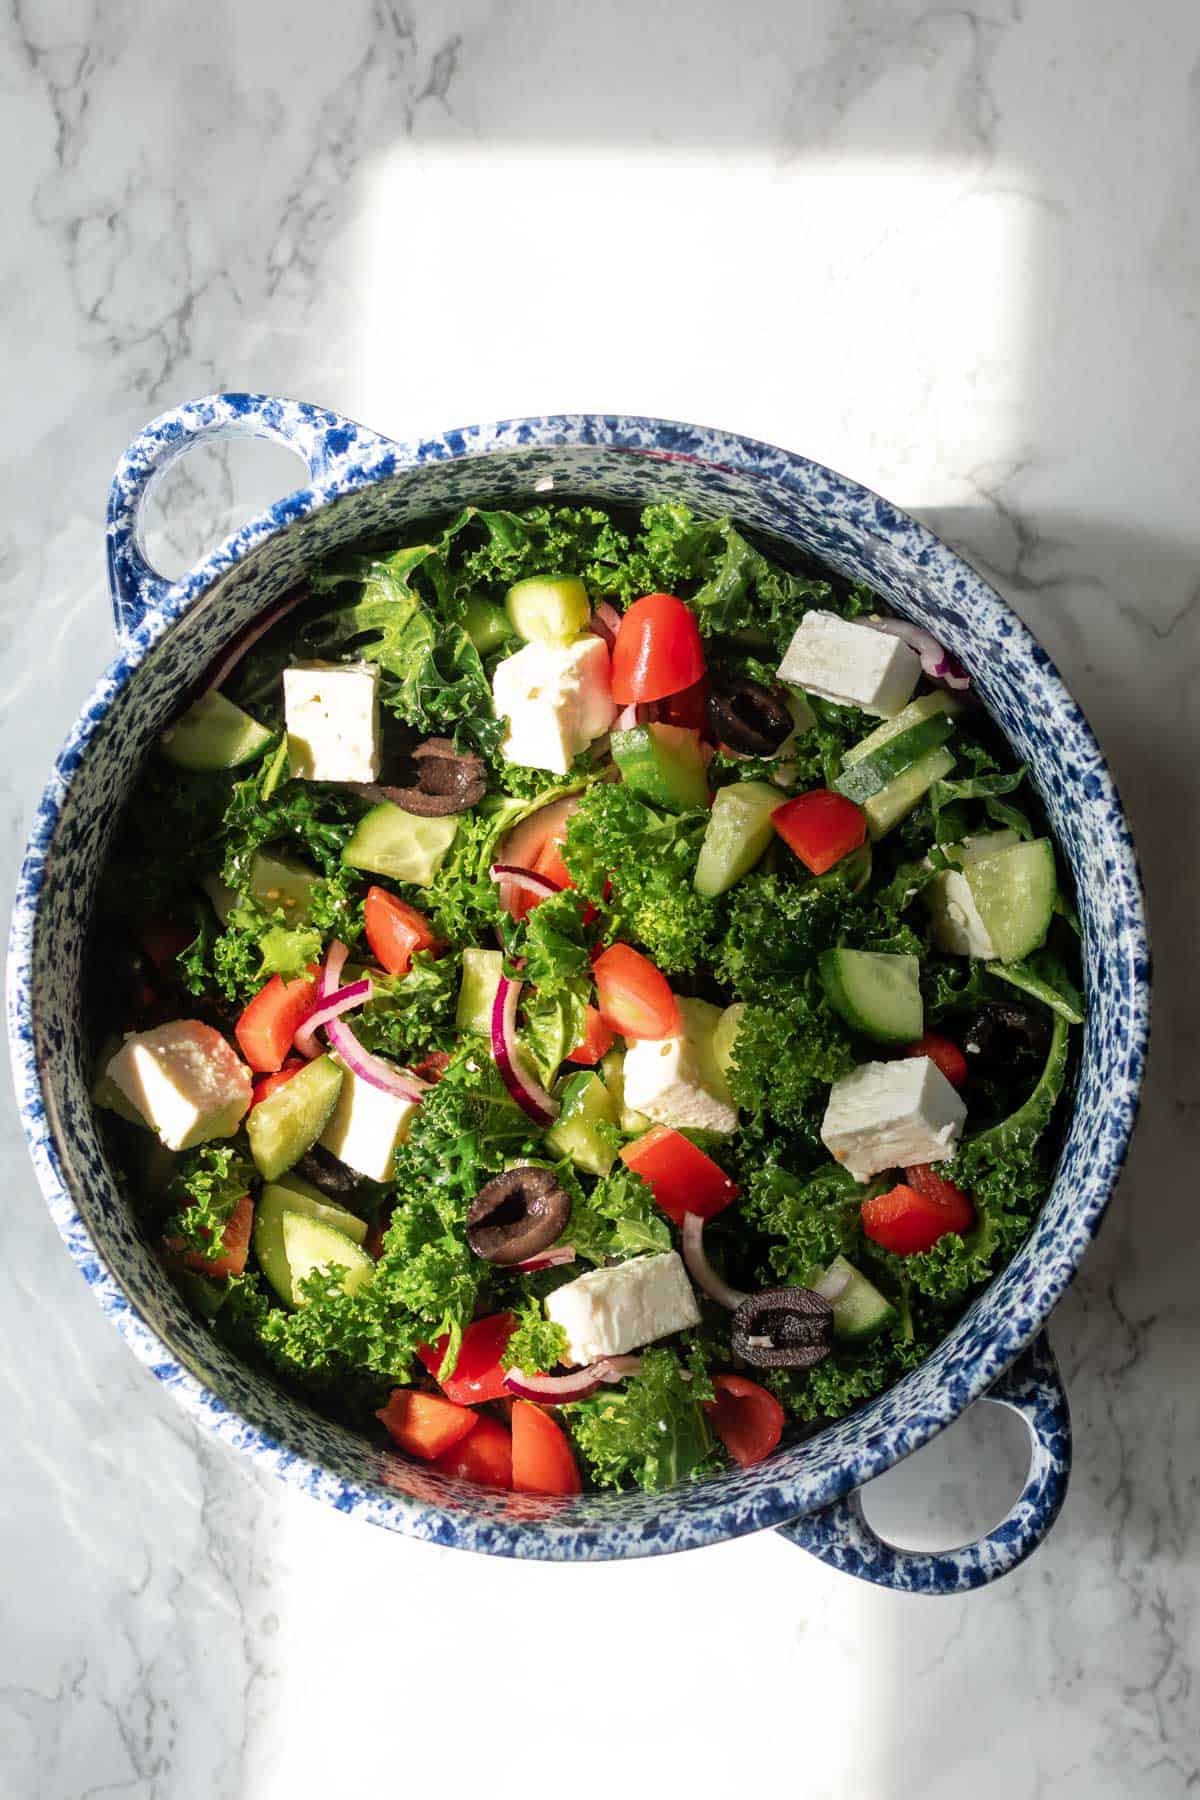
- Diffused light: During the middle of the day, sunlight can be harsh and create strong shadows*. However, when the sun is masked by the clouds, the result is the soft, diffused light that we like for food photography.
- In the right direction: You want the light source to either coming in from the side or the back of the food (or at any angle in between this). As a general rule, don’t shoot with the light source behind the camera. This can make your food photos look dull and uninviting.
*Note that harsh light can work well as an artistic choice for some photos. The photo below of my kale Greek salad uses some diffused light – it’s definitely fun to experiment with!
3. Food photography backgrounds.
Backgrounds are one of the most important food photography essentials – they really help to set the vibe in photos!
I own some backgrounds from online stores such as Club Backdrops. These are made from vinyl which makes them easy to roll up and store away. They’re also very easy to wipe clean!
If you are on a budget, you can make your own backdrops at home. I did this when I was starting out and still use some of my homemade backdrops to this day.
To make your own photography backdrop, you’ll need to find a large wooden board and some paint in neutral colours. Simply dab on the paint with a sponge until you have the desired effect. And make sure to coat your backdrop with some food-safe varnish!
Tip: When starting out with food photography it’s best not to have too many backgrounds. This helps to cultivate your signature style!
4. Props
Props are probably my favourite food photography essentials – using props in your food photos can instantly take them to the next level! A prop can be anything from a spoon, bowl, napkin, or even some ingredients used in the recipe.
Props are like accessories: you don’t always need them, but when you use them, it really looks like you’ve made an effort!
To continue with this analogy, you could say that napkins/tea towels are the ‘hoop earrings’ of food photography props. They can make a simple dish look fabulous. I’m not sure of the science behind it, but we don’t question the magic of hoop earrings, and we’re not about to start questioning the magic of tea towels.
Have fun experimenting with different props to tell your story. And you don’t have to buy a whole new set of kitchenware for this! Some of my favourite props are those I already had lying around the house.
And if you’re looking to buy some great props, check out my post on where to buy food photography props on a budget!
5. Editing software.
The last and final food photography essential is editing software, which is so important!
Unedited photos can look dull and uninviting. Editing our food photos is a way of enhancing the light and bringing out the true colours of the food.

I edit my photos in Adobe Lightroom. Lightroom has both paid versions (for Desktop) and free versions (for iPad/iPhone). Even the free version has some fairly advanced editing tools which are great for food photography.
Related >> How to edit food photos like a pro
I hope you enjoyed reading this article! You can check out the resources page on the blog for more fun content. Happy photographing!
Thanks for the great advice . My favourite shivani on the internet
Aww this made my day!
Its the first time I come across THE perfect, clear and direct article about food photography!!
Thank you so much
-from a true beginner
You’re very welcome!!