Kheer has got to be one of the best Indian desserts, and for good reason. This comforting dessert is delicately sweetened and features subtle notes of cardamom and saffron, making it incredibly moreish.
If you’re looking for more Indian dessert recipes, I know you’ll love my coconut ladoos too!
What is kheer?
Kheer is an Indian rice pudding made by boiling milk, rice and sugar with spices – most commonly saffron and cardamom. It’s often associated with celebrations, festivals, and joyous occasions, but is enjoyed regularly in my household!
The practice of making kheer in India dates back to 6000 BCE (our ancestors knew what was GOOD) and the recipe travelled to Western kitchens via the Asian European trade routes.
If you’ve had British rice pudding, kheer is very similar, except for the addition of cardamom and saffron, which takes it to a whole new level. I also share some recipe variations for you to try below.
What ingredients will I need?
Deliciously creamy kheer can be prepared at home with a few simple ingredients:
- Rice. Opt for long-grain basmati rice for the best results – the high starch content of basmati rice yields perfectly creamy kheer!
- Milk. For extra creamy kheer I recommend using whole milk, however I have made kheer using semi-skimmed milk before and the results are also good. For a dairy-free/vegan option, use coconut or almond milk.
- Sugar. I use white granulated sugar in my kheer recipe. You can use brown sugar for a richer caramel taste, but bear in mind it may discolour the kheer. For a naturally sweetened option, you can use agave syrup or honey.
- A pinch of salt. This helps to bring out the flavours!
- Ghee. We toast the rice in a small amount of ghee at the start. You can substitute butter if you do not have ghee, or use vegan butter for a dairy-free option.
- Cardamom pods. Use green cardamom pods and make sure you split them before adding to release the flavours.
- Saffron. Saffron is the most expensive spice in the world, but please buy high quality saffron! A lot of vendors are unknowingly selling fake saffron – check out this article from Rumi Spice to find out how to identify high quality saffron.
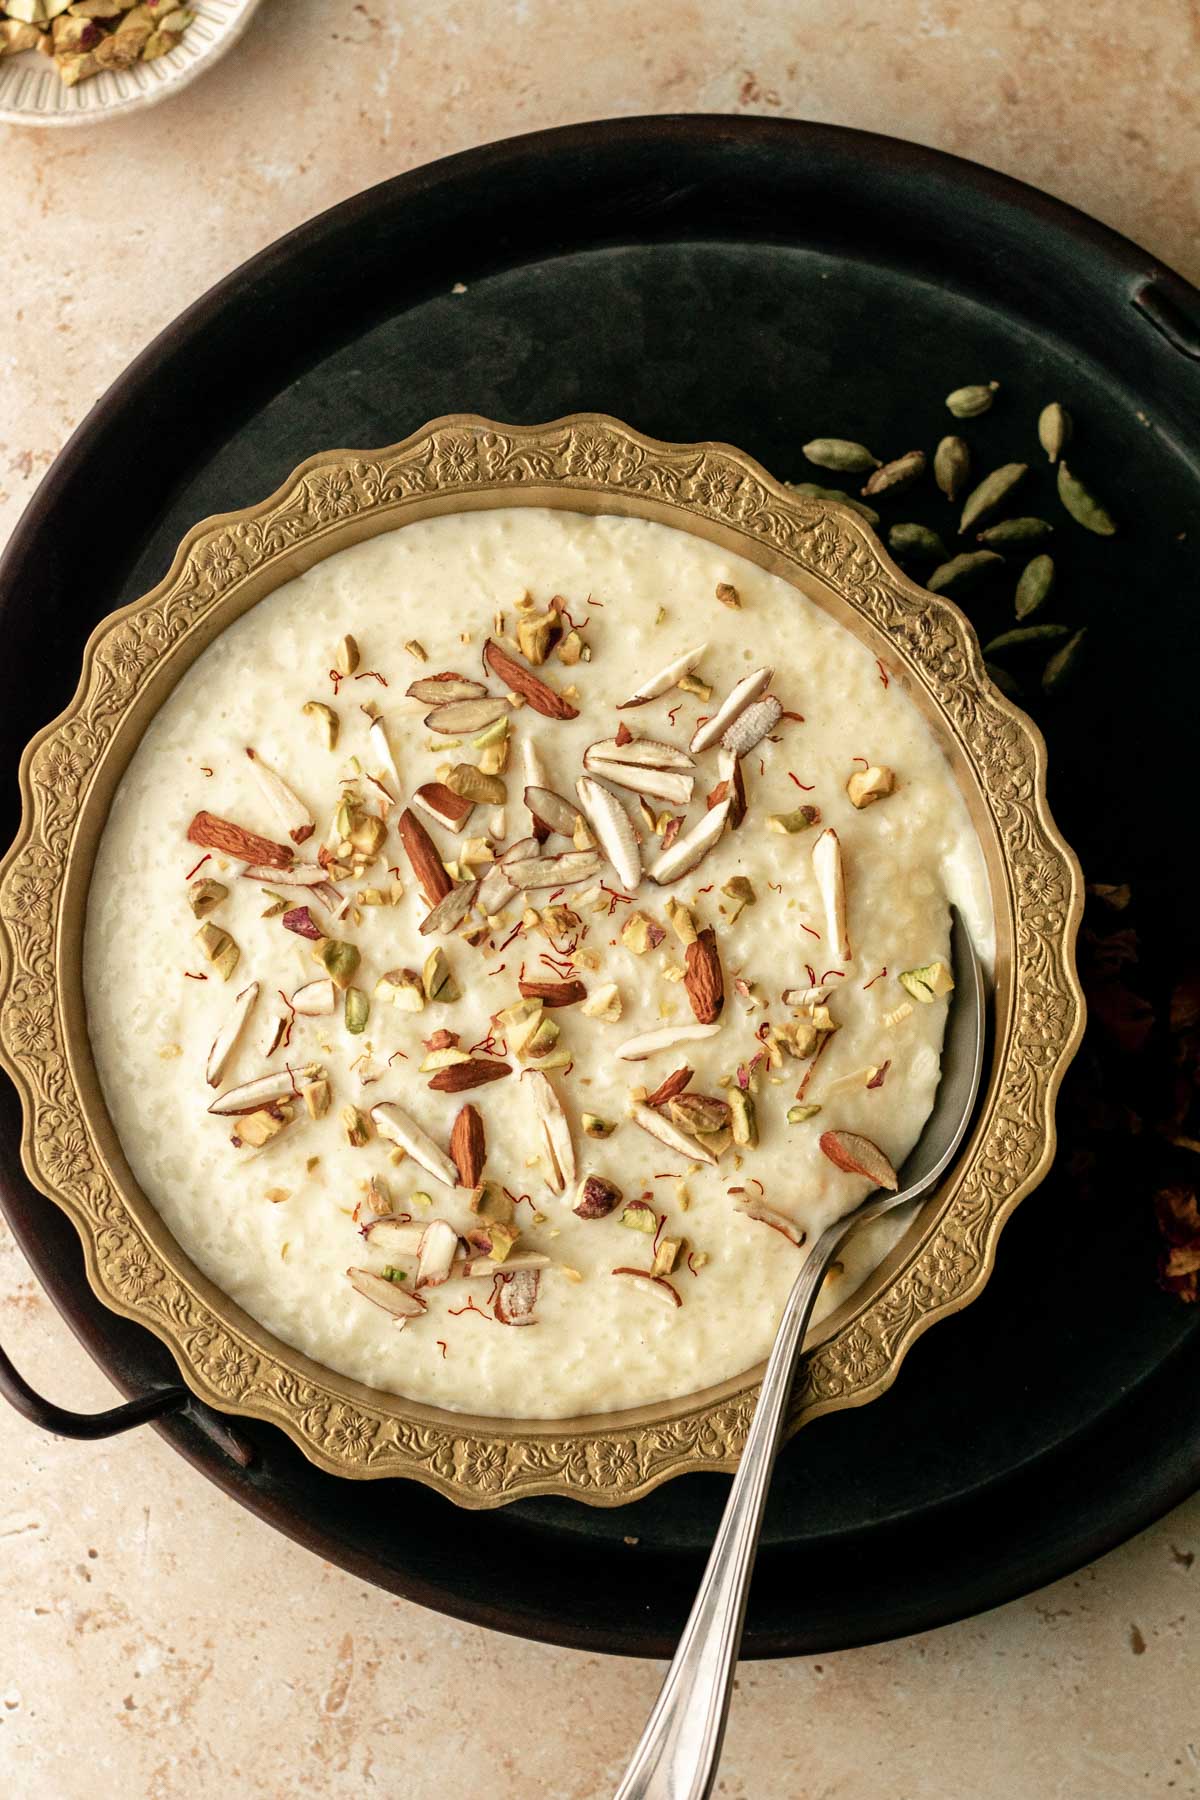
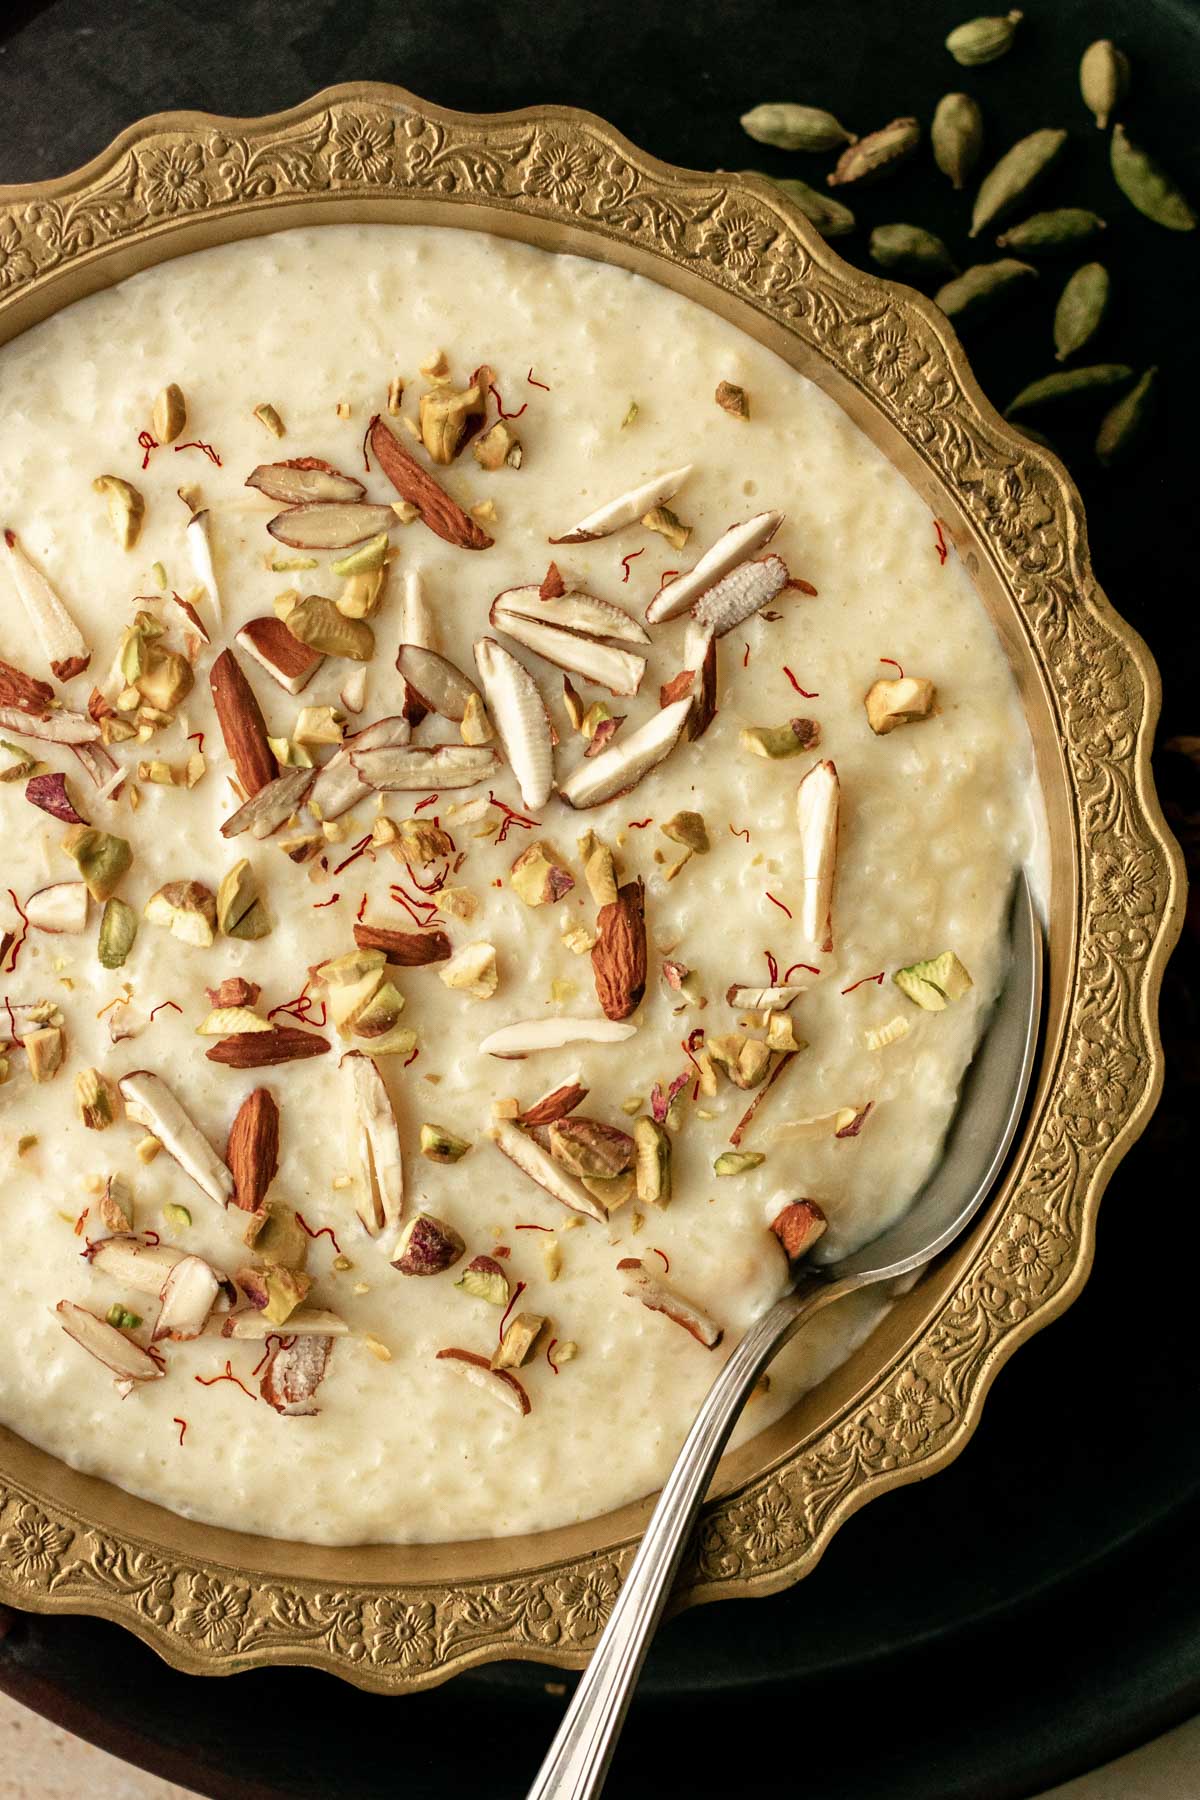
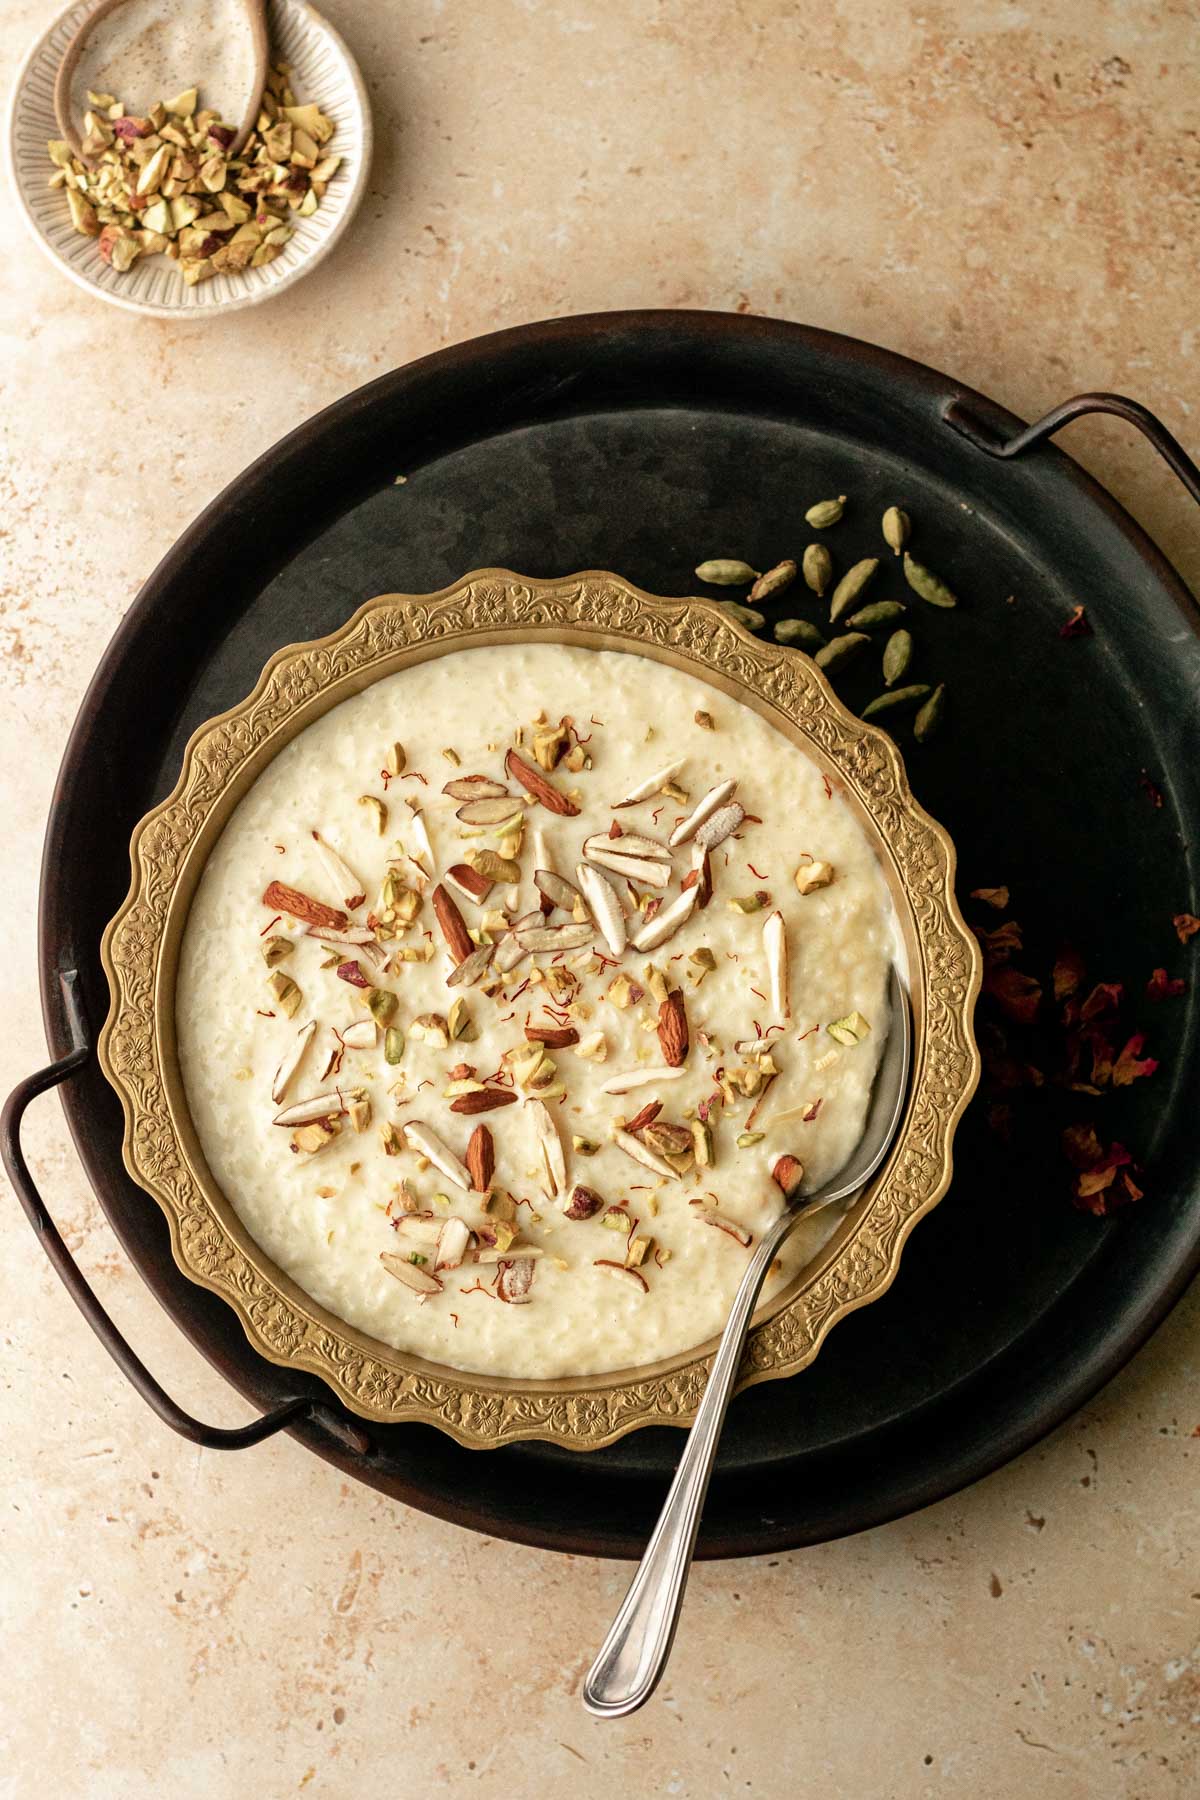
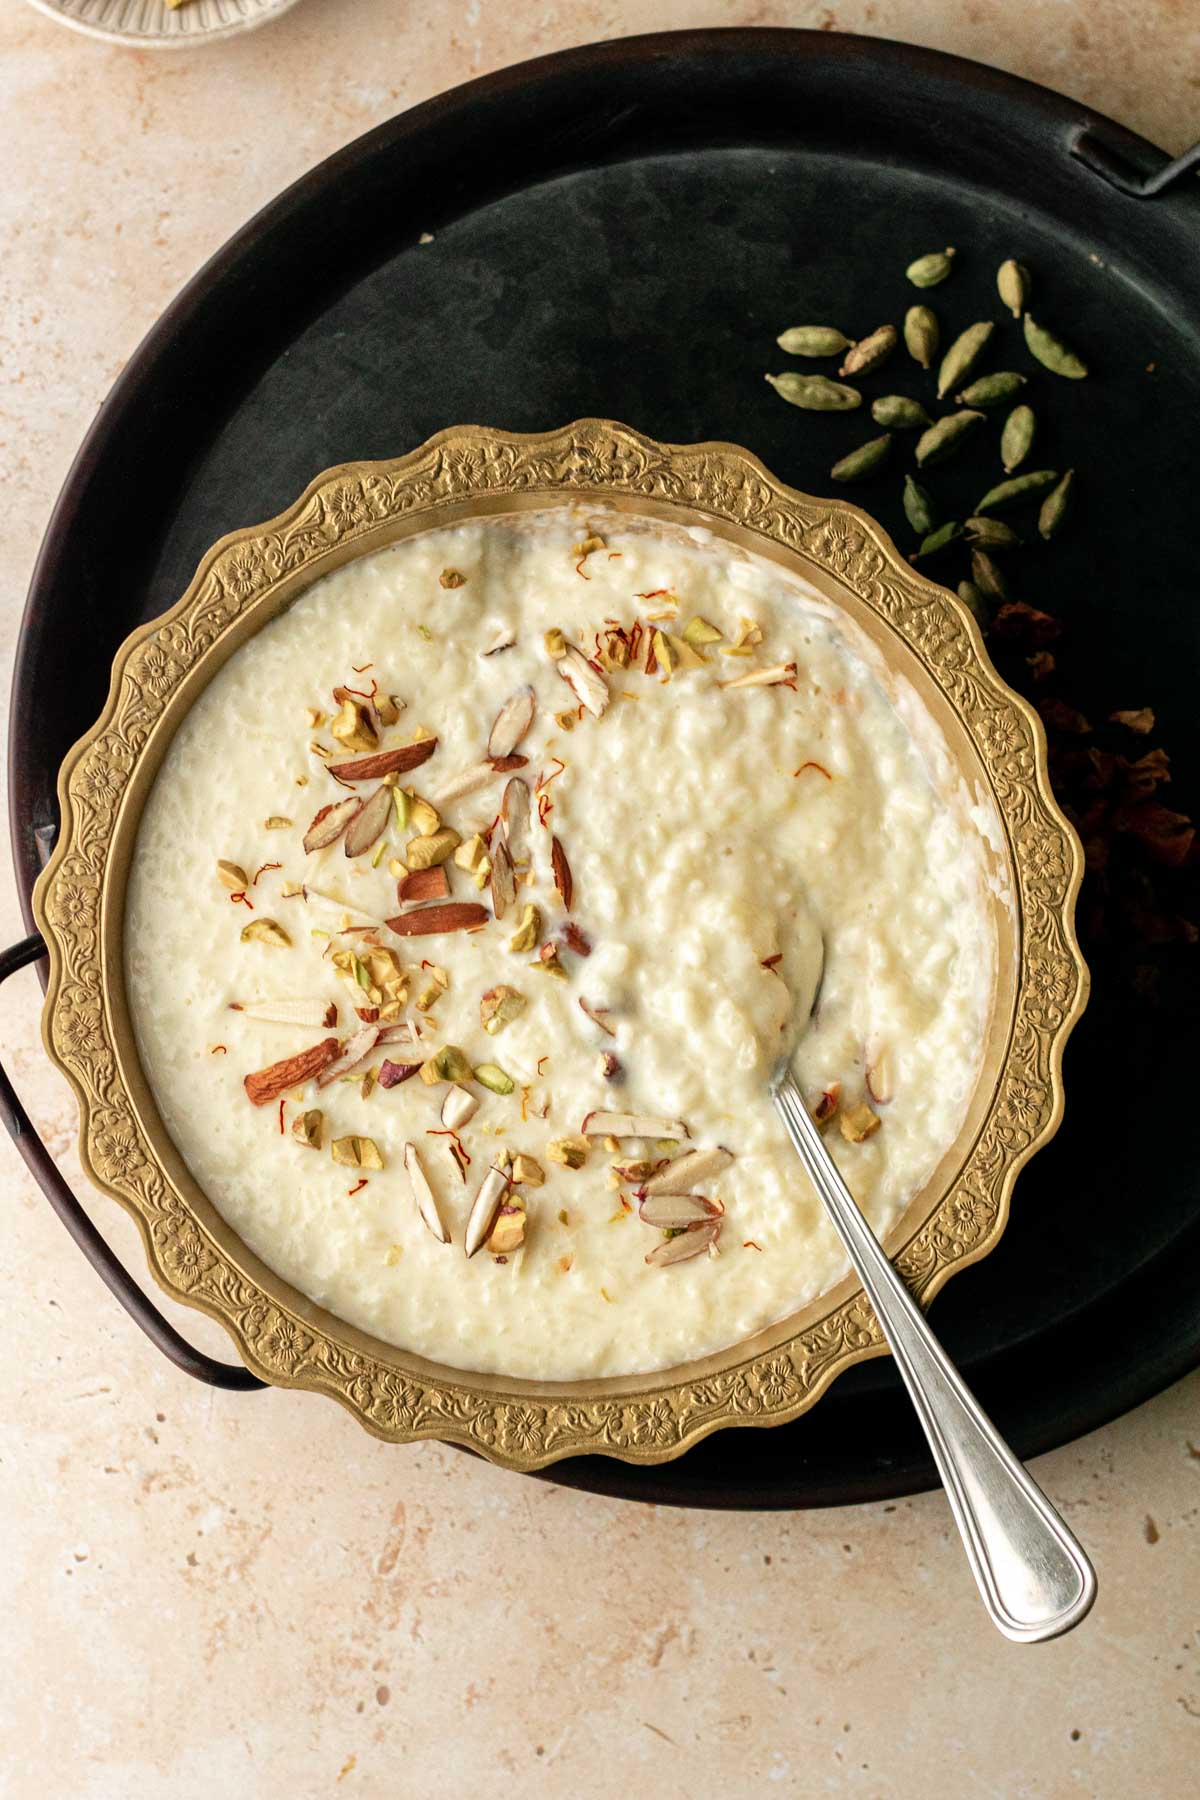
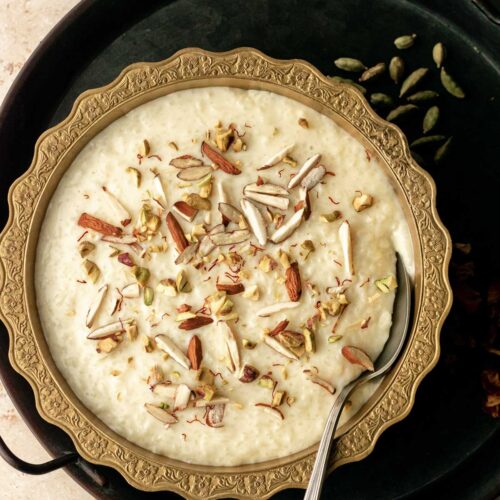
- Nuts for garnish [optional]. If you wish, you can garnish the kheer with chopped almonds and pistachios.
How to make creamy kheer step-by-step:
Melt some ghee in a heavy bottomed saucepan and add the split cardamom pods and washed, drained rice (photo 1). Toast this for 1-2 minutes until fragrant.
Add the milk to the pan, bring to the boil and then lower the heat to a simmer. Cook the kheer for 40-50 minutes, stirring frequently.
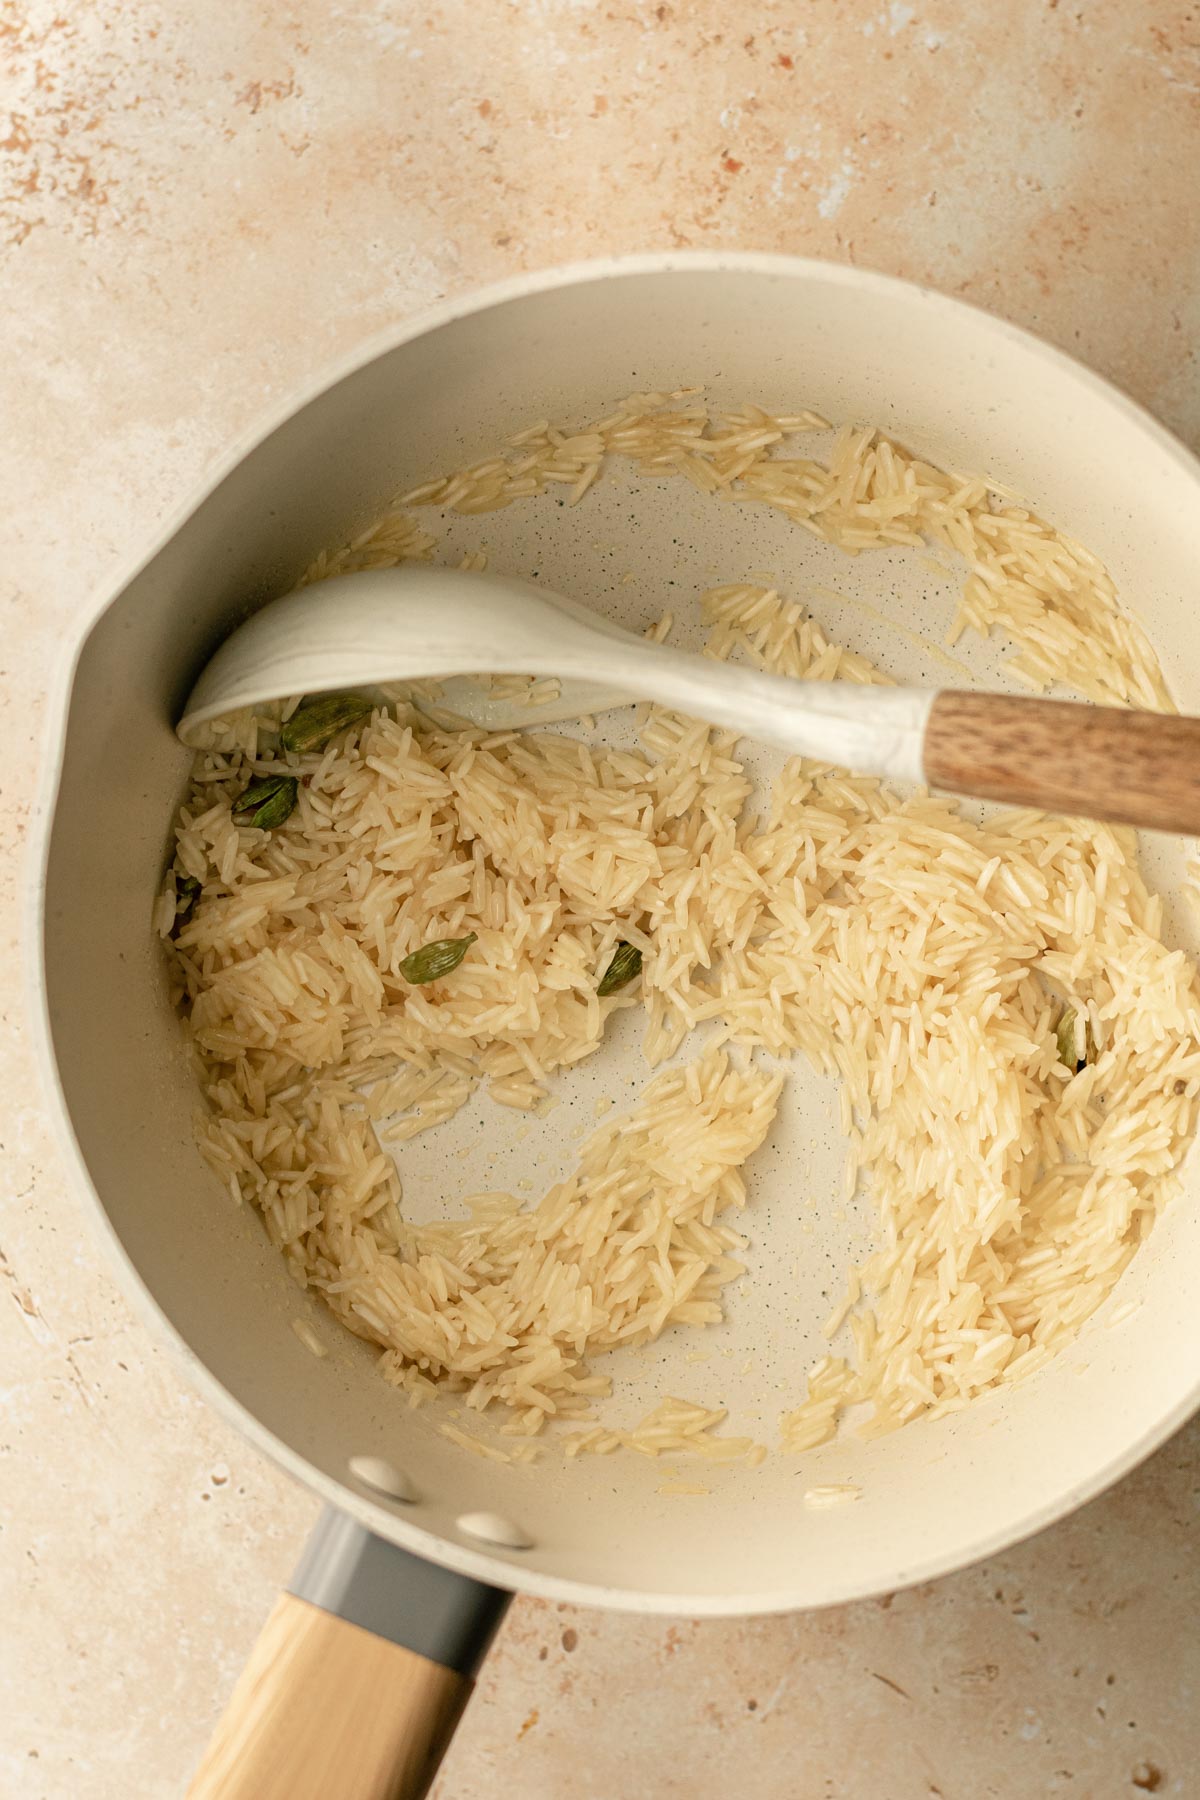
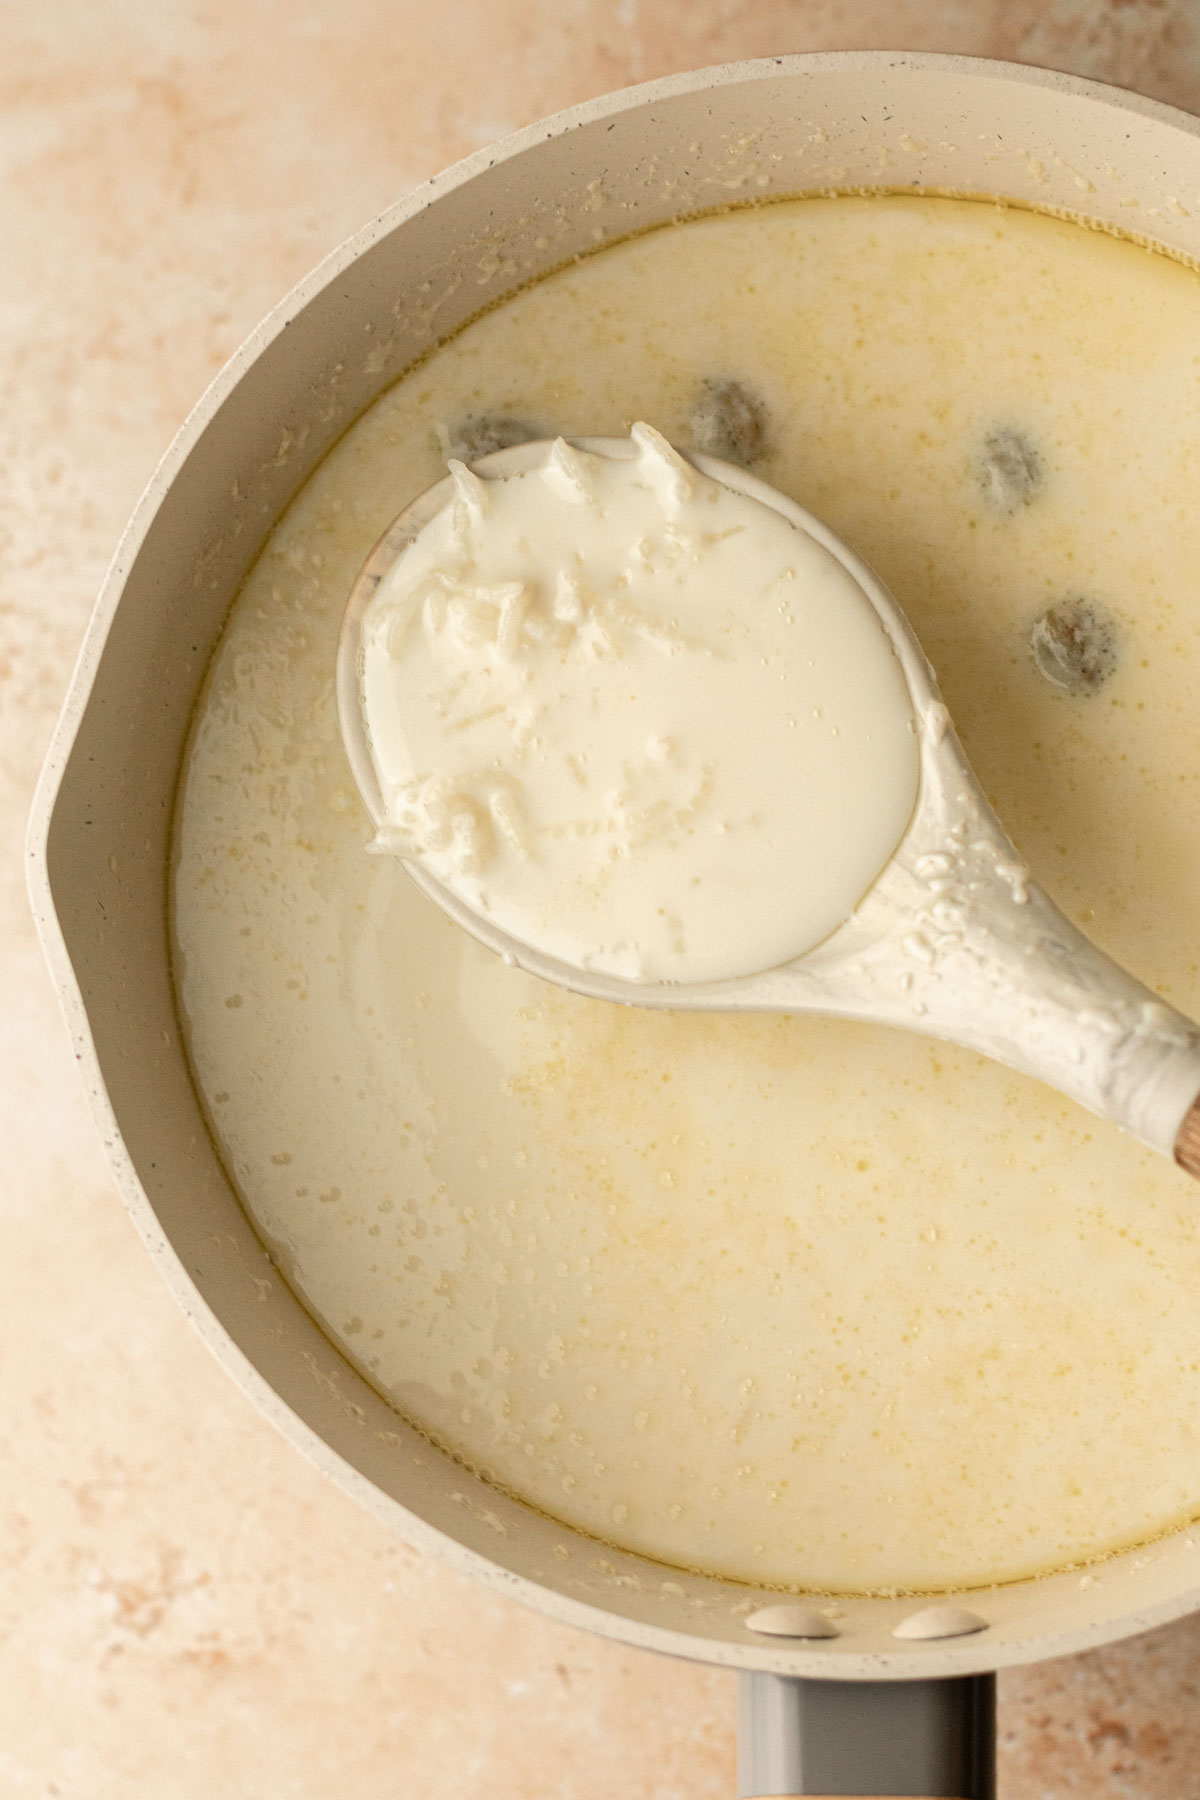
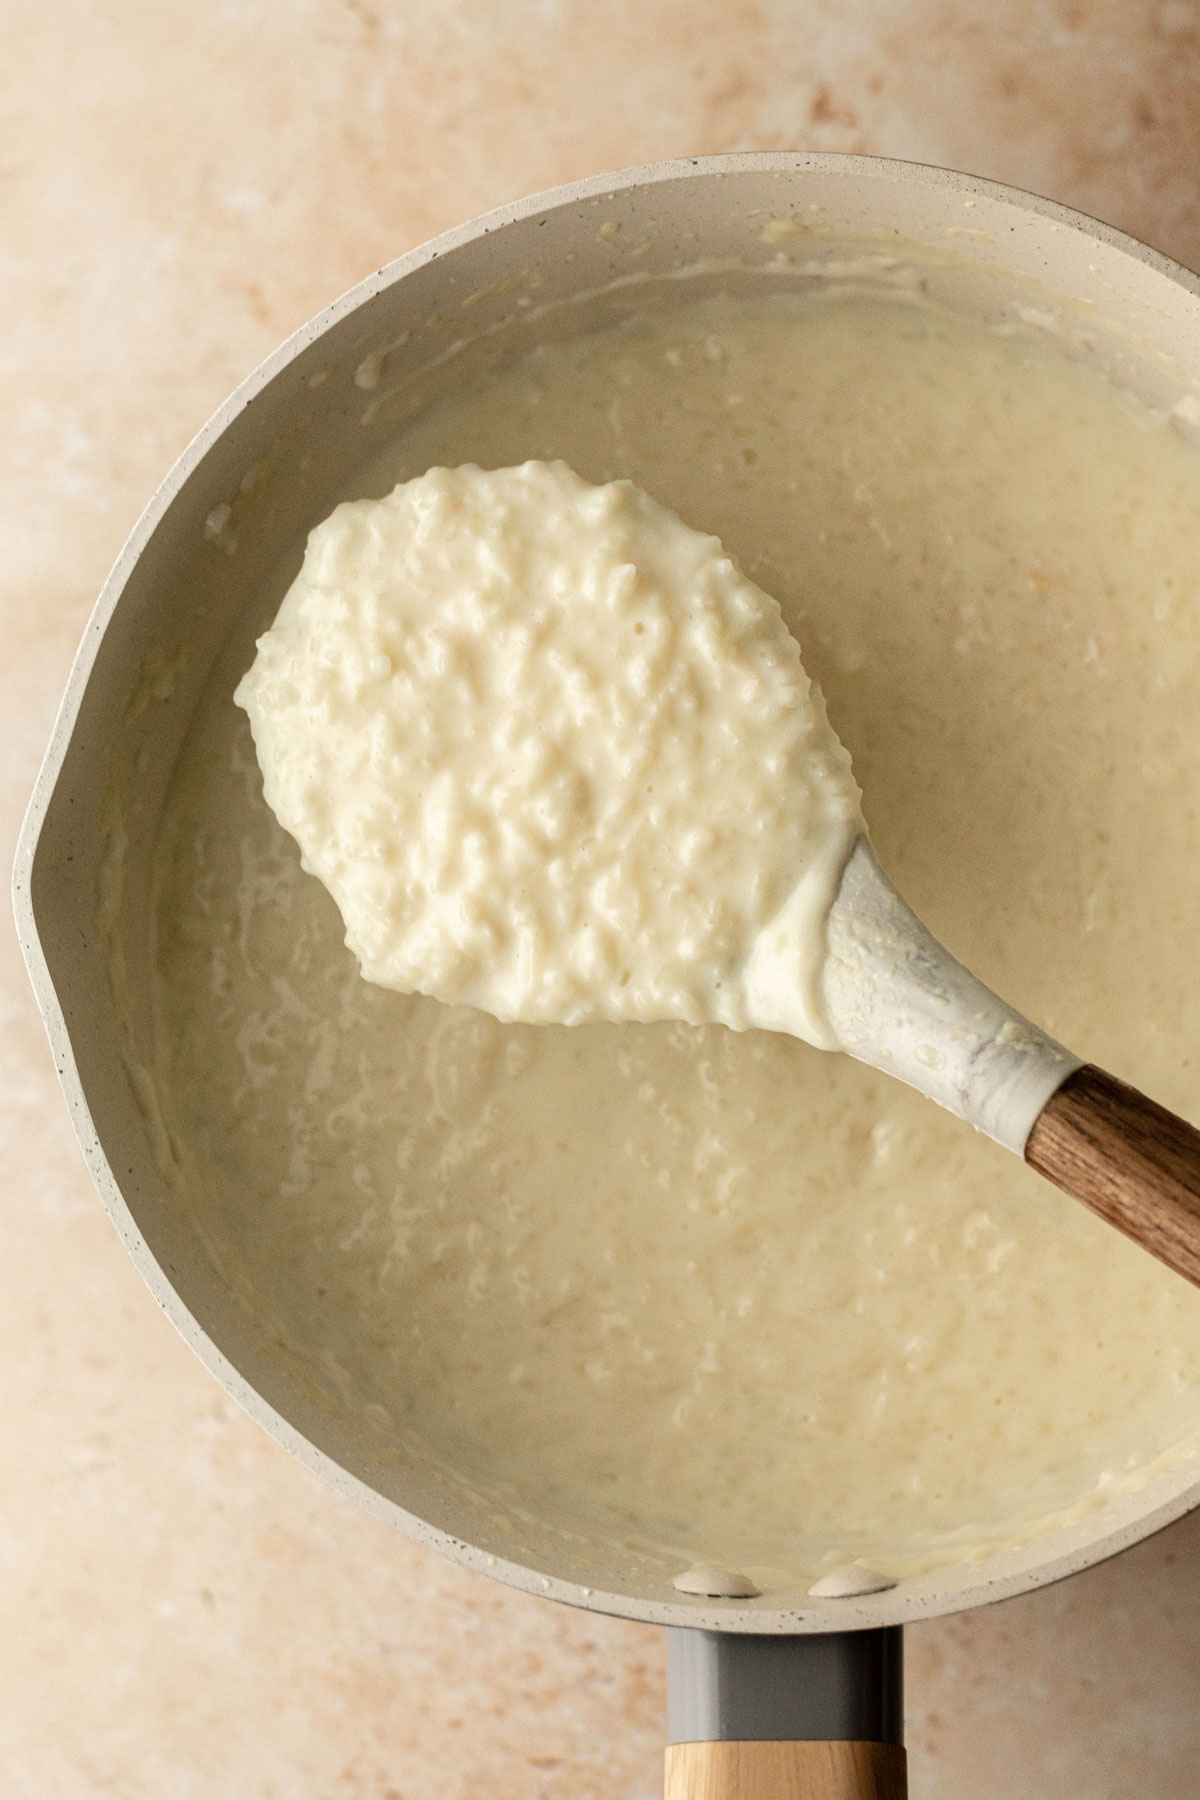
Photo 2 shows how the kheer looks around 35 minutes into cooking – at this stage, if you prefer your rice grains to be shorter, take a metal whisk and gently whisk the kheer to break up the rice grains.
Add the sugar, saffron, and salt. Continue cooking the kheer until it is thick and creamy (photo 3), and remember to remove the cardamom pods before serving! You can also taste the kheer at this stage and add more sugar to reach your desired sweetness.
Top tips for making this recipe perfectly:
- The choice of rice is crucial for achieving the perfect creamy texture in your kheer. Opt for a starchy variety like basmati for best results – avoid using brown rice in this recipe as it will not work.
- Be patient! I know the desire to eat the kheer immediately is real, but being slow and steady here is SO important for achieving a truly creamy kheer. Slow cooking allows the rice to absorb the flavours and release its starch – make sure you stir the kheer frequently to avoid it sticking to the bottom of the pan.
- For a rich and creamy kheer you will want to use whole full-fat milk. You can also add some condensed milk for some extra luxury if you wish.
- Adjust the sugar quantity as needed: I recommend starting with ¼ cup sugar and increasing up to ⅓ cup as desired.
Variations on this recipe:
Whilst the classic kheer is a personal favourite, here are a few variations you may like to try:
- Add some fresh vanilla beans for extra flavour. Extract the seeds from the vanilla pod and add at the same time you add the saffron – you can also add the whole pod at the same time you add the cardamom pods to allow it to infuse into the kheer.
- Add some rose syrup to make rose kheer. Add a few spoons of rose syrup to the kheer at the latter stages to make a fun pink rose kheer! If you love rose, you’ll love my rose chia pudding recipe too.
- Add pistachio butter to make pistachio kheer. Simply stir in a few tablespoons of homemade pistachio butter before serving.
- Replace the milk with coconut milk to make coconut kheer. You can also garnish with toasted coconut flakes!
FAQs
While you can experiment with different types of rice, I recommend using basmati for the best results. Its high starch content contributes to the final creamy texture.
Kheer can be enjoyed hot or cold! My personal preference is to enjoy kheer hot.
Yes! It will only get better with time as the flavours amalgamate. Store the kheer in an airtight container in the fridge – it may thicken slightly but it should loosen up when you reheat it gently on the stovetop. If not, you can add a few extra tablespoons of milk to reach your desired consistency.
Stirring your kheer frequently is the key to preventing it from sticking to the bottom. Additionally, using a heavy-bottomed pan distributes heat more evenly, reducing the risk of burning.
Yes, you can use coconut milk or almond milk as a dairy-free alternative for the milk, and swap the ghee for a vegan butter.
Creamy Kheer Recipe (Indian Rice Pudding)
Leave a Review Print Recipe SaveIngredients
- ½ cup/ 100 grams Basmati Rice
- 5 cups/ 1.2L Whole Milk use coconut or almond milk for dairy-free option
- ½ tbsp Ghee can substitute butter or vegan butter
- 6 Cardamom Pods split
- ⅓ cup/ 70 grams Granulated Sugar start with ¼ cup then add more as desired
- 7-8 strands Saffron
- pinch Salt
- 3 tbsp Pistachio optional, for garnish
- 2 tbsp Almonds optional, for garnish
Instructions
- Measure out the rice into a small bowl and wash until the water runs clear. Drain the rice using a sieve to remove any remaining water.
- Add the ghee to a heavy bottomed pan over low-medium heat. Once melted, add the split cardamom pods and the washed, drained rice. Stir to combine and toast for 1-2 minutes until fragrant.
- Add the milk to the pan. Bring to the boil, stirring frequently (this should take 5-7 minutes). Once boiling, reduce the heat down to low and simmer the kheer for 40-50 minutes, stirring every few minutes, until it has thickened.
- [optional] If you prefer the rice grains to be shorter, take a metal whisk and gently whisk the kheer to break up the rice grains. You want to do this at a point when there is still some liquid in the kheer, but the rice has cooked and is able to break up.
- Add the sugar (I recommend starting with 1/4 cup then adding more later if desired), saffron and pinch of salt. Stir and continue to cook the kheer for 5-10 more minutes until it has reached your desired consistency.
- Taste the kheer and add more sugar if desired. Add more milk if you desire a thinner kheer, or cook for longer if you prefer your kheer to be thicker. Bear in mind that the kheer will thicken slightly as it cools.
- Remove the cardamom pods from the kheer before serving and garnish with the chopped nuts (optional). Enjoy hot or cold!
Notes
- Store prepared kheer in an airtight container in the fridge for up to 3 days.
- To reheat, add the kheer to a saucepan and heat gently on the stovetop over low-medium heat. If your kheer as thickened significantly in the fridge, you can add some extra milk to loosen it up.
- See the blog post above for recipe variations.