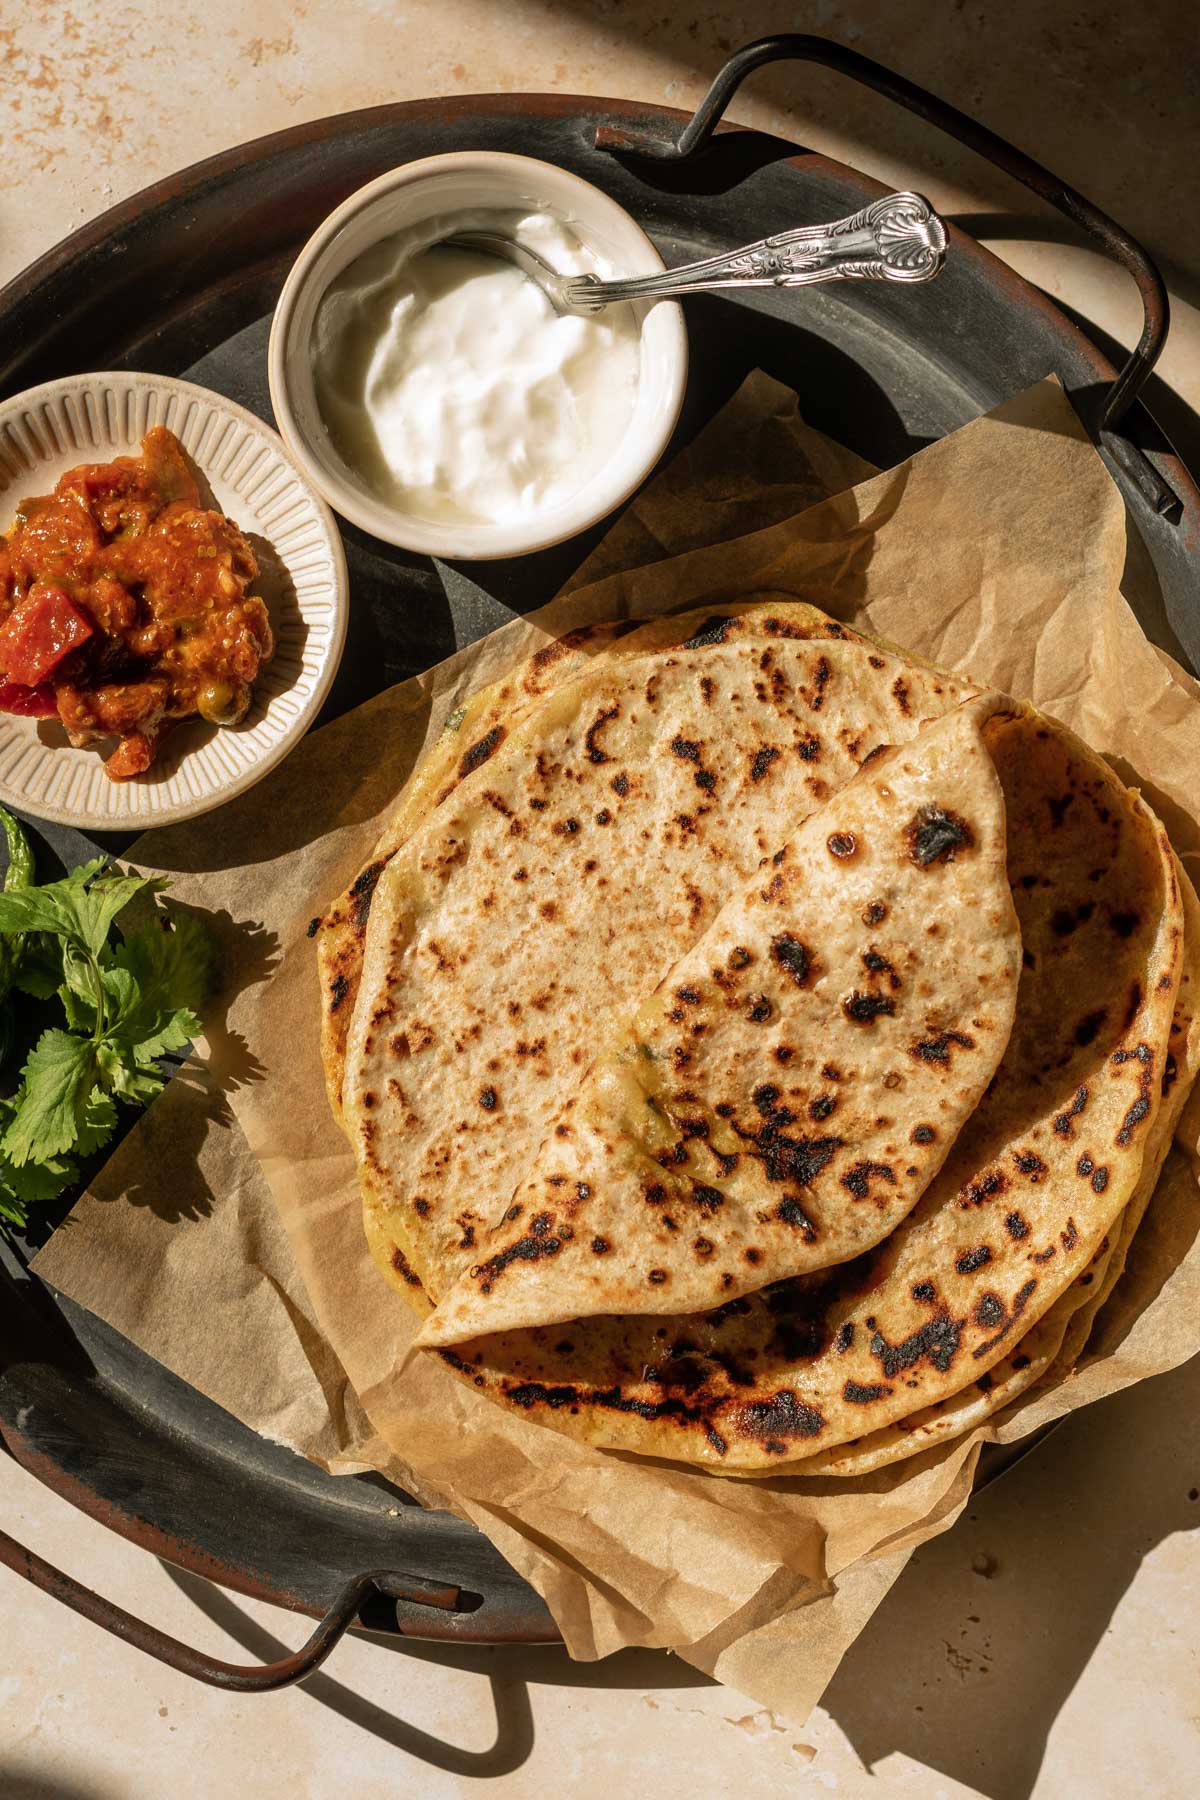
Aloo Paratha is a beloved Indian flatbread stuffed with spiced mashed potatoes. It is a popular breakfast item in India alongside a steaming cup of masala chai. Making your own aloo paratha at home couldn’t be easier with my simple recipe.
Classic aloo paratha features spiced mashed potatoes encased in a soft buttery dough. I like to cook my paratha on a tawa (a large flat metal pan) – if you do not have a tawa, a heavy-bottom non-stick frying pan will also work fine.
Brief history of aloo paratha
The roots of aloo paratha can be traced back to the north Indian state of Punjab, where it emerged as a hearty breakfast option for farmers and laborers. Over time, its popularity spread across the Indian subcontinent and beyond, evolving into a versatile dish enjoyed throughout the day.
What ingredients will I need?
- Potatoes (aloo) – make sure you use a starchy variety of potato as this is best for mashing.
- Ginger, garlic and green chillies – key components of any good recipe!
- Fresh coriander (optional) – for a little colour and flavour.
- Spices – turmeric, chilli powder, ground cumin, and ground coriander.
- Butter or ghee – for delicious rich flavour.
- Chapati atta (flour) – this is a whole wheat flour used for making chapatis and can be purchased from your local South Asian grocery store.
- Chana (chickpea) flour – adding a small amount of chana flour to the dough keeps our parathas soft and fluffy.
- Warm (not boiling) water – to make the dough.
- Sunflower oil – for frying the parathas.
You can also customise this recipe to your own liking by incorporating sliced veggies, egg or cheese – feel free to experiment with it!
How to make easy aloo paratha step by step:
As always, you can find the full recipe and instructions at the bottom of this blog post.
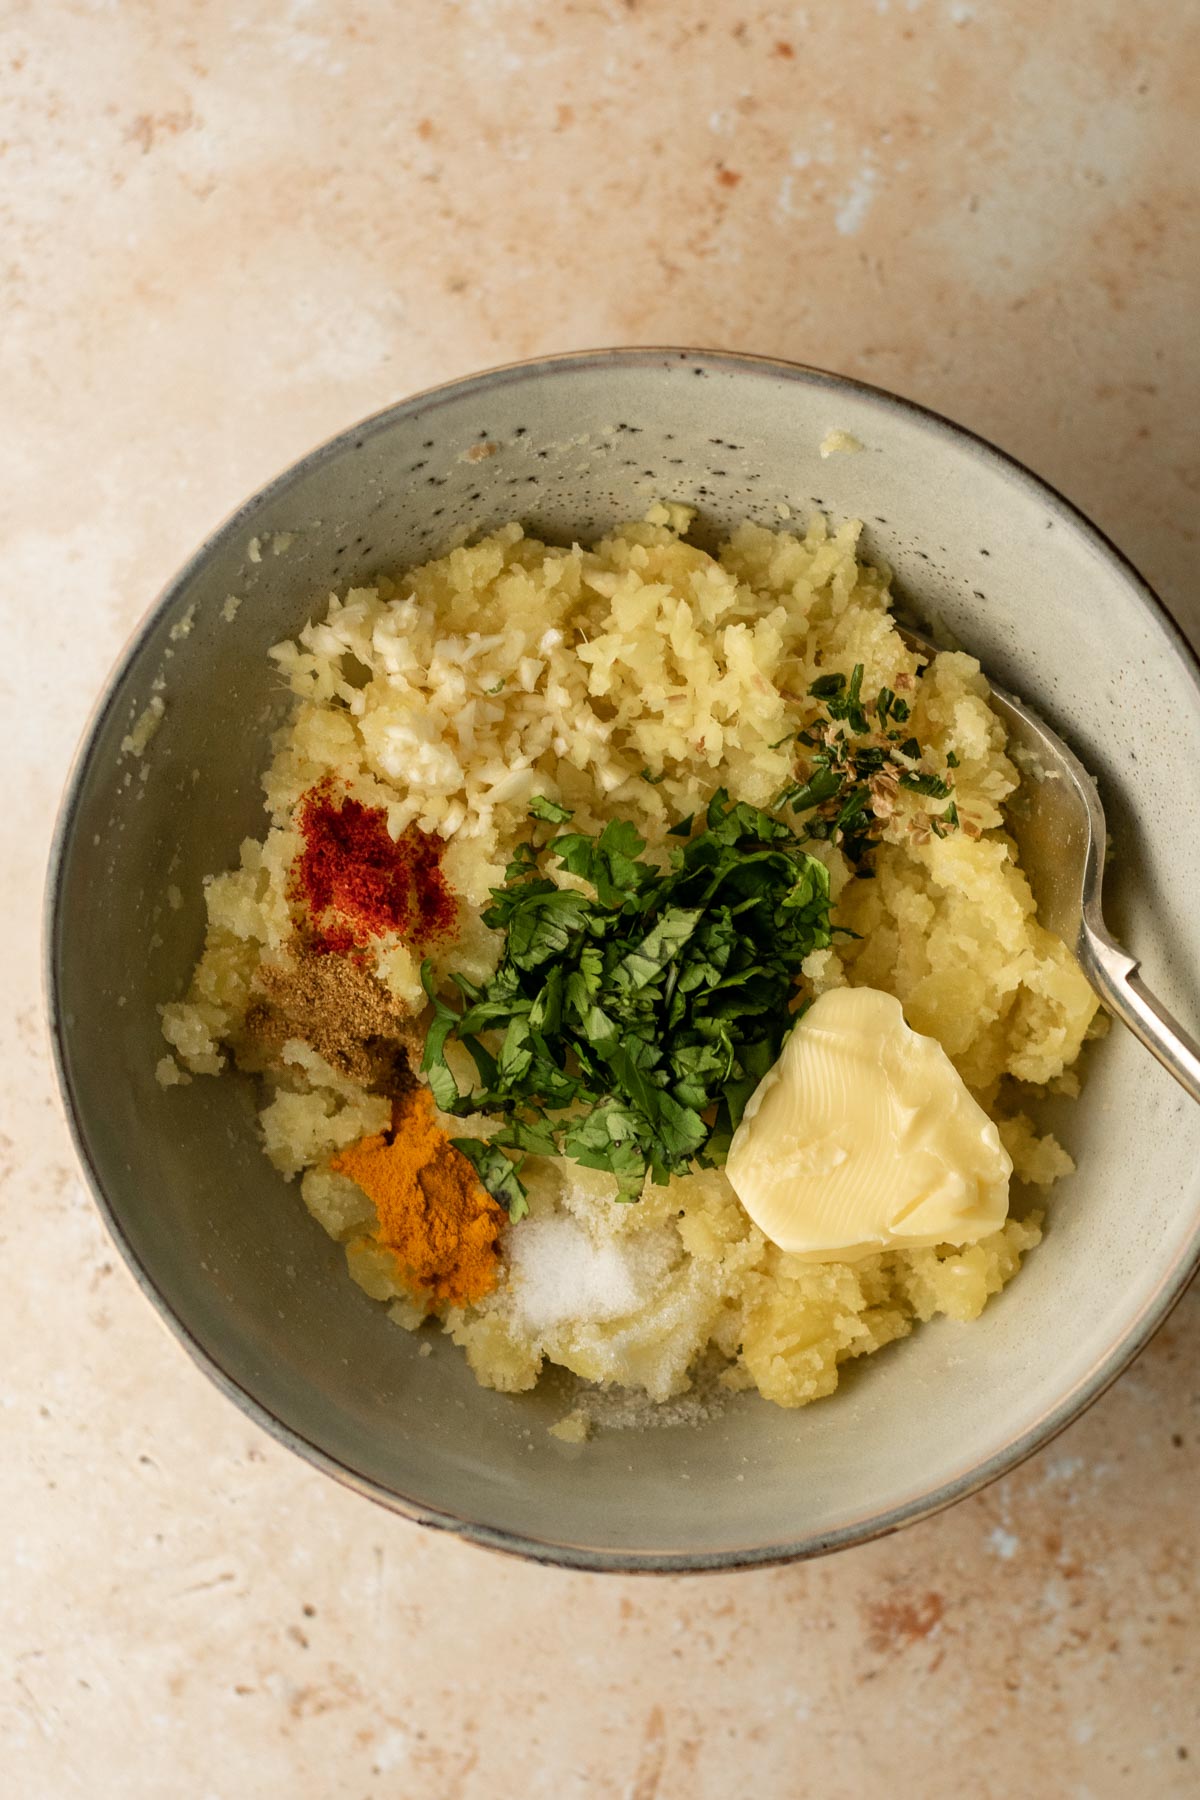
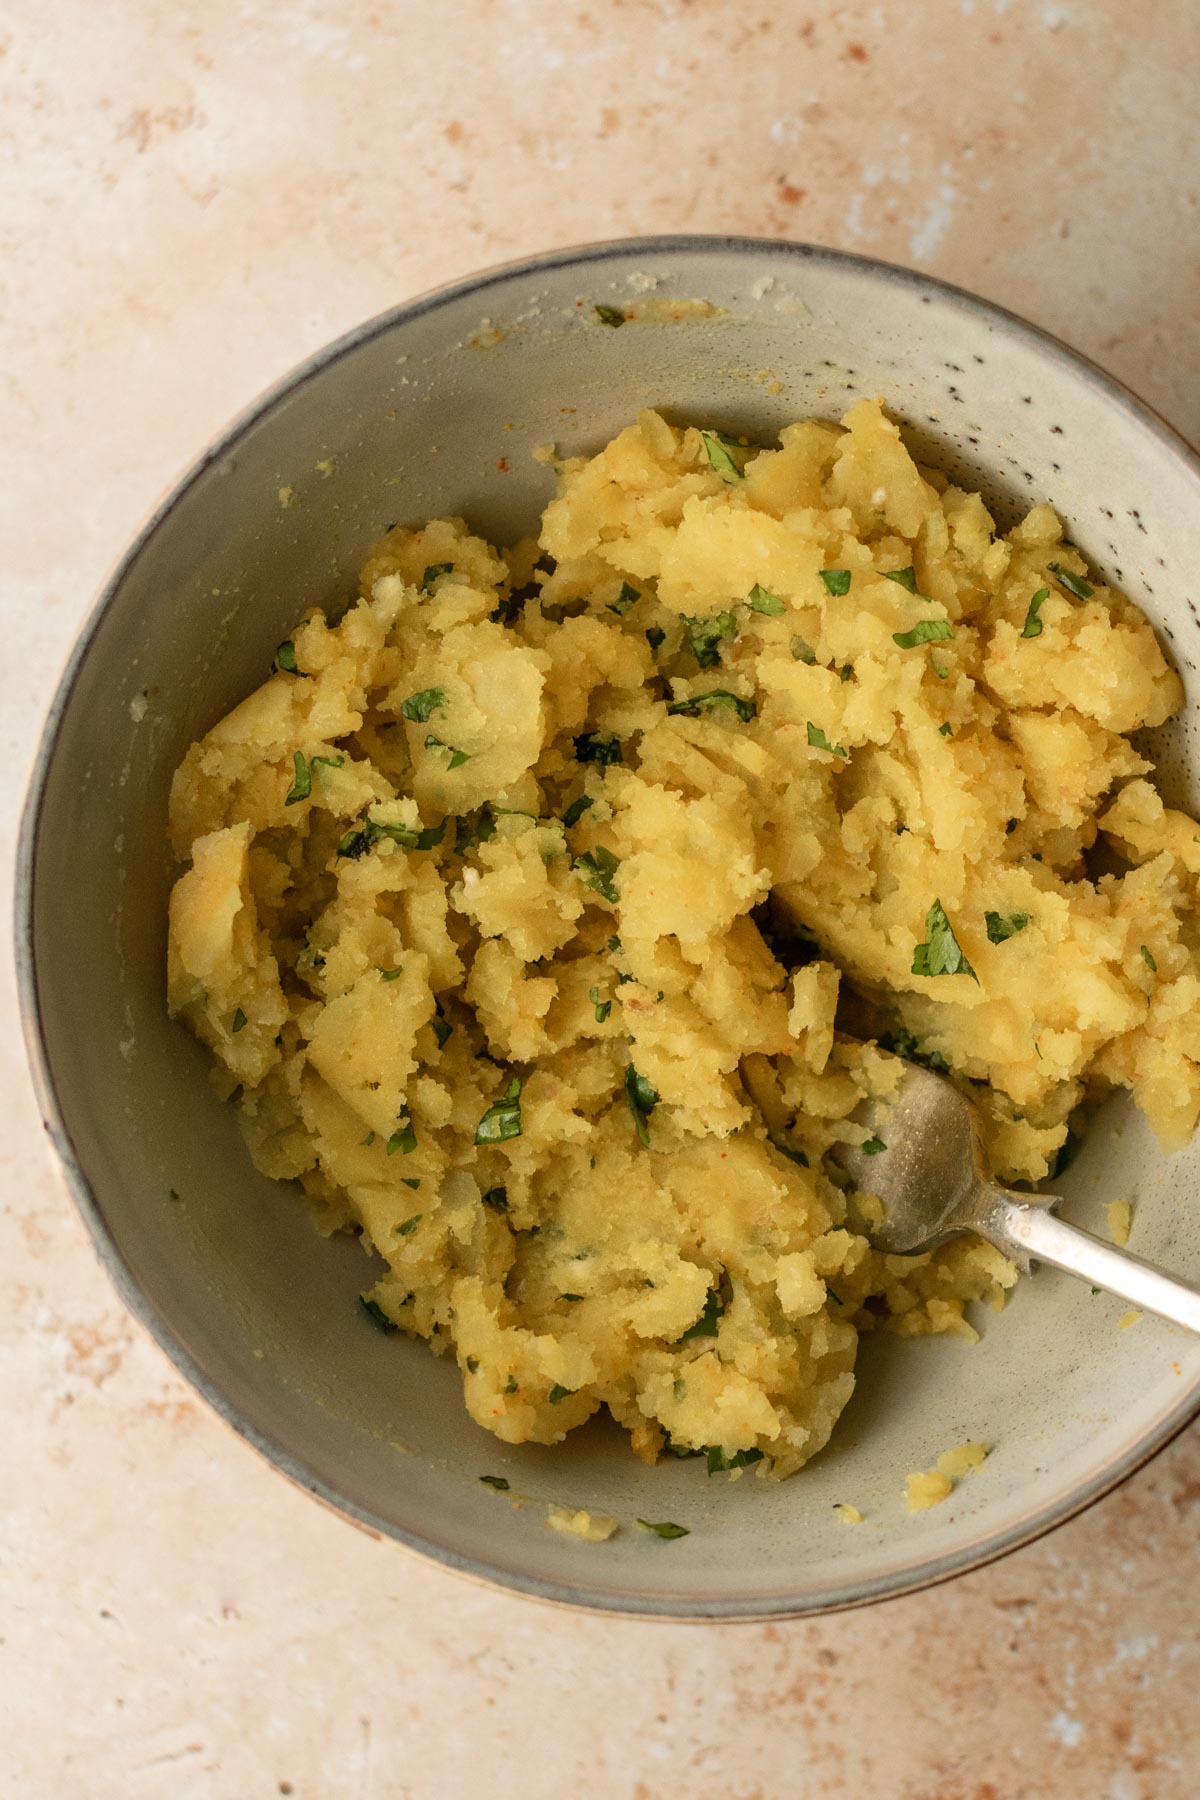
Begin by preparing the filling: add the mashed potato and other ingredients to a bowl (photo 1) and mix until combined (photo 2). Set the filling aside for later.
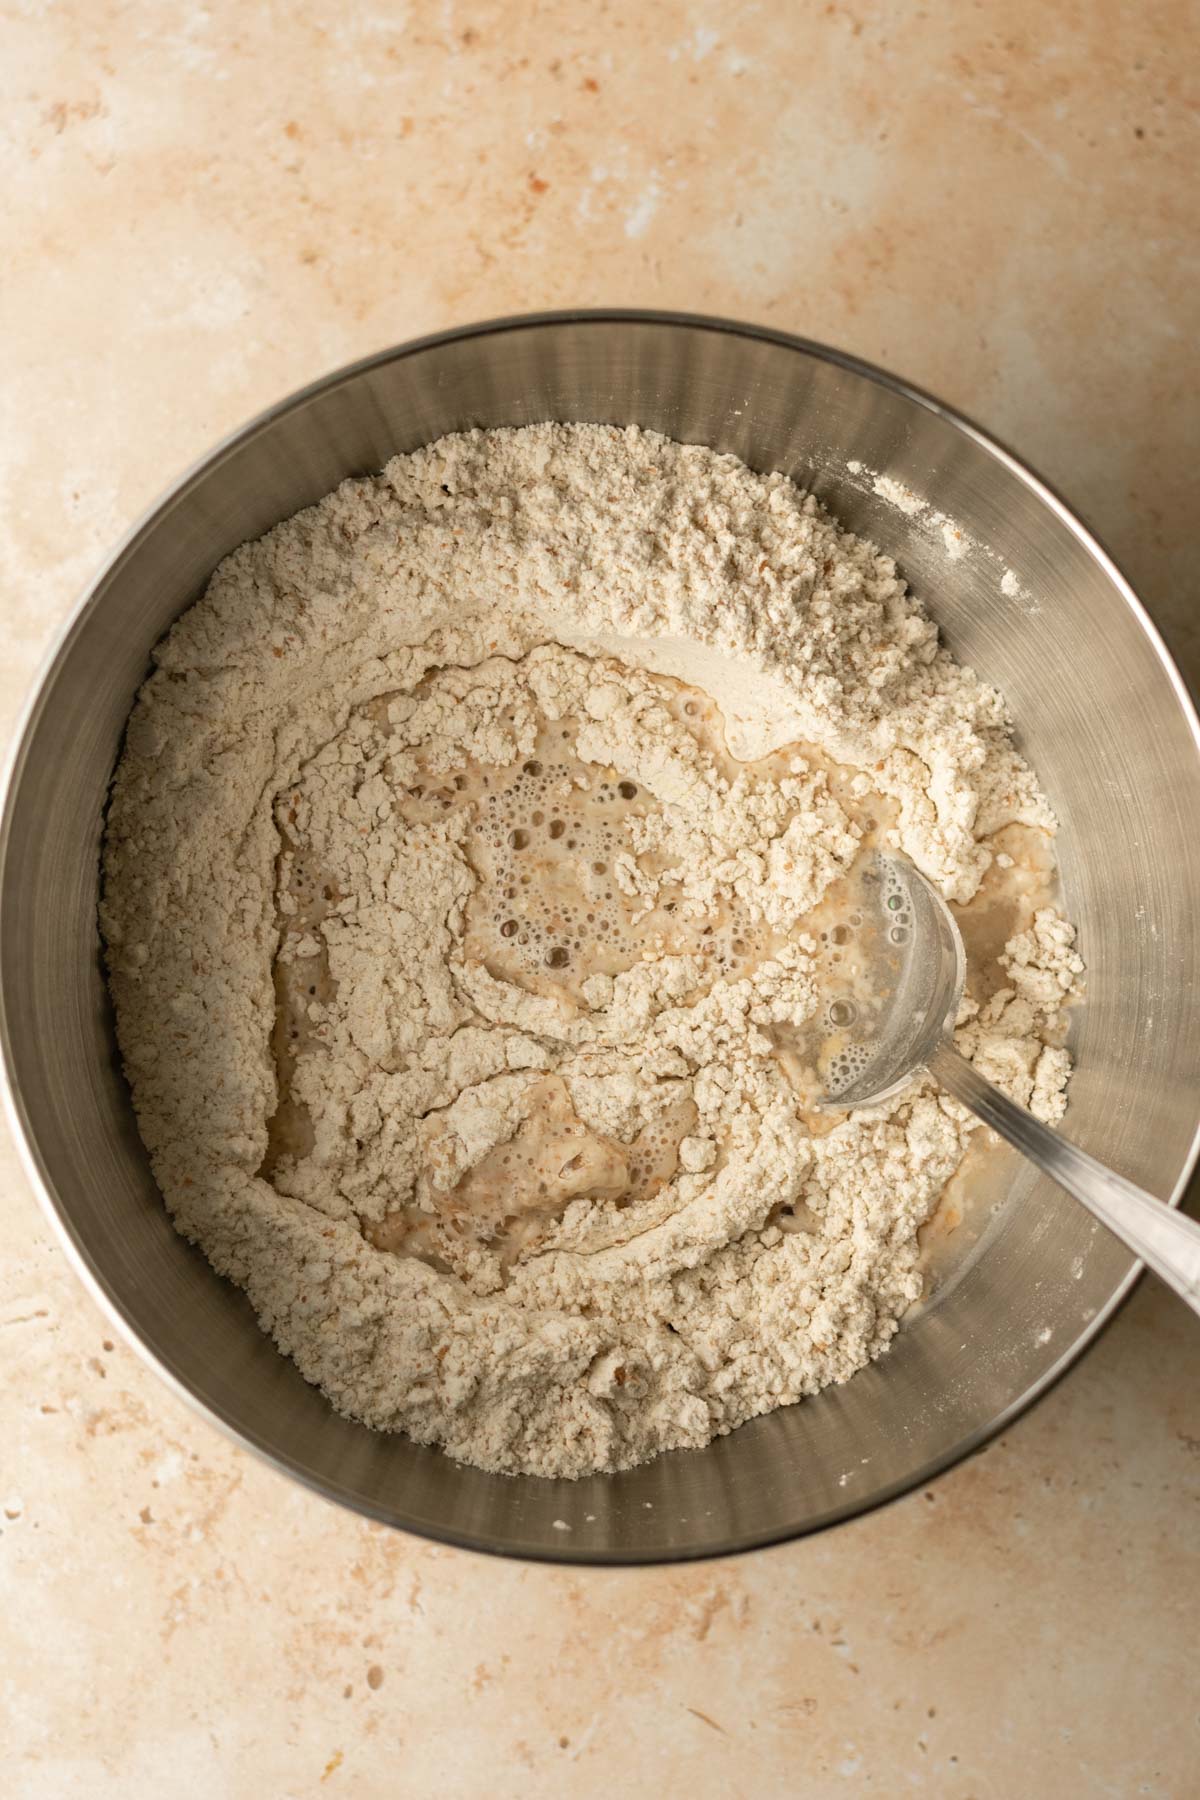
To make the paratha dough, first mix the dry ingredients together in a large bowl. Then gradually add the warm water (photo 3), stirring with a spoon or with your hands until it just comes together.
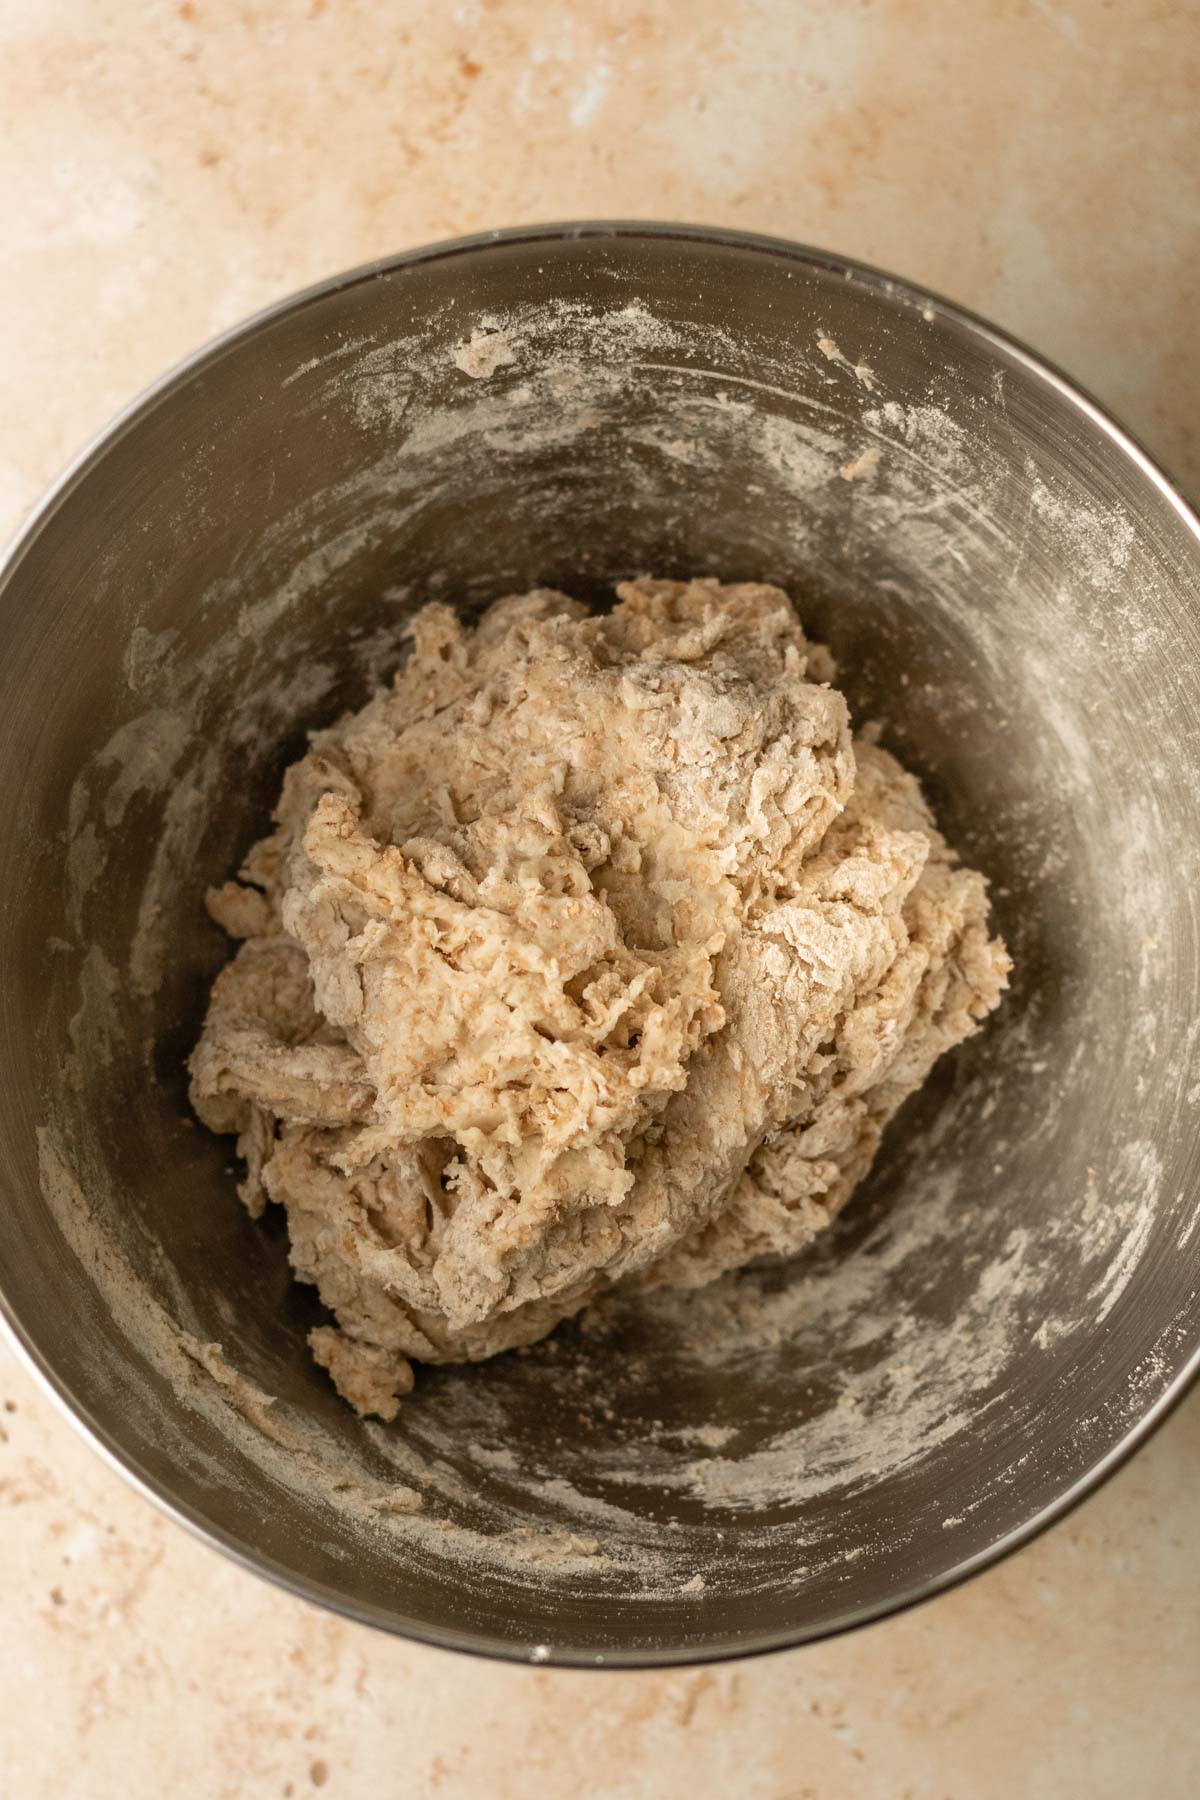
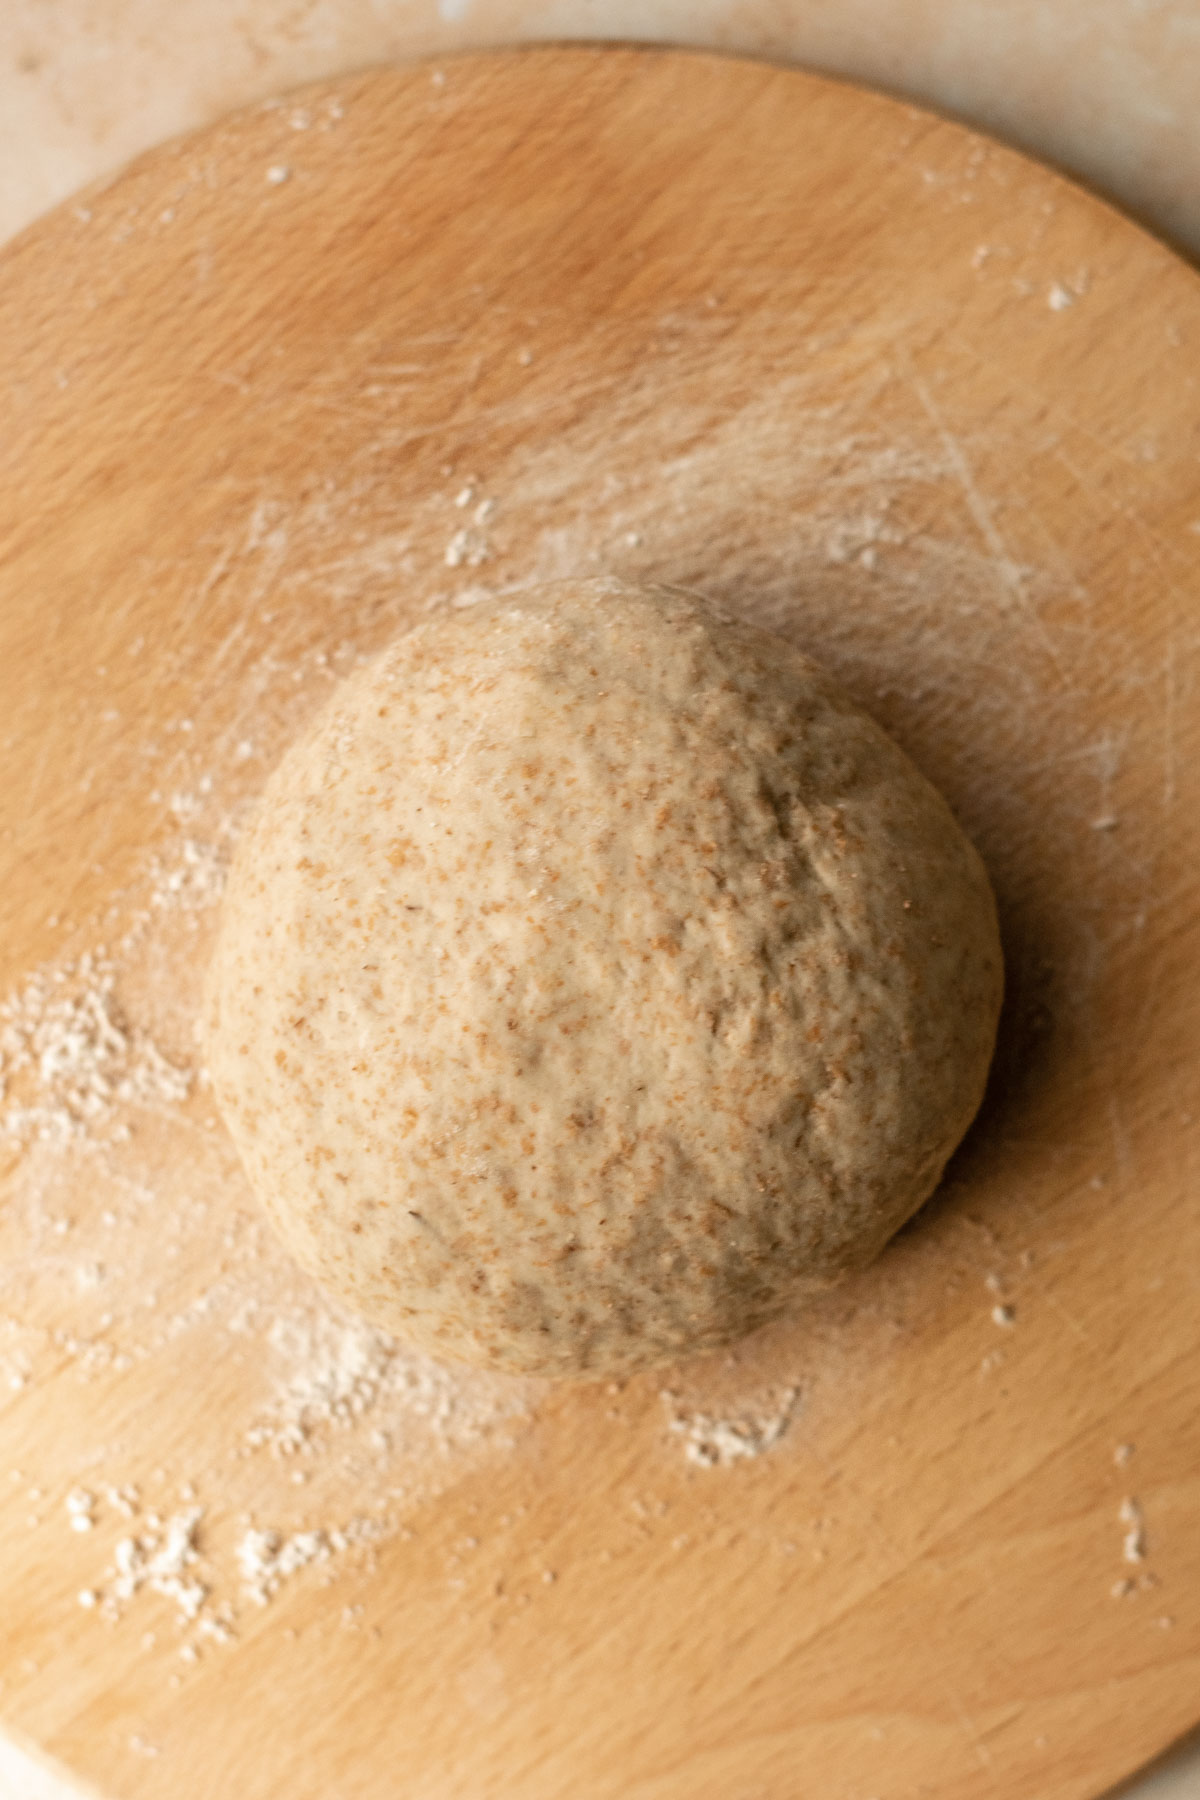
Once you have a scraggly dough (photo 4), tip this onto a floured work surface and knead the dough for 5-10 minutes until it is springy and elastic (photo 5).
At this point, if you prod the dough with your finger it should bounce back – this indicates that the gluten has successfully developed. Cover the dough and leave to rest for 10 minutes.
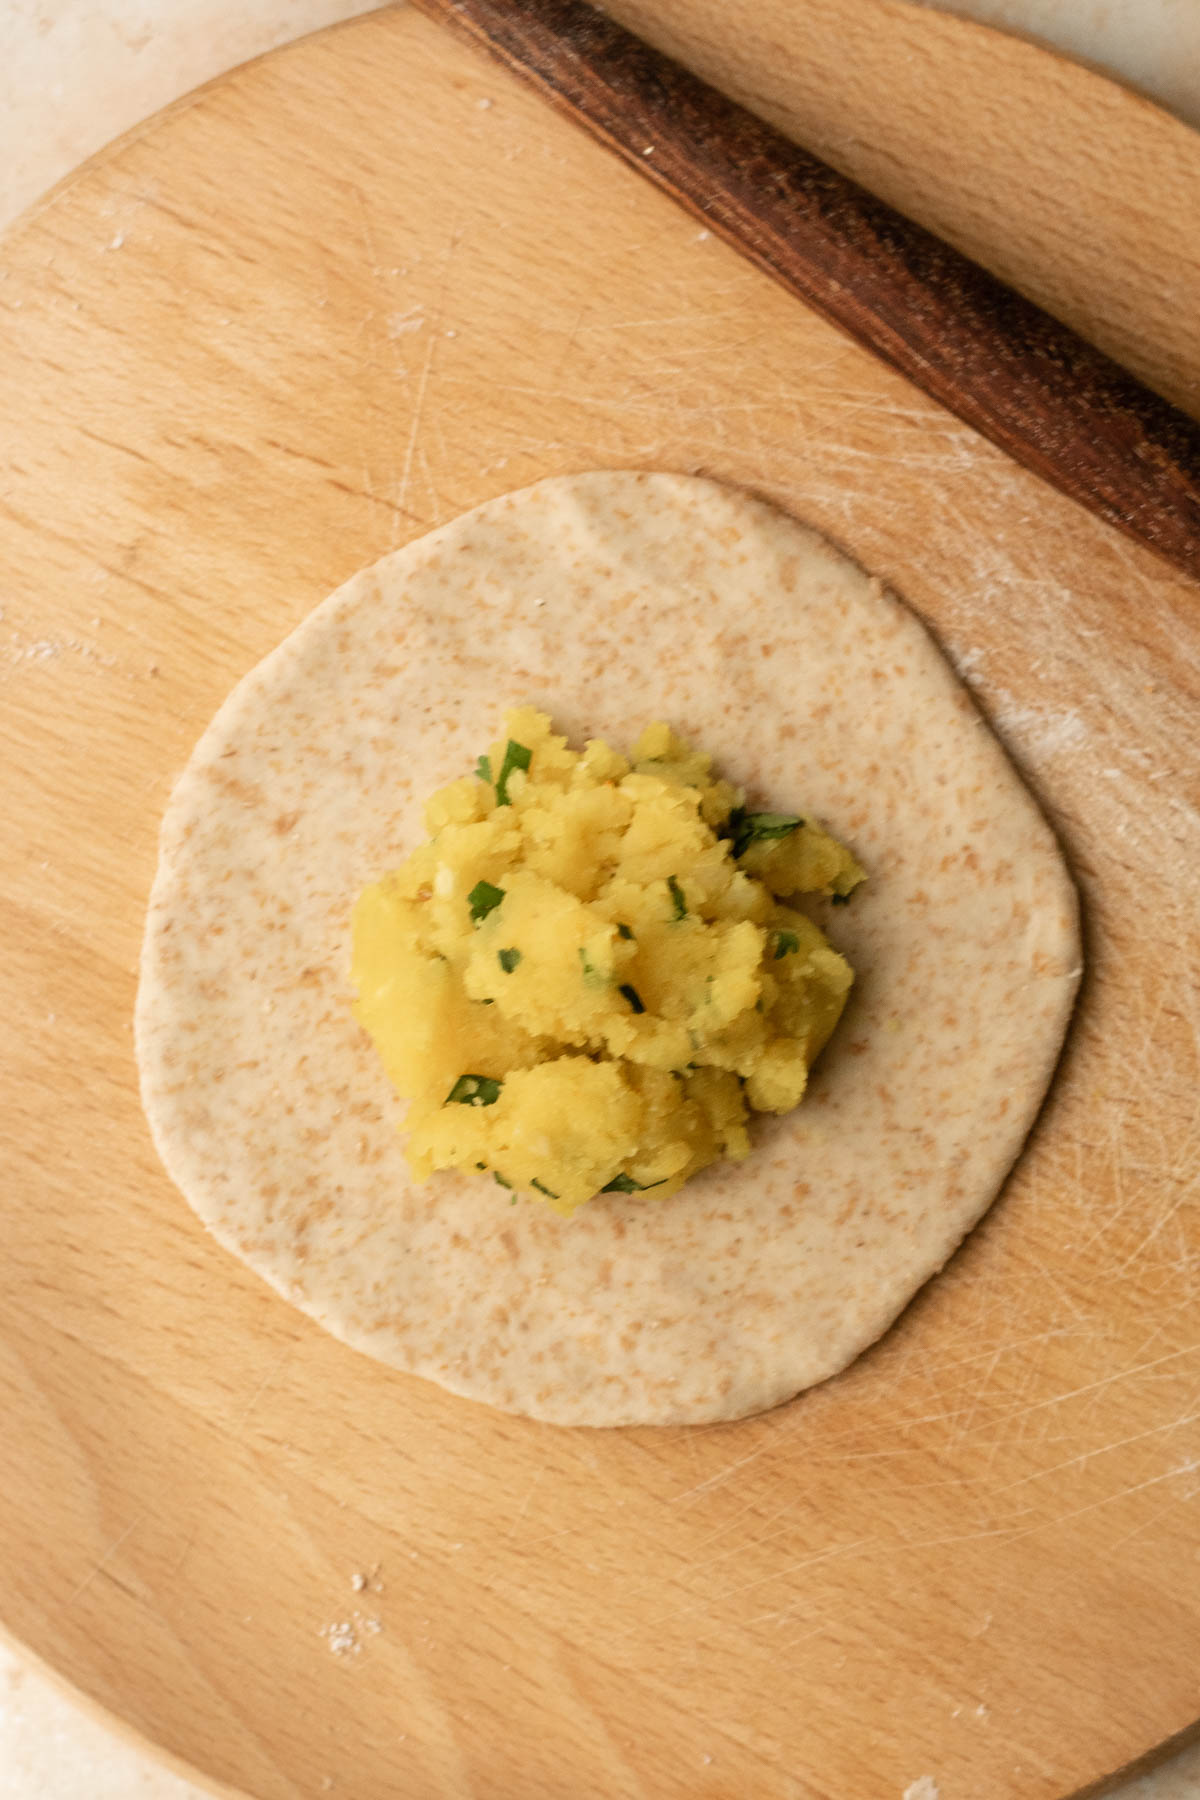
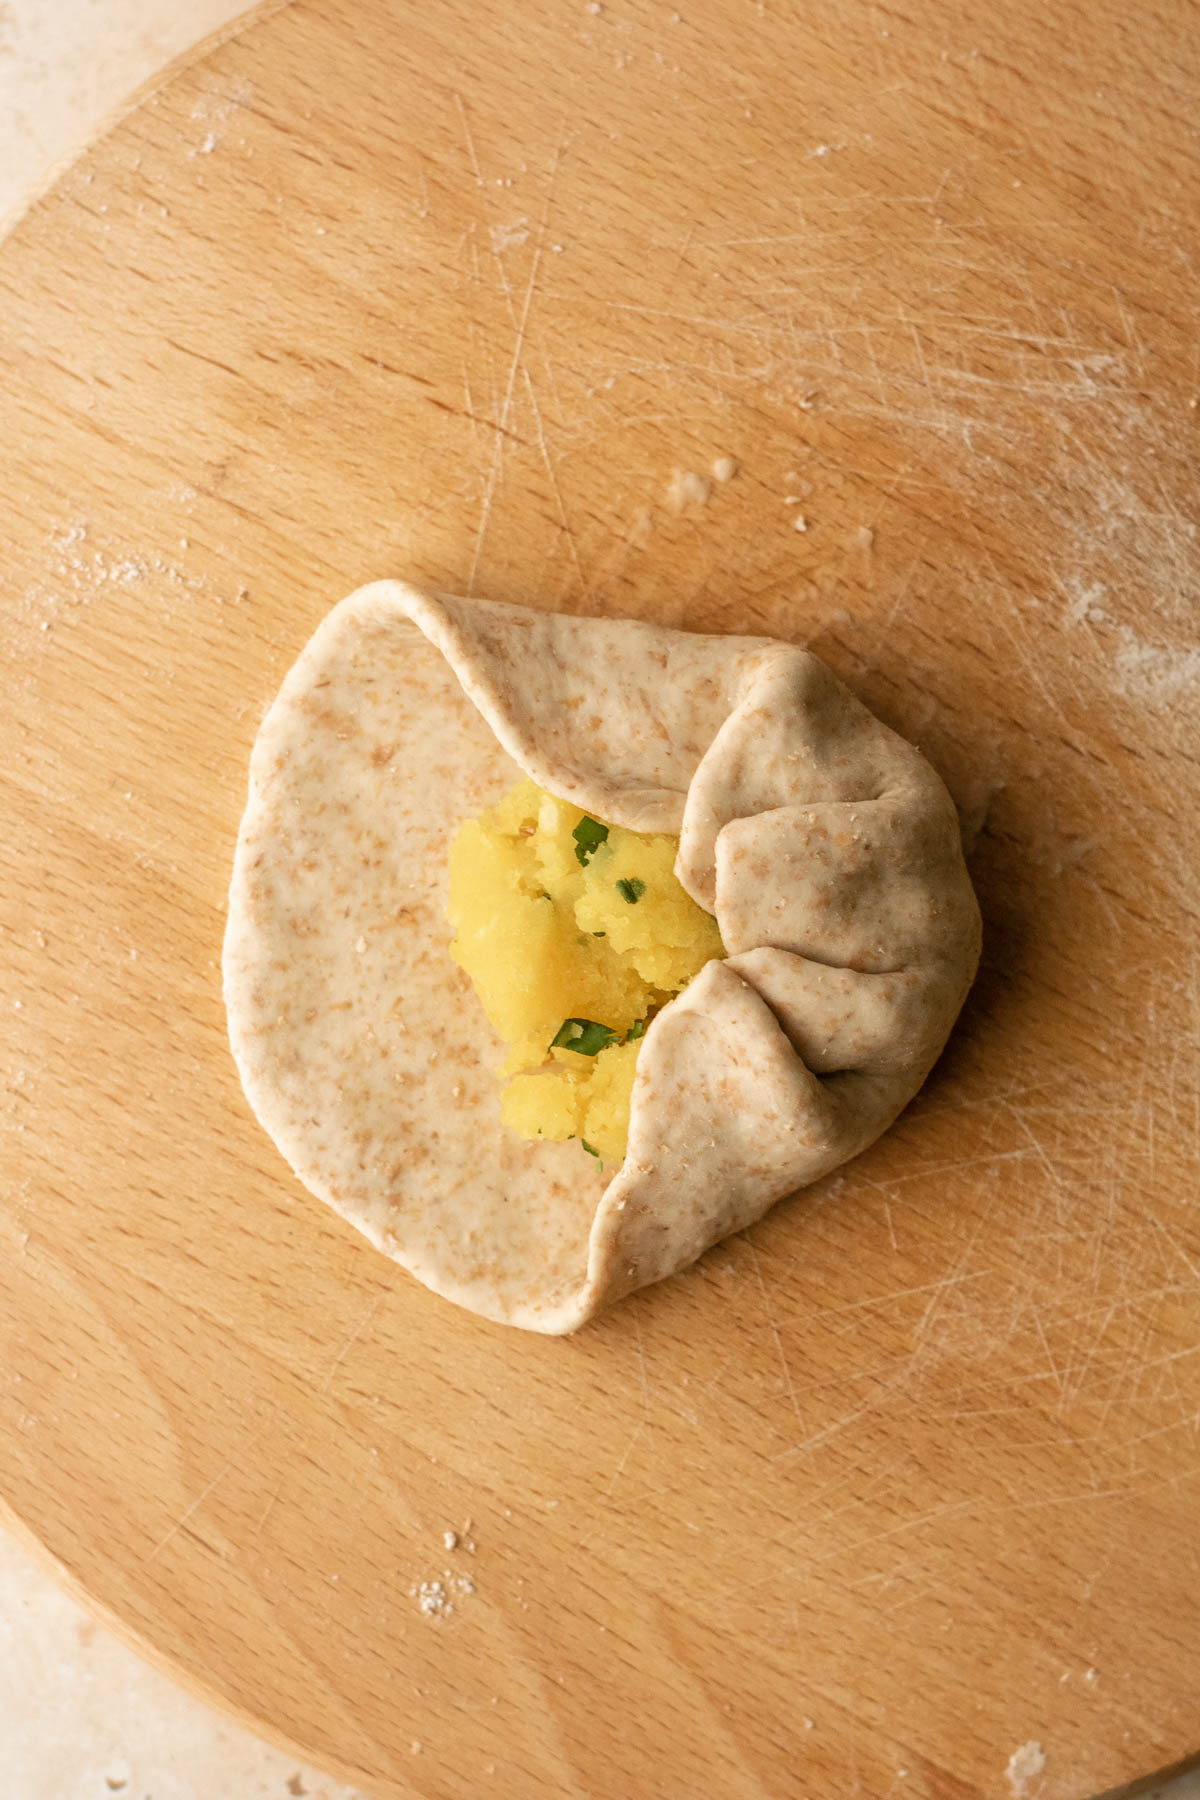
Now we can begin rolling the parathas! Take a golf-ball sized piece of dough and roll into a small circle on a floured surface. Add some filling to the center of the circle (photo 6).
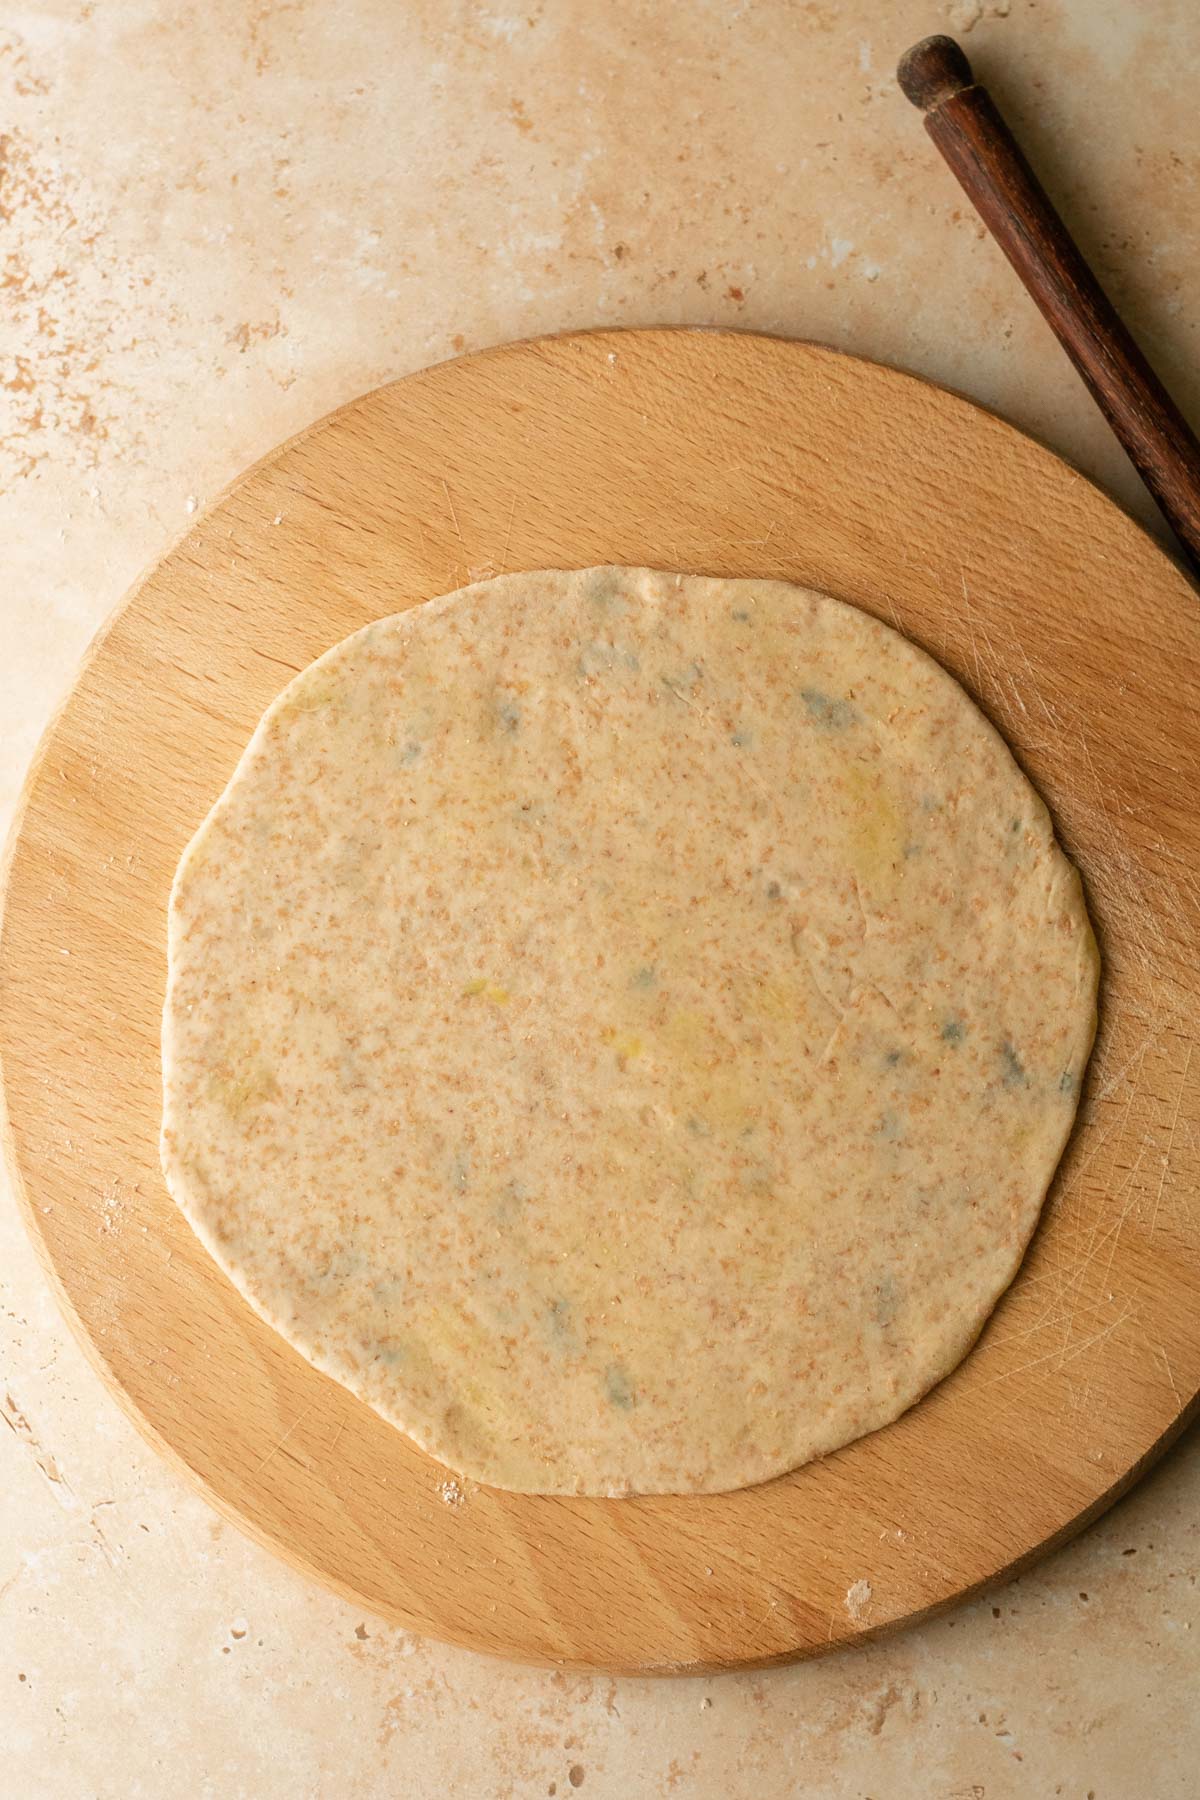
Next, tightly wrap the dough around the filling (photo 7) until it is fully encased. Add more flour to your surface as needed, then roll out the paratha into a large circle (photo 8).
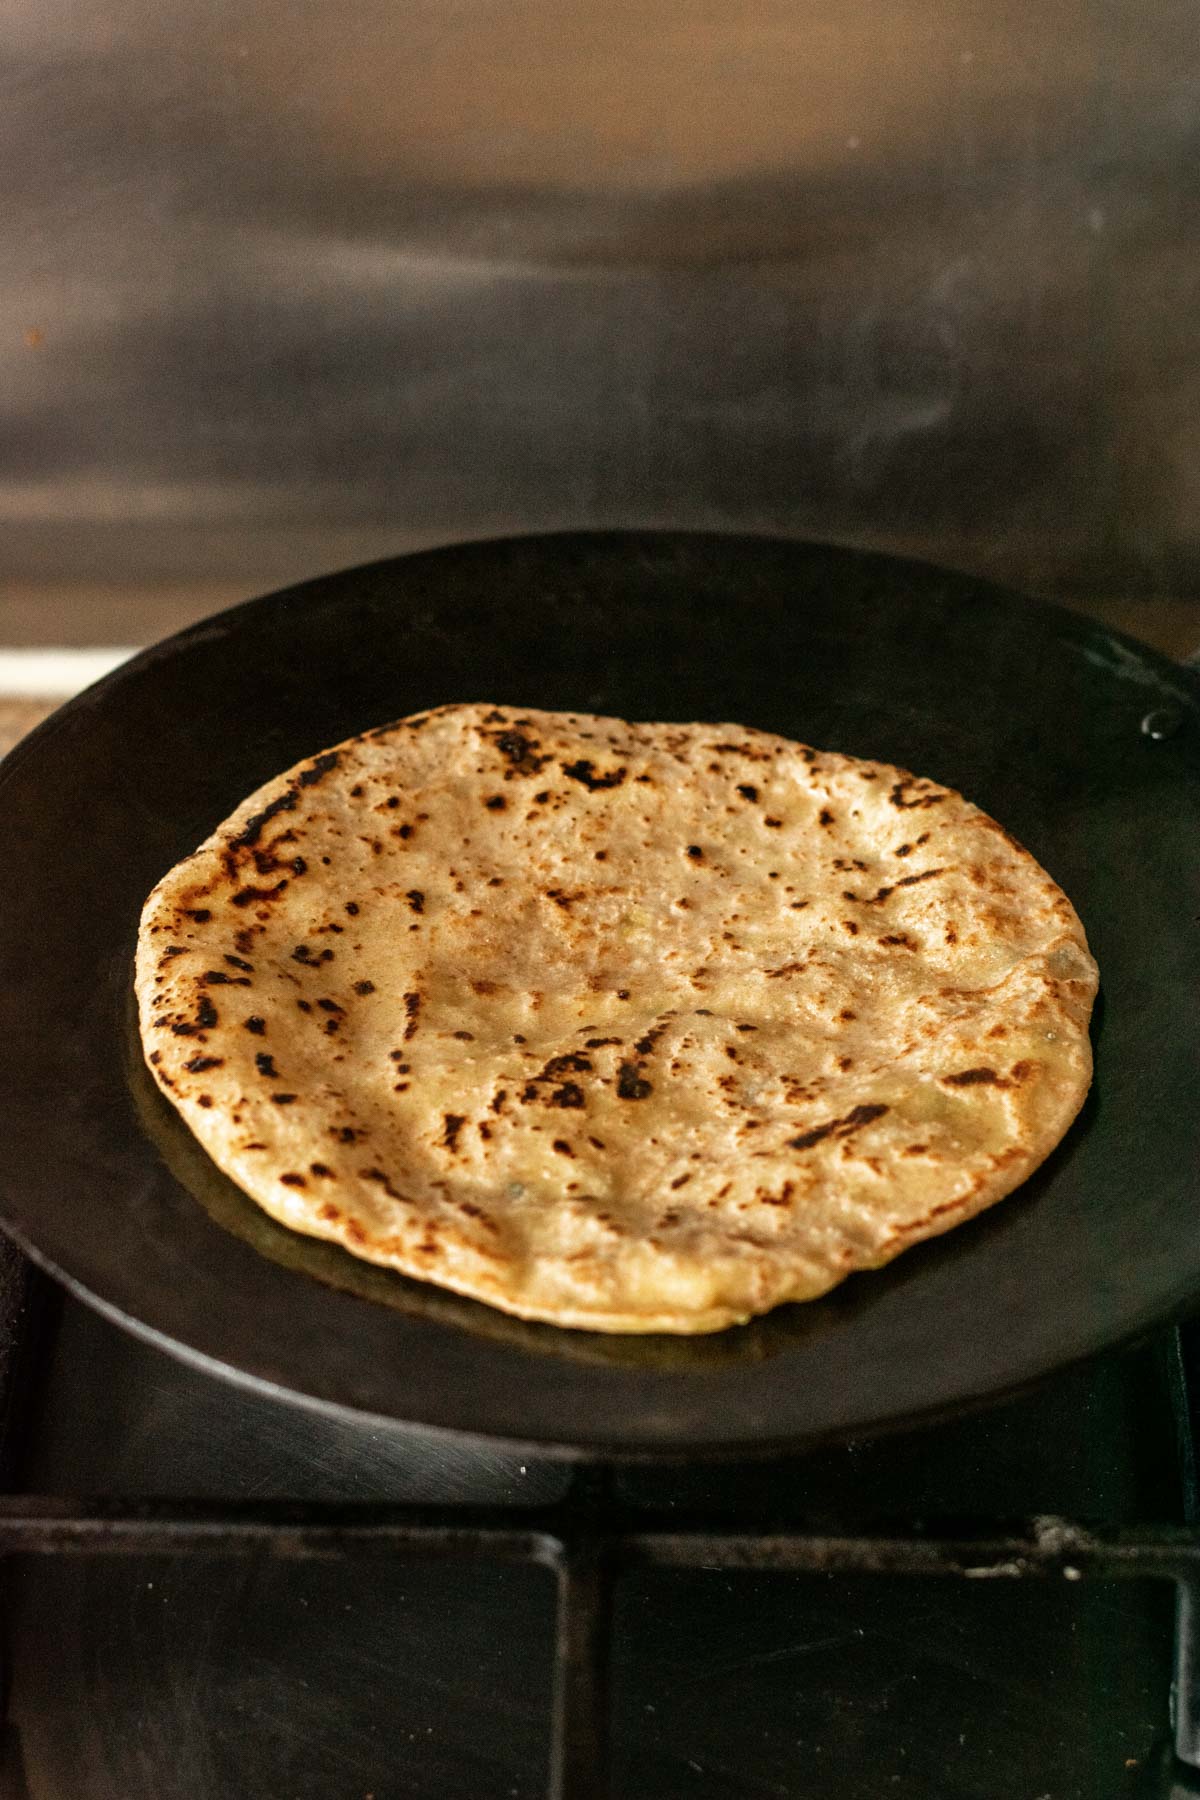
Cook the parathas on a tawa or frying pan over medium-high heat: generously brush the hot tawa with oil, then carefully place the paratha on top. Brush the top of the paratha with oil and flip when bubbles appear. Cook the paratha until it is bubbly and golden on both sides (photo 9).
Tips for making the BEST paratha:
- Perfect your dough to filling ratio. If you add too much filling, it will leak out from the dough, however if you don’t add enough filling the paratha will be doughy. It may take a few attempts for you to perfect the filling: dough ratio.
- Make sure your tawa is heated before you start cooking. If the tawa is too cold the paratha will not cook properly – make sure it is very hot before you start cooking the parathas!
- Ensure your dough is soft and not too tough. A soft dough can be achieved through adding enough water (it’s always better for your dough to be slightly too wet than too dry); and kneading it well to develop the gluten.
FAQ
Yes, you can easily make this recipe vegan by using a dairy-free alternative in place of the butter.
Make sure you properly encase the filling in the paratha dough so it doesn’t leak out. If a small amount of filling leaks out this is fine.
Whilst they are always best enjoyed fresh off the tawa, you can indeed prepare aloo paratha ahead of time to enjoy later. They will last stored in an airtight container at room temperature for a few days, and can be reheated on the tawa or in a microwave.
What to serve with aloo paratha:
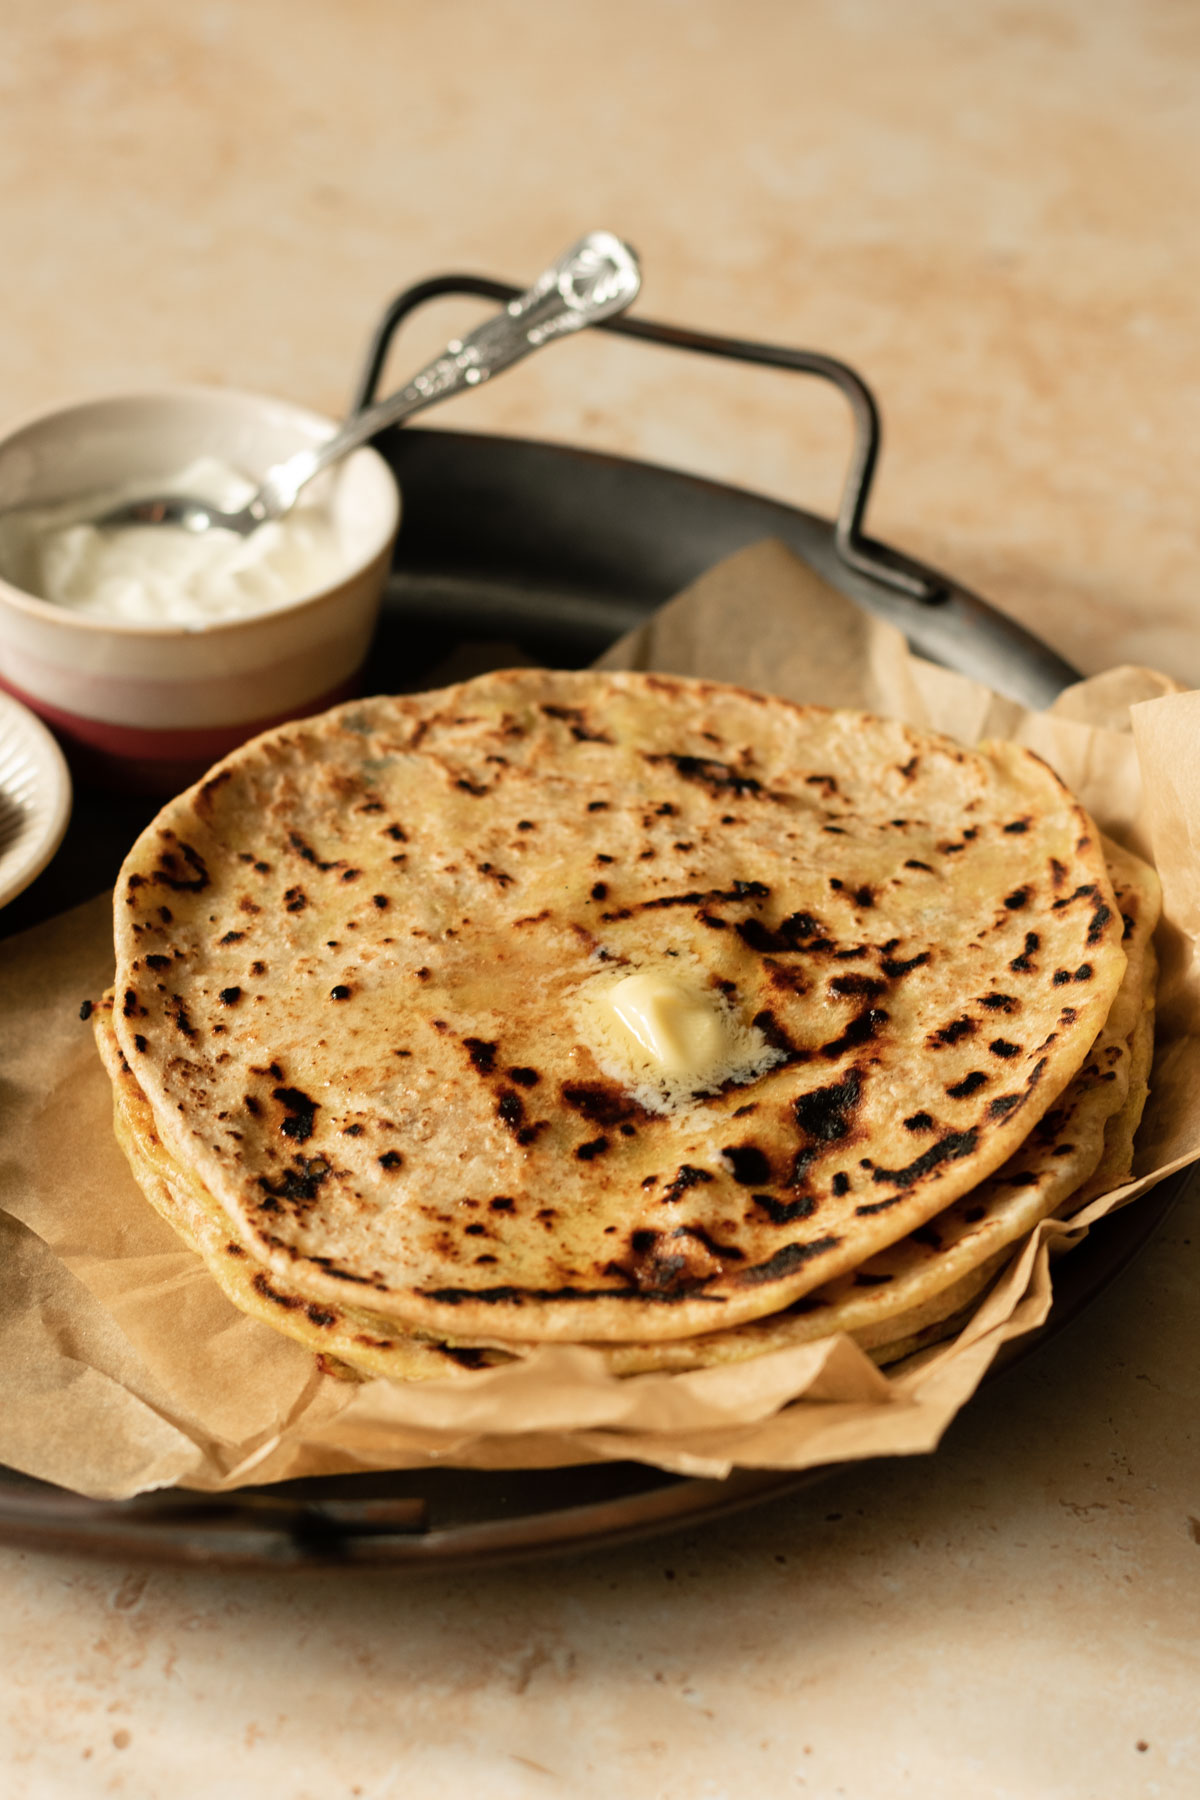
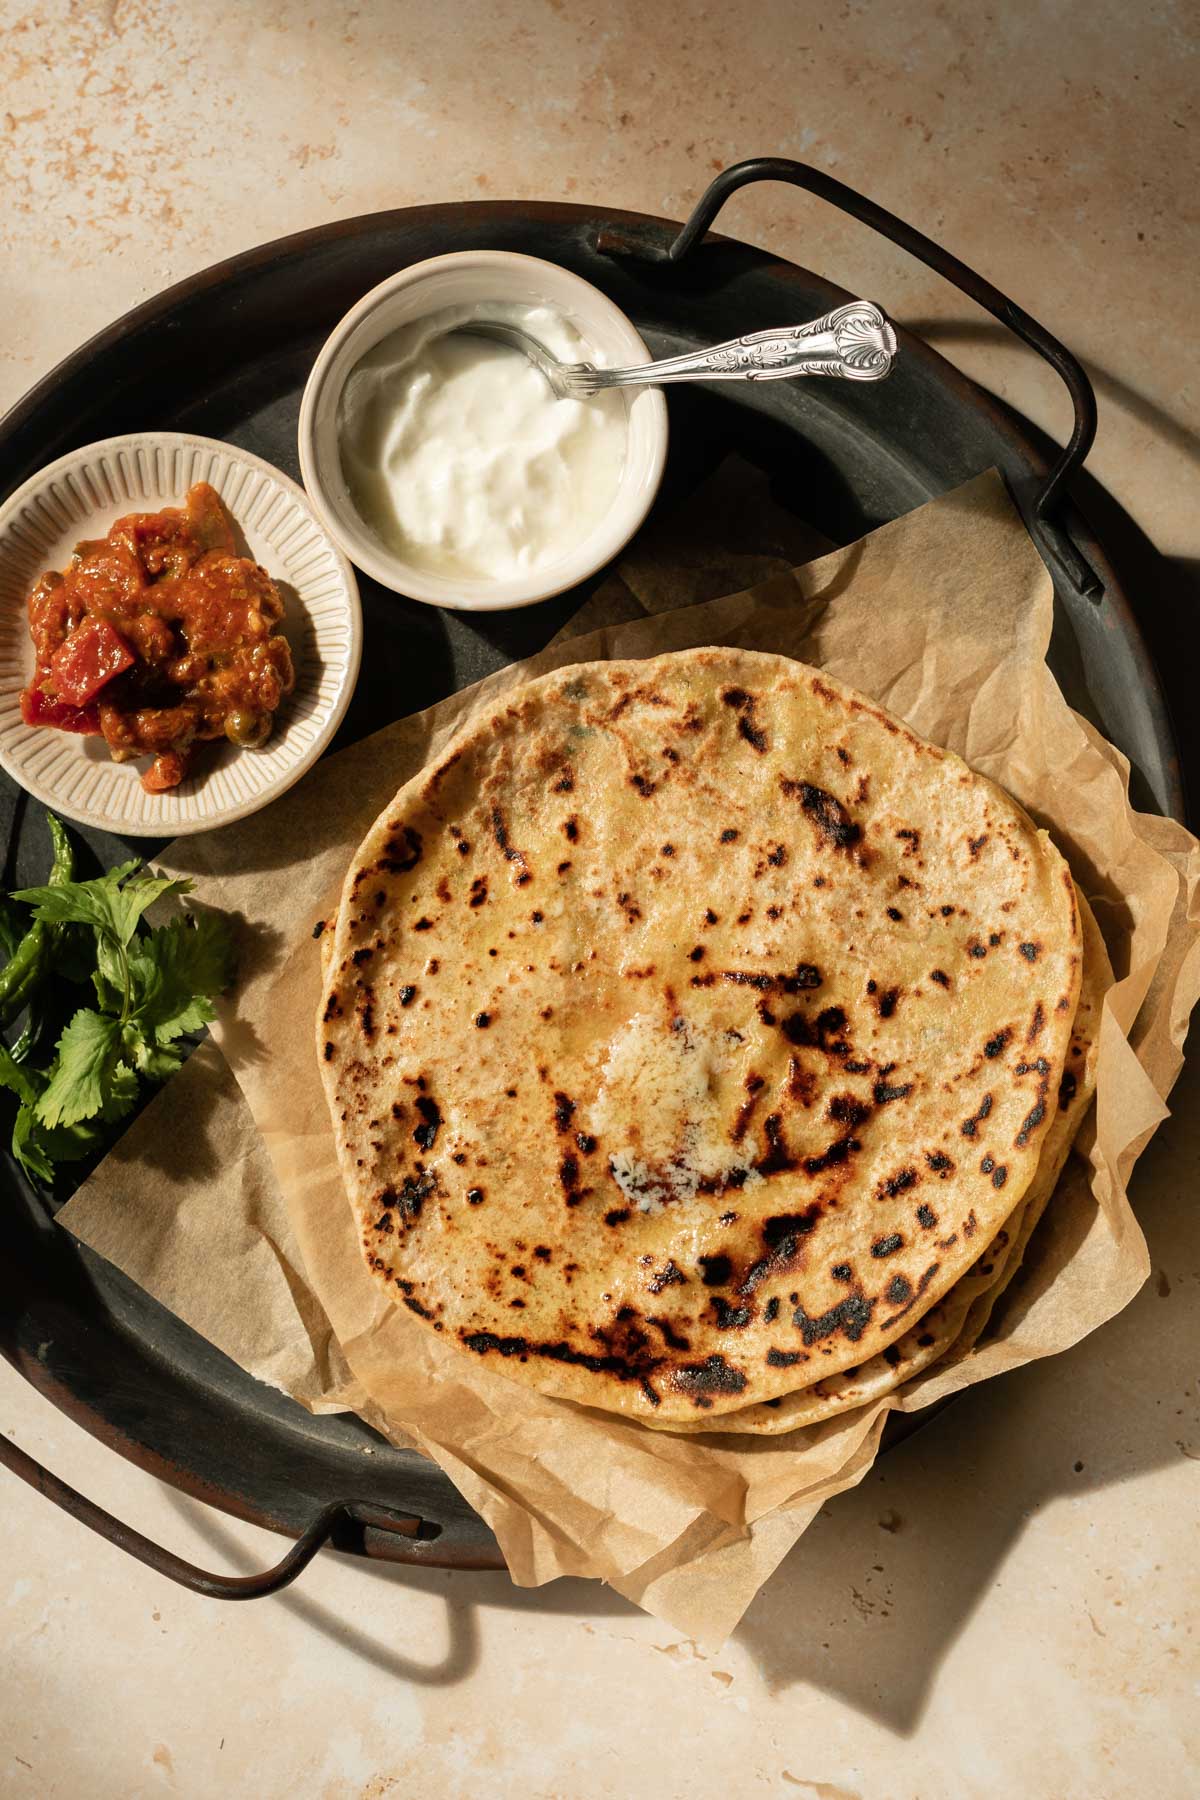
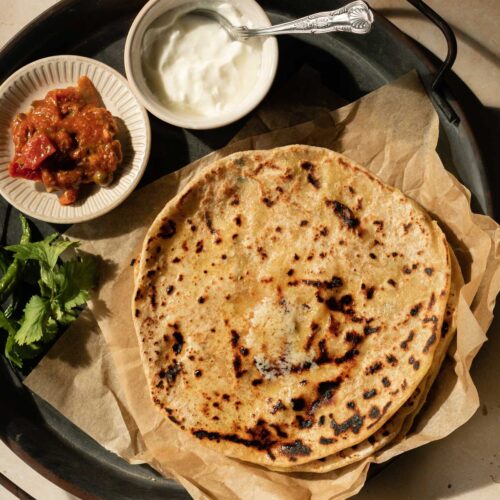
As pictured, aloo paratha can be enjoyed topped with ghee and alongside some pickle (achar) and fresh curd (dahi). Alternatively, try one of the following:
- A steaming cup of masala chai at breakfast time
- Chana masala or rajma
- Your favourite chutneys such as lime pickle or coriander chutney
I hope you enjoy this recipe! If you make it, please leave a rating + review below and share your photos on Instagram tagging #shivanilovesfood!
Aloo Paratha Recipe
Leave a Review Print RecipeIngredients
For the aloo filling:
- 2 Medium Potatoes peeled, boiled, and mashed; use a starchy variety
- 1 clove Garlic finely chopped
- 1/4 inch Fresh Ginger finely chopped
- 1 Green Chili finely chopped
- 2 sprigs Fresh Coriander finely chopped
- 1/2 tsp Salt
- 1/4 tsp Turmeric
- 1/4 tsp Chilli Powder optional
- 1/8 tsp Ground Coriander
- 1/8 tsp Ground Cumin
- 1/2 tbsp Butter or Ghee
For the paratha dough:
- 1.5 cups/ 200 grams Chapati Atta (whole wheat flour)
- 1.5 tbsp Chickpea (Chana) Flour
- 1/2 tsp Salt
- 3/4 cup/ 180 ml Warm (not boiling) Water you won't need it all
- 1/4 cup/ 60 ml Sunflower Oil as needed, for frying
Instructions
- Begin by preparing the aloo filling: add the mashed boiled potato, garlic, ginger, chilli, coriander, salt, butter and spices to a medium sized bowl.
- Use a spoon or fork to mix the aloo filling together until well combined. Taste a small amount of the filling and add extra salt, butter or spices if desired. Set the filling aside for later.
- Prepare the paratha dough: add the chapati flour, chana (chickpea) flour, and salt to a large mixing bowl and mix until combined.
- Gradually pour in the warm water (you may not need it all so don't add it all at once). Use a spoon or your hands to bring the dough together into a scraggly ball.
- Tip the dough out onto a floured surface and knead with your hands for 5-10 minutes until the dough is stretchy and elastic. It should be soft but not stick to your hands. If you prod the dough with your finger, it should bounce back slightly – this indicates that the gluten has developed.
- Cover the dough with a tea towel and leave to rest for 10 minutes.
- Heat your tawa (or frying pan) over medium heat. Pour the oil into a small bowl with a pastry brush to use later.
- Now we can begin rolling the parathas. Take a golf-ball sized piece of the paratha dough and roll out into a small circle on a floured surface.
- Add about 1.5 tbsp of the aloo filling to the centre of the circle. Use your hands to tightly wrap the dough around the filling until it is fully encased (see the photos in the blog post above for reference).
- Re-flour your surface as needed then roll out the paratha into a large circle. You want the paratha to be thin enough that it is not doughy but thick enough that the filling does not leak out.
- Generously brush the tawa with oil, and carefully add the paratha on top. Brush the top of the paratha with oil.
- Once bubbles appear, flip the paratha. Continue brushing with oil and flipping as needed until the paratha is golden and bubbly on both sides. Transfer the hot paratha to a plate lined with a paper towel.
- Repeat steps 8-12 with the remaining dough and filling until you have made all the parathas. If you have leftover dough you can experiment with making cheese or egg parathas!
- Enjoy the parathas hot with a generous dollop of ghee and a steaming cup of masala chai.
Notes
- Leftover parathas can be stored in an airtight container at room temperature for up to 2 days. Reheat on the tawa or in the microwave.
- Feel free to experiment with adding sliced veggies, egg or cheese to the paratha filling!

