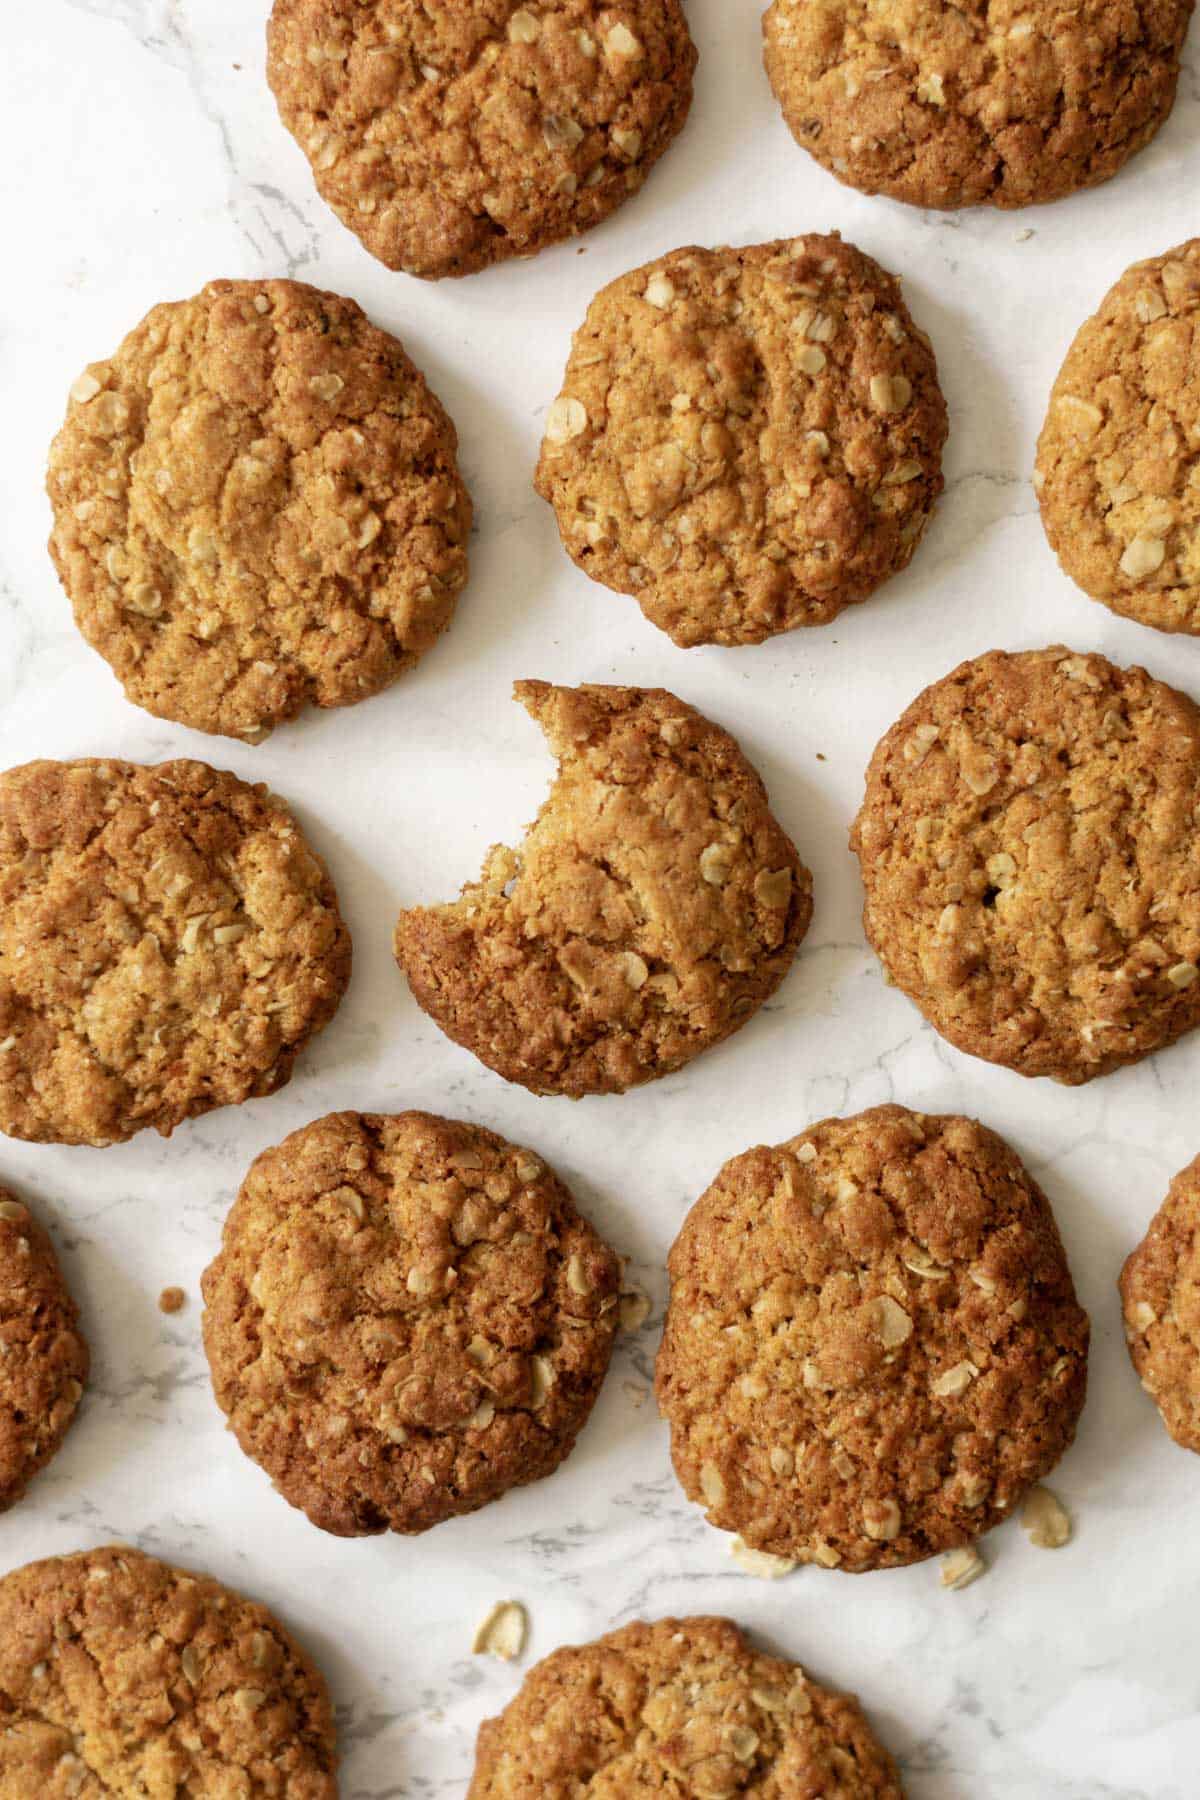
These oatmeal cookies are a firm favourite amongst my family and friends, and I’ll often prepare a double or even triple batch for birthdays and events. And you best bet everyone who tries them asks me for the recipe!
These oat cookies are chewy, buttery, and packed with flavour. Think flapjacks in cookie form! And they’re oh so perfect with a mug of masala chai or a cold glass of oat milk. You’d best prepare a double batch actually, as these cookies won’t last long at all!
How to make oatmeal cookies step-by-step:
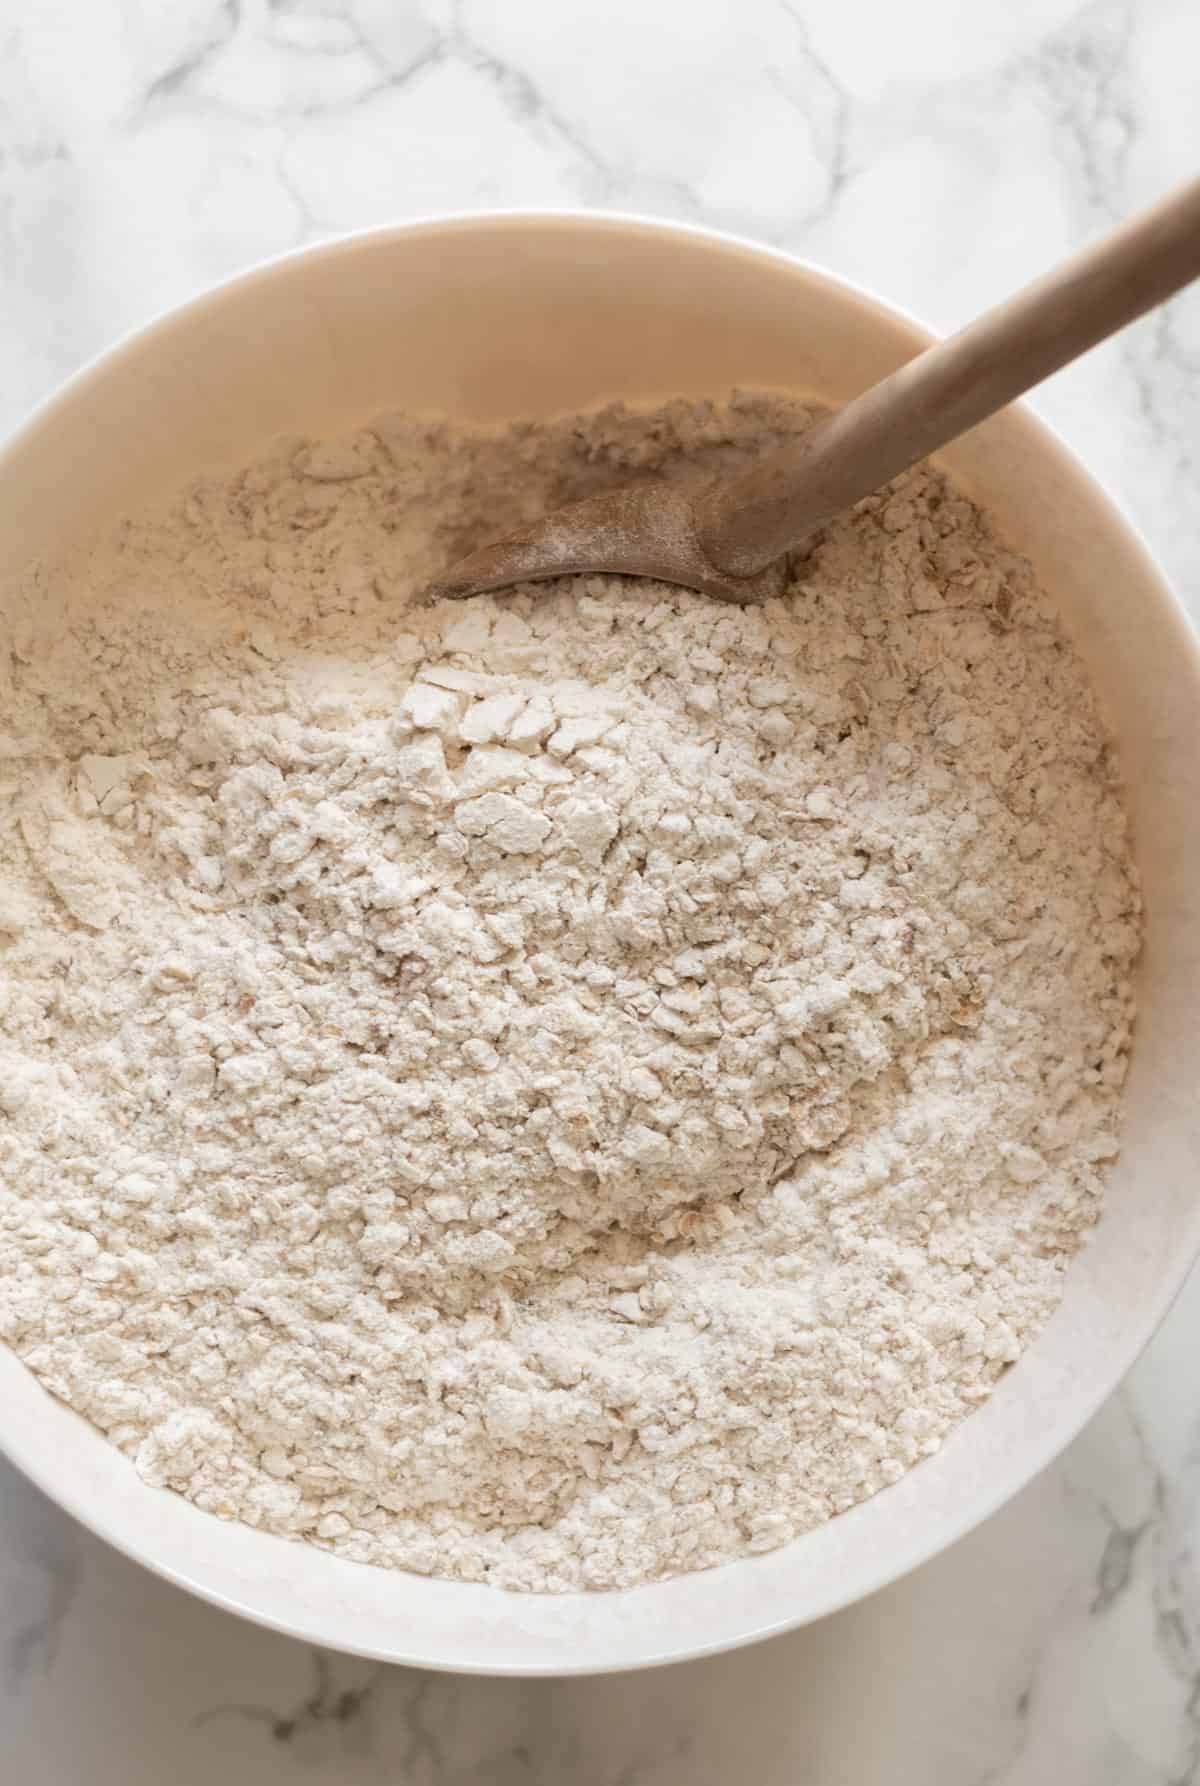
Stir the dry ingredients together in a large mixing bowl (photo 1).
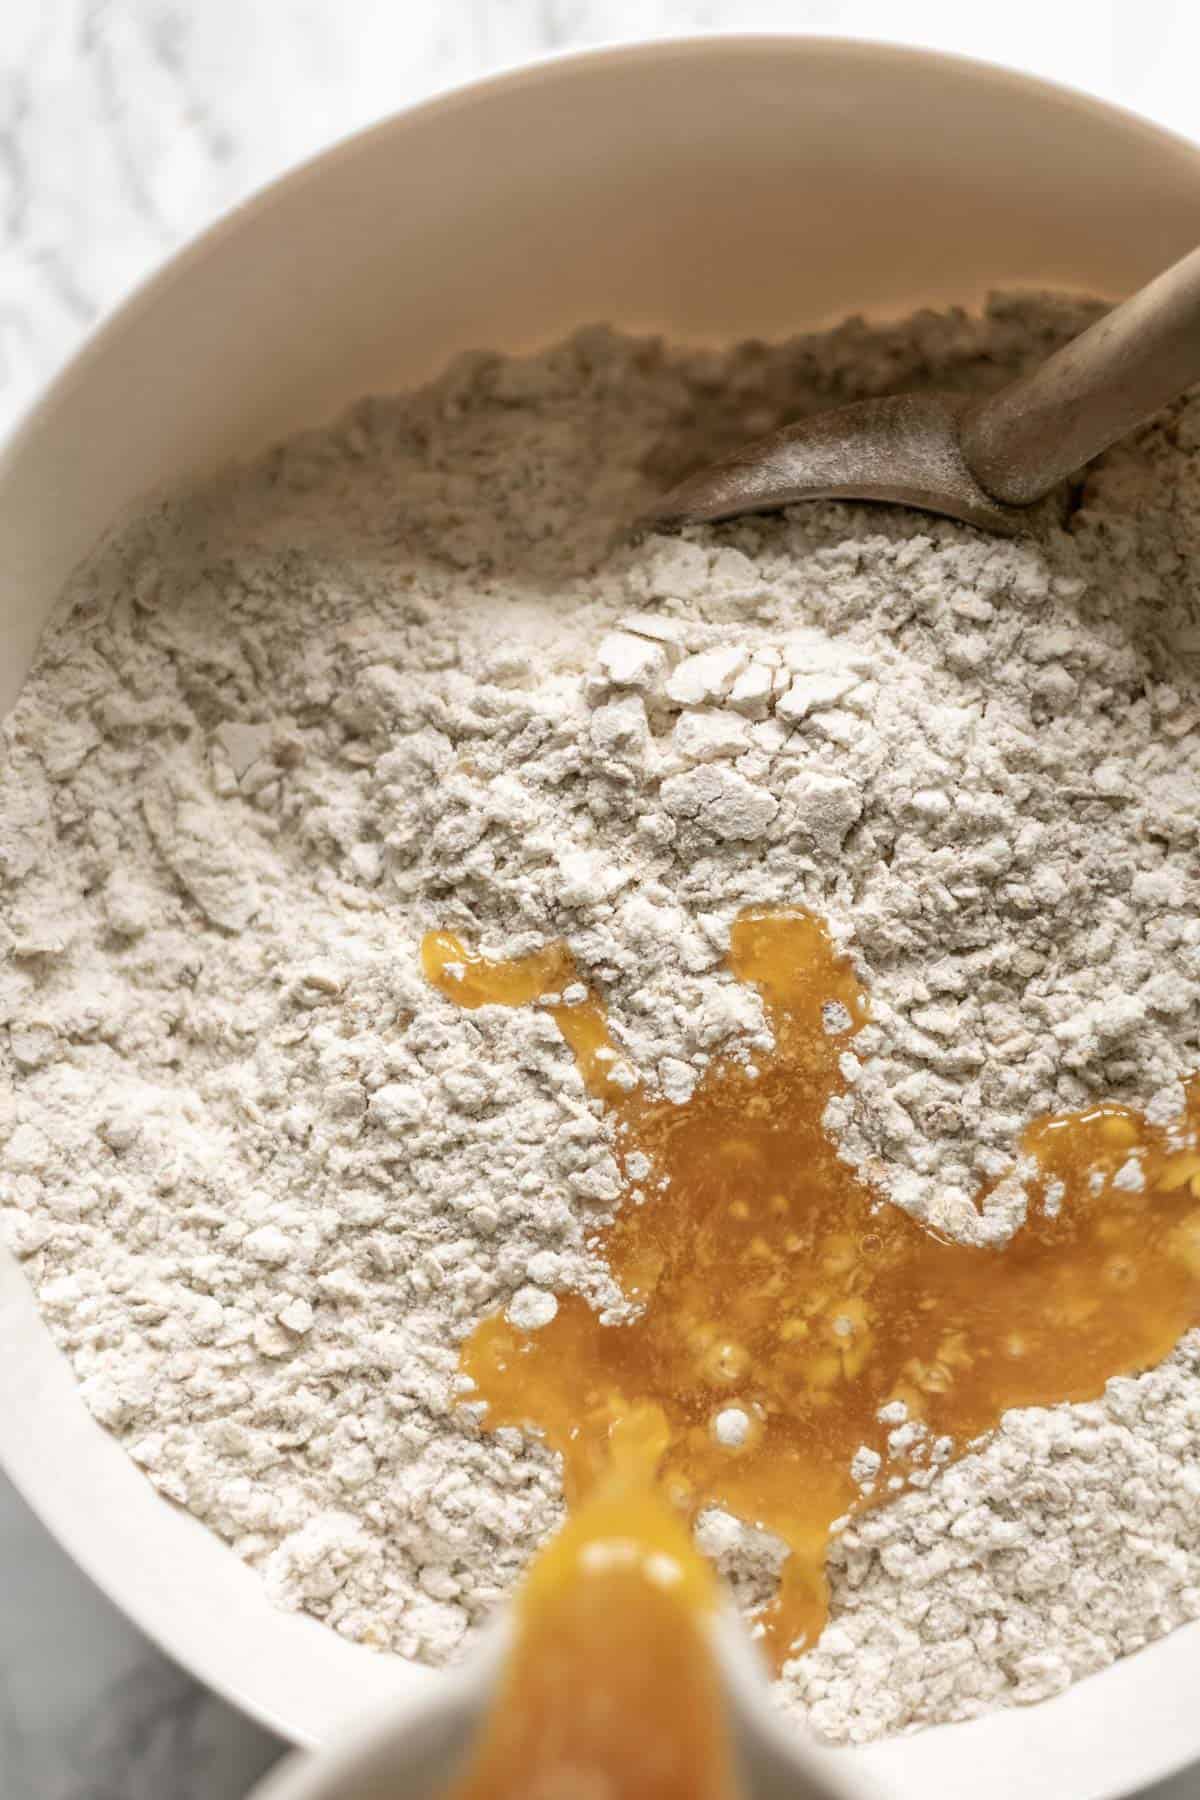
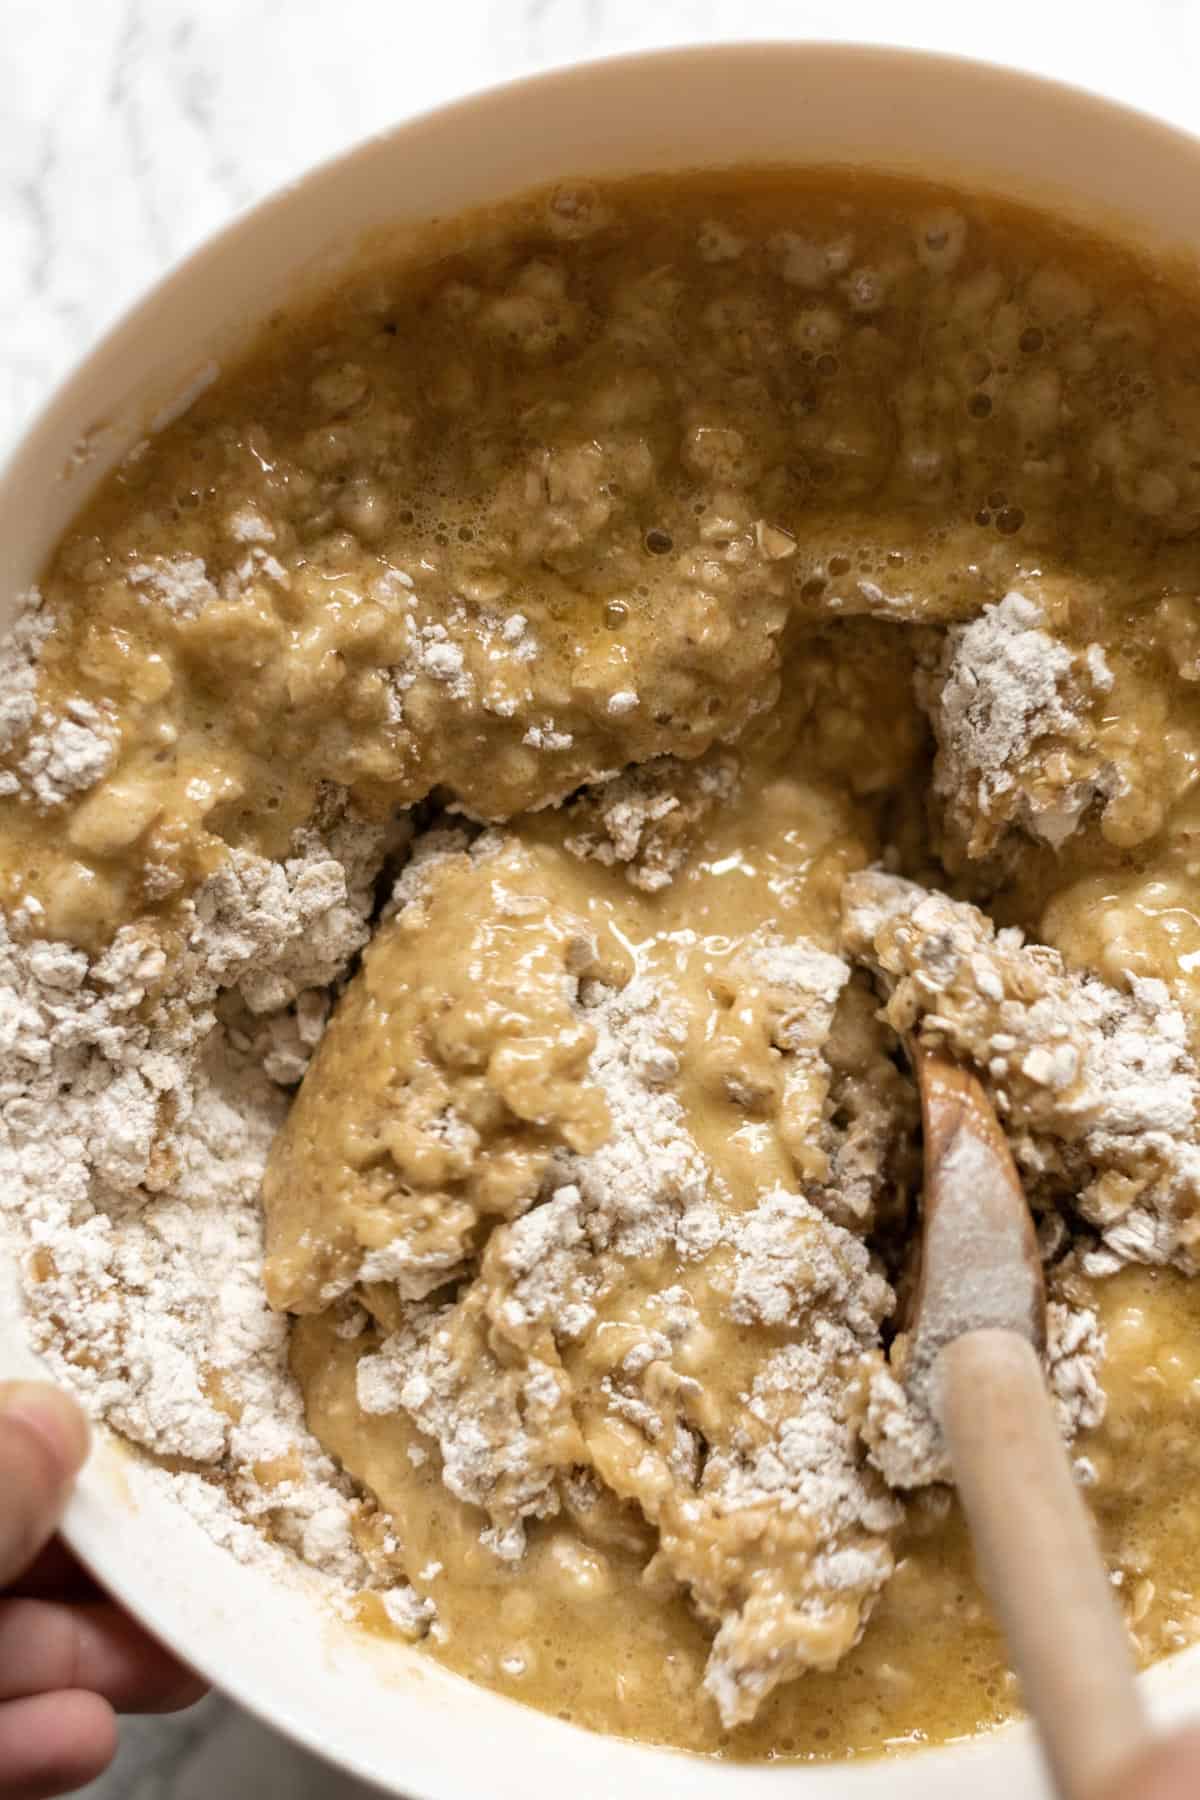
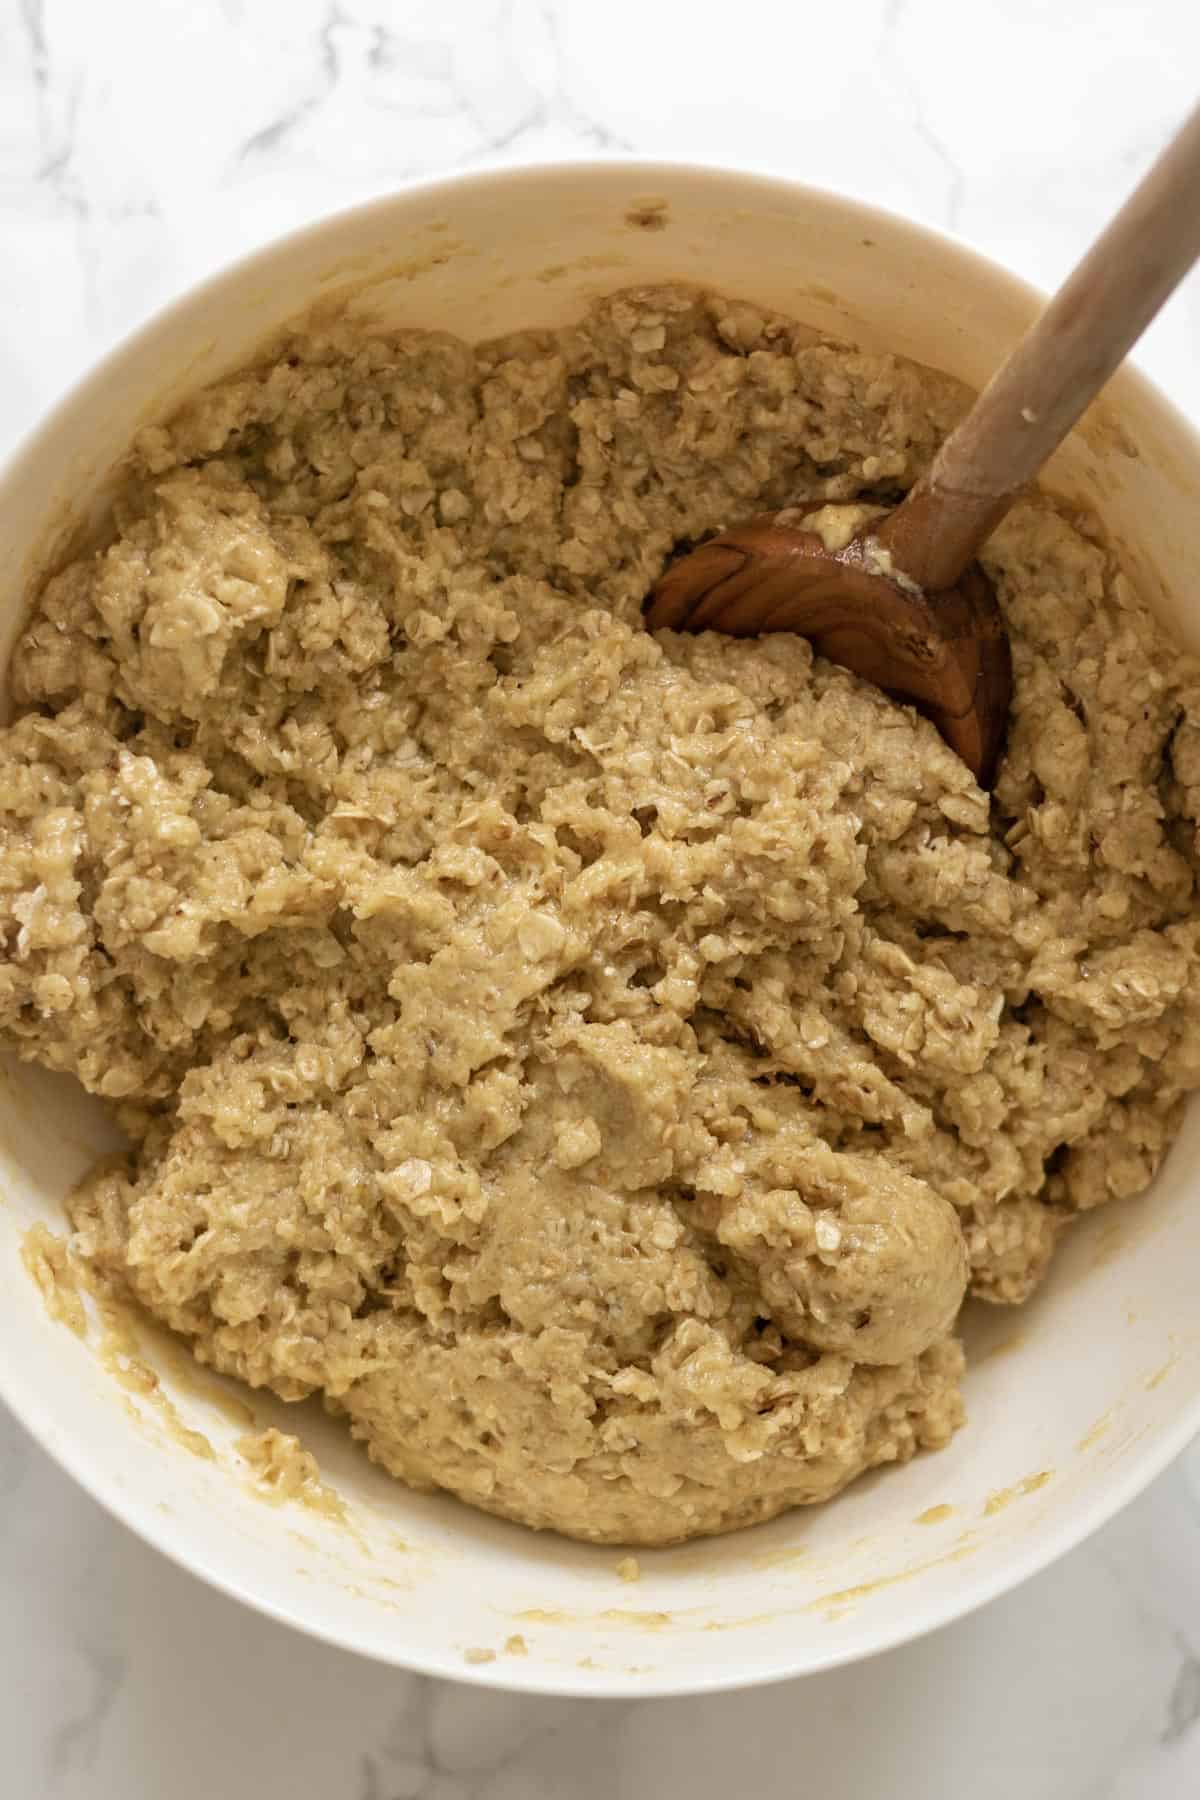
Meanwhile, melt the butter and golden syrup in a small pan over medium-low heat, then drizzle this mixture into the dry ingredients (photo 2). Carefully stir the mixture together to begin to form the dough (photo 3).
Photo 4 shows you what the dough should look like. The dough alone is pretty tasty, but try not to eat it all! We’ll portion out the dough 1/2 tbsp at a time (you can use a small cookie scoop for this task if you wish), roll each portion into a ball, and flatten slightly. The cookies do spread but not that much, so flattening the dough helps out with this!
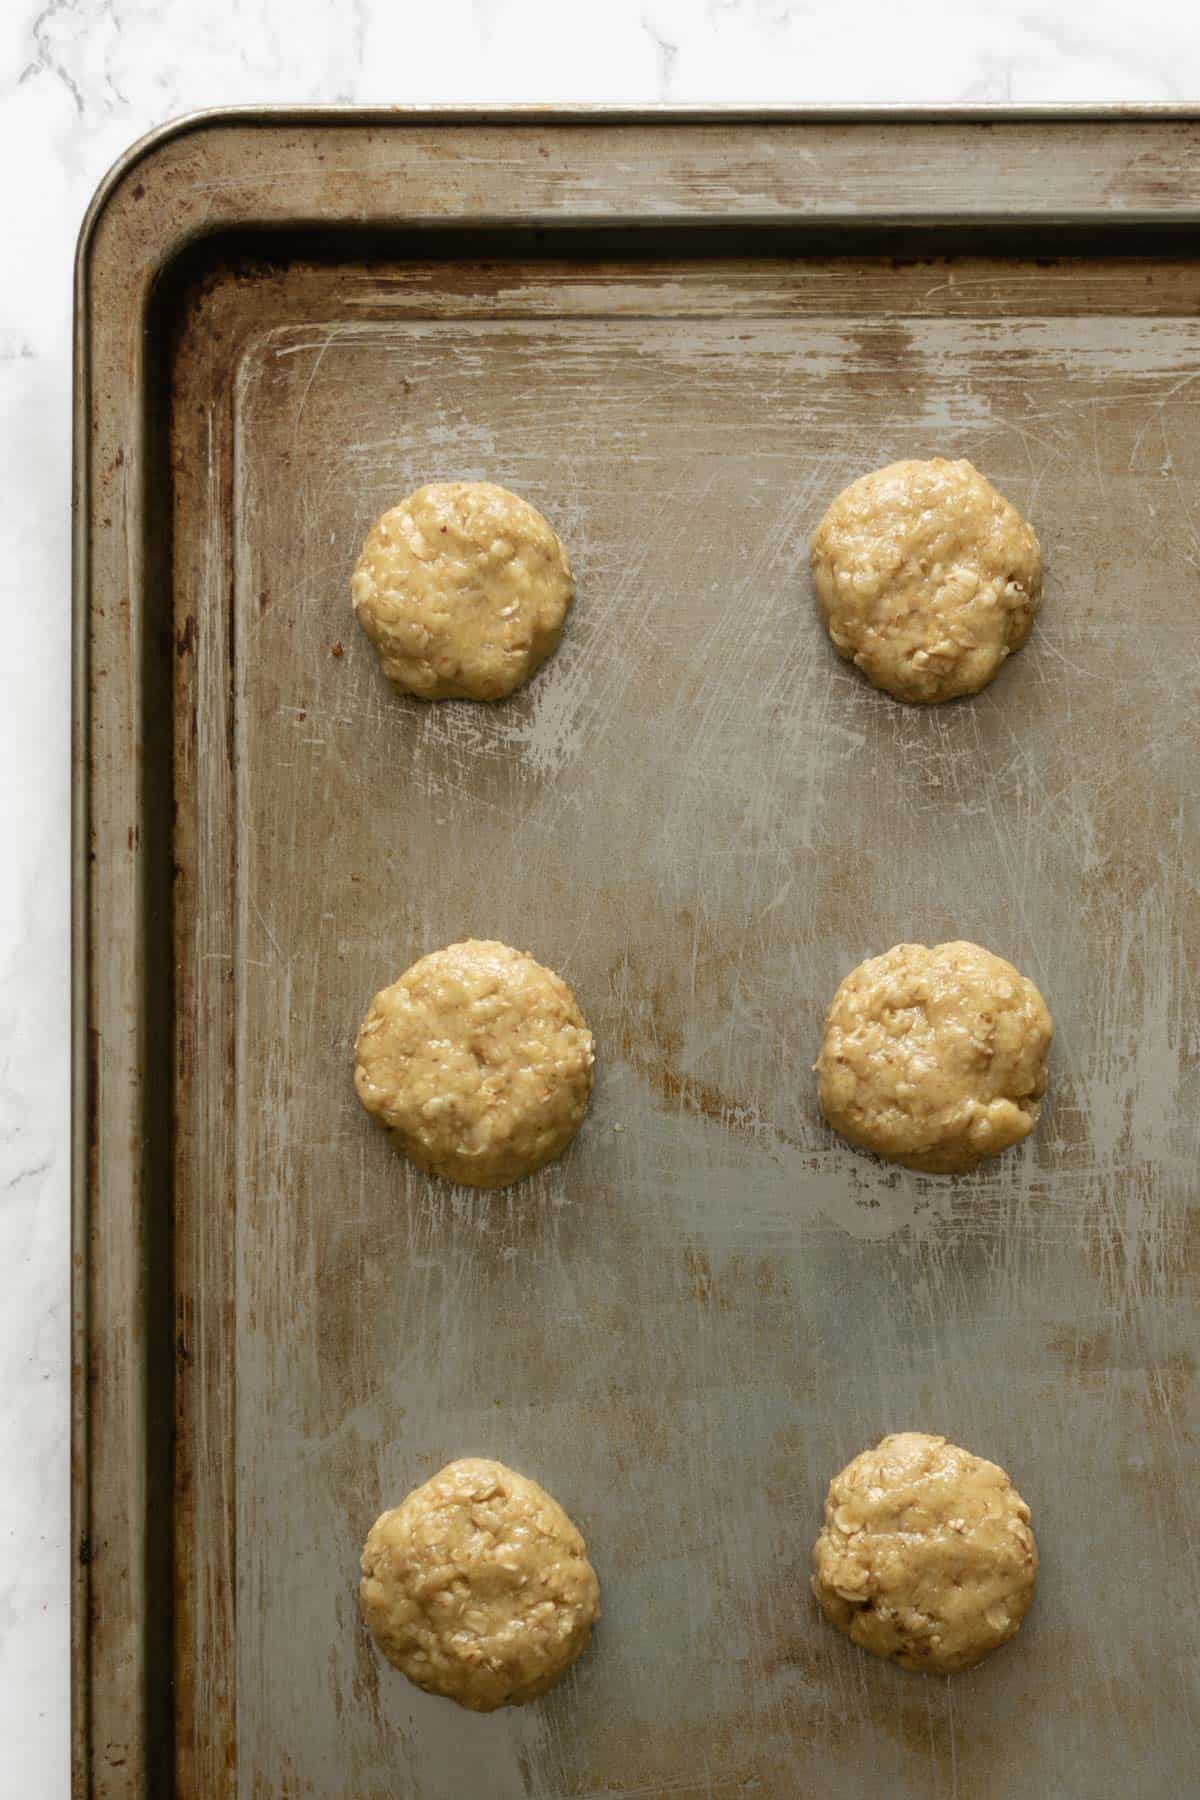
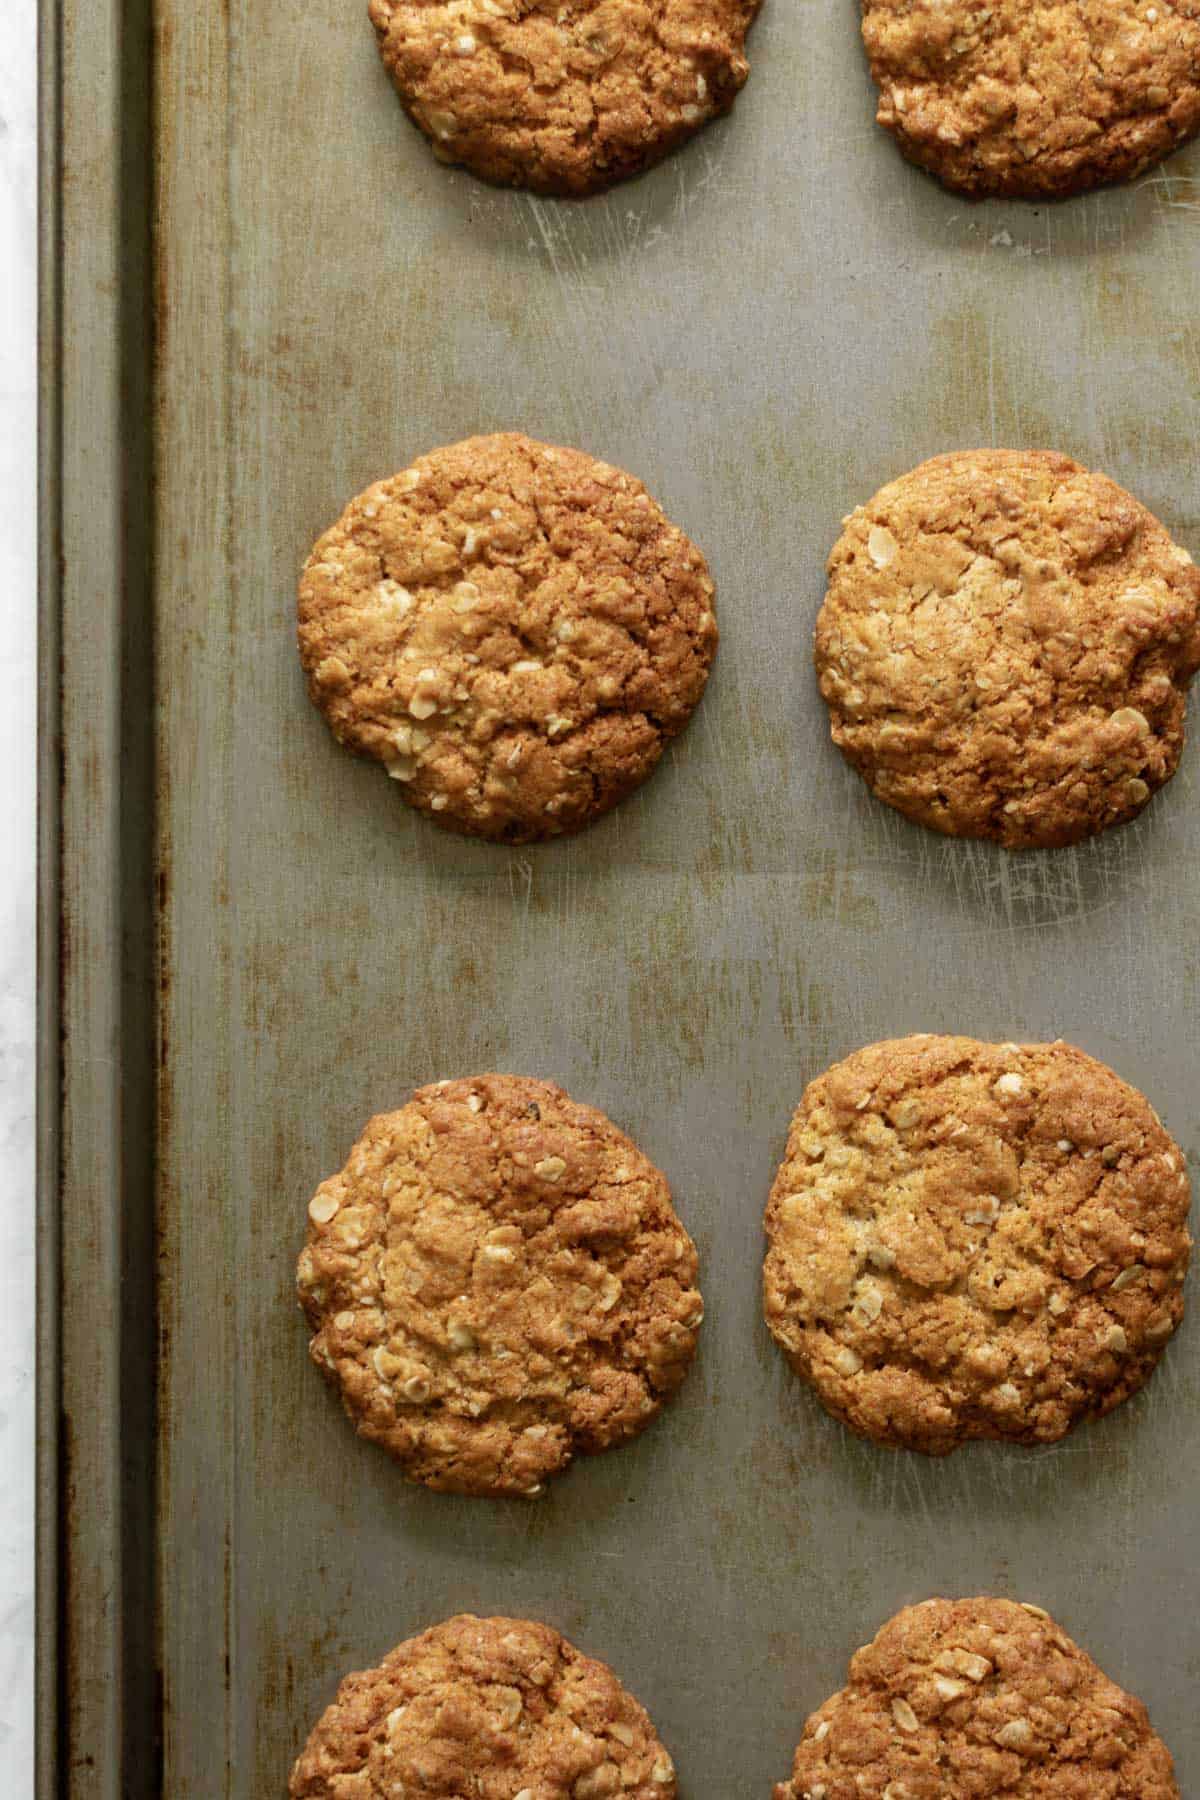
Transfer the dough balls to a lightly greased baking tray (greasing helps with removing the cookies once they’re baked) making sure to keep them at least 1 inch apart (photo 5). Then bake the oatmeal cookies for 7-8 minutes until they’re golden and delicious! (photo 6)
Tips for batch baking cookies:
This recipe makes about 60-70 cookies, depending on the size that you make them. The recipe is easily halved or even quartered to make a small batch if you wish. However I prefer to make a lot of these cookies as believe me, they don’t last long at all!
The trick to stress-free batch cooking is to only use two trays overall. It’s best to only cook the cookies on the medium shelf to allow even baking, and using two trays allows you to swap them in and out of the oven quickly.
I’ll usually portion out and bake one tray, and whilst those cookies are baking I’ll portion out the next tray. Then I’ll take the first tray out of the oven, insert the second, and leave the cookies on the first tray to cool slightly before removing them and adding the next portions of dough!
I find this to be the quickest and easiest way to batch cook these oatmeal cookies. As the cookies only take 7-8 minutes in the oven, they’ll all be ready in no time 🙂
The recipe itself is super easy to make and very versatile – you can switch things up by adding in chopped dried fruit, nuts or even chocolate chips! Just make sure to leave the dough to cool slightly before adding in the chocolate chips to avoid them melting.
If you love chewy cookies like these, you’ll love my fudgy vegan brownie cookies too!
FAQ
Yes, simply swap the butter for vegan butter.
I have not tested a gluten-free version of this recipe however I think that a gluten-free flour blend would be the best to try using in place of the flour.
Golden syrup is essential for giving these cookies a rich and buttery flavour.
If you do not have self raising flour, you can make your own by adding 2 teaspoons baking powder per 150 grams of plain or all purpose flour (so to make this recipe you’d need 4 teaspoons).
I hope you enjoy this recipe! If you make it, please leave a rating + review below and share your photos on Instagram tagging #shivanilovesfood!
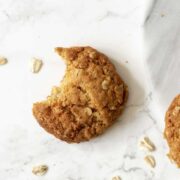
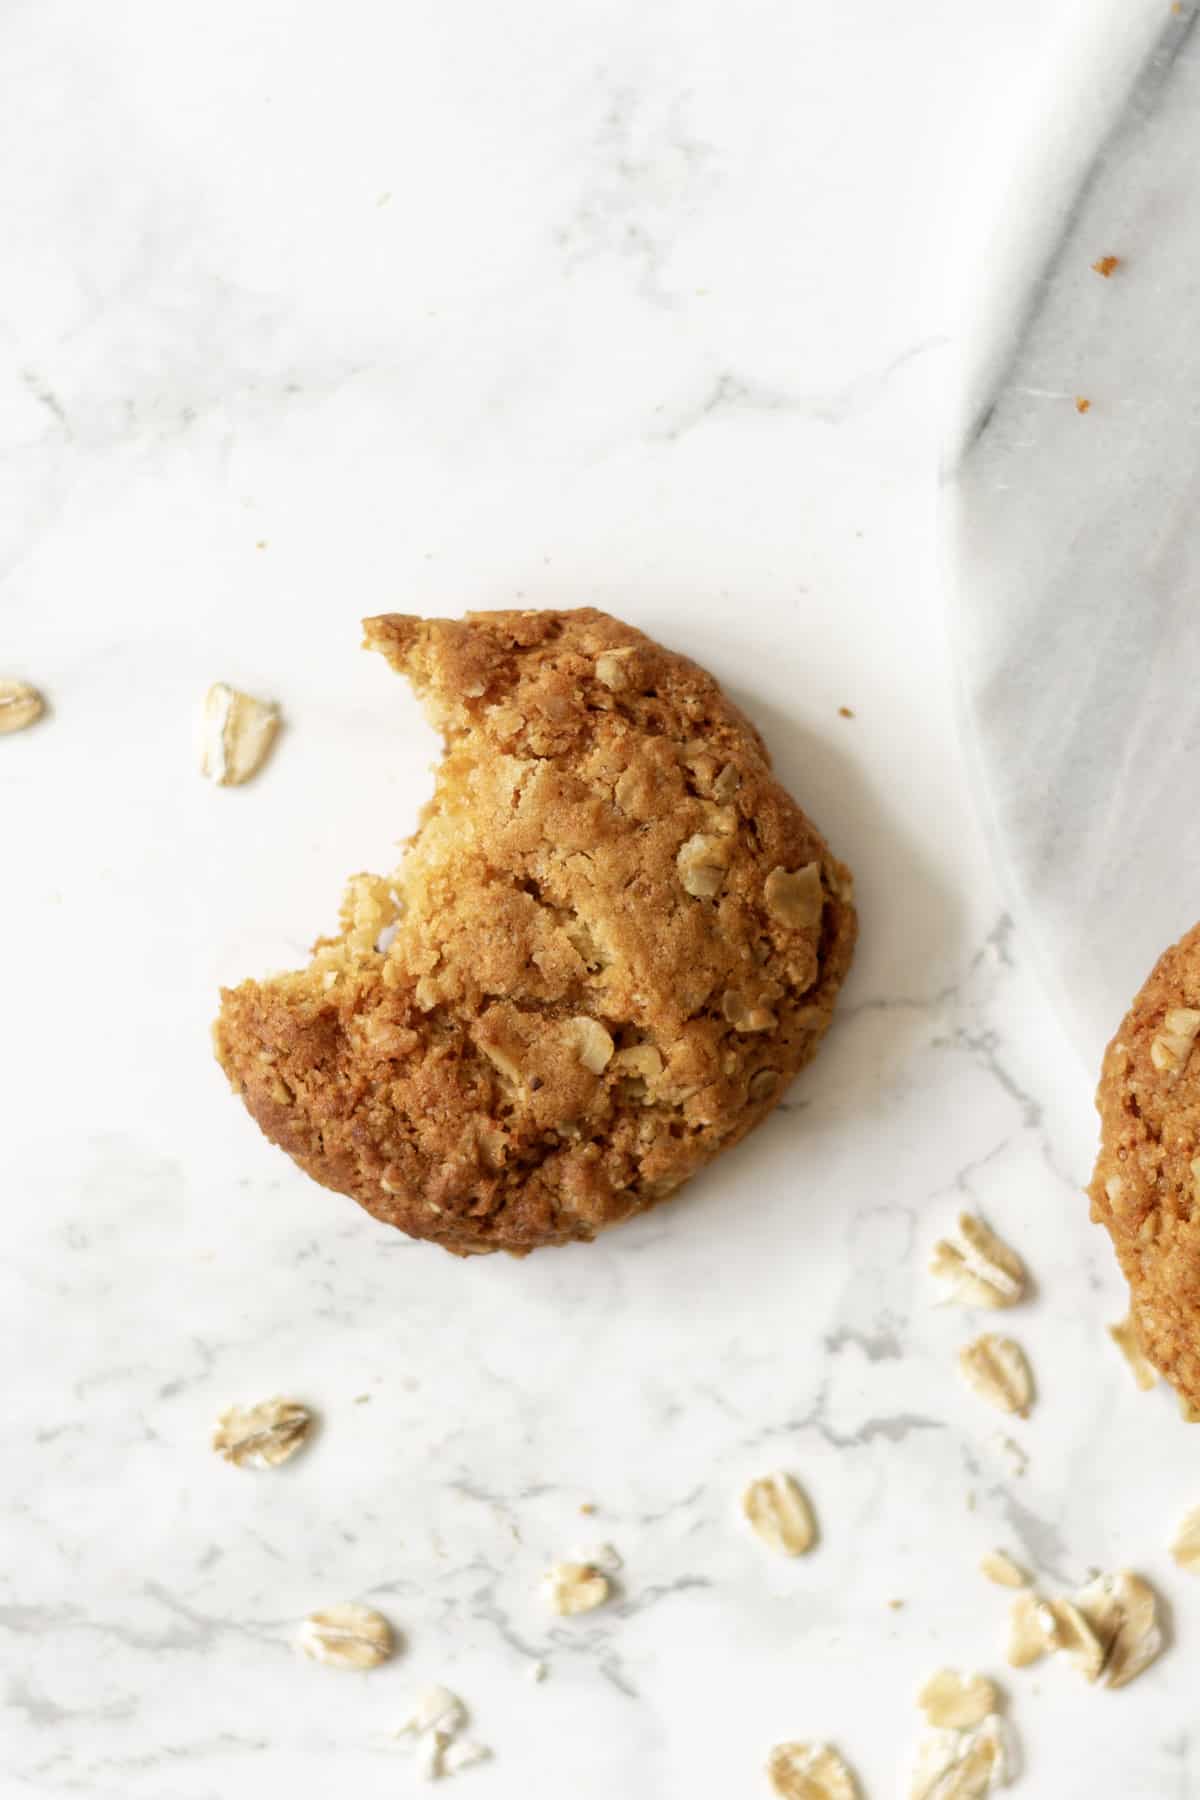
The Best Oatmeal Cookies
Leave a Review Print RecipeIngredients
- 2 ½ cups/ 300 grams Self Raising Flour*
- 1 cup/ 240 grams Caster Sugar
- 2 ½ cups/ 250 grams Porridge Oats
- 2 tsp Bicarbonate of Soda
- 1 ½ cups/ 300 grams Butter or Vegan Butter
- 4 tbsp Golden Syrup
Instructions
- Preheat the oven to 180 °C/ 350 °F. Grease two baking trays with a little sunflower oil.
- Measure out the self raising flour, sugar, oats and bicarbonate of soda into a large mixing bowl and stir to combine.
- Measure out the butter and golden syrup into a small pan and cook over -medium-low heat, stirring every few minutes, until melted.
- Pour the melted butter mixture into the mixing bowl with the dry ingredients. Use a wooden spoon to stir the wet ingredients into the dry until a dough forms.
- Take 1/2 tbsp of the dough at a time, roll into a ball, and flatten slightly. Place the cookie dough balls on the baking trays 1 inch/ 2.5 cm apart. Bake the oat cookies one tray at a time, for 7-8 minutes on the middle shelf of the oven until golden.
- Repeat until the rest of the dough is used up. Leave the cookies to cool slightly on the tray before serving warm!
Notes
- See blog post for step-by-step photos.
- The cookies will last in an airtight container for 2-3 days.


vow this so great for me, i am just turn veggie but many years time long eat meat, thanks so good for tummy and face lookis
These were absolutely delicious. So buttery and chewy, i will certainly be making them again. I will say though mines didn’t turn out like yours; they spread quite a bit instead of being thick and chunky. I followed the recipe exactly and noticed that my mixture was softer than usual cookie dough not holding its shape. I used gram measurement not cups, maybe that made a difference. Any suggestions for getting them exactly as the picture? I added vegan white chocolate and cranberries to half the mix which was amazing.
I’m so glad you liked them Shelley! White chocolate and cranberries sound amazing! Sorry to hear they spread out a little – this doesn’t happen to me (and I make them using the gram measurements) but it may be down to the Golden syrup – if you add a little too much it can cause the cookies to spread a lot! I hope this helps you x
Hi there, I really like the look of these cookies and want to try them. I notice in your recipe that the cup measures for flour and oats are the same but the gram measures are different. Can you advise which is correct please. I prefer to use gram measures. Thanks.
Hi Mandy – great question! 1 cup of oats and 1 cup of flour are going to be different weights, as cup measurements are representative of volumes, but oats and flour have different densities. I provide both measurements to make things easier for my readers, so feel free to use either! Though I will say, personally I prefer to use grams as it is more accurate. I hope this helps you! 🙂
these look wonderful. Thanks for the recipe
So glad you like them Jacquie!